If you’re looking for a manicure that lasts through work, play, and everything in between, you’re likely considering getting gel nails. Chip-free, fast-drying, and long-lasting, gel has become one of the most popular and highly requested types of manicures in nail salons today. But before you toss out your traditional nail polish and jot down your gel appointment, here are some tips you may want to know about getting, maintaining and safely removing your mani.
What Are Gel Nails?
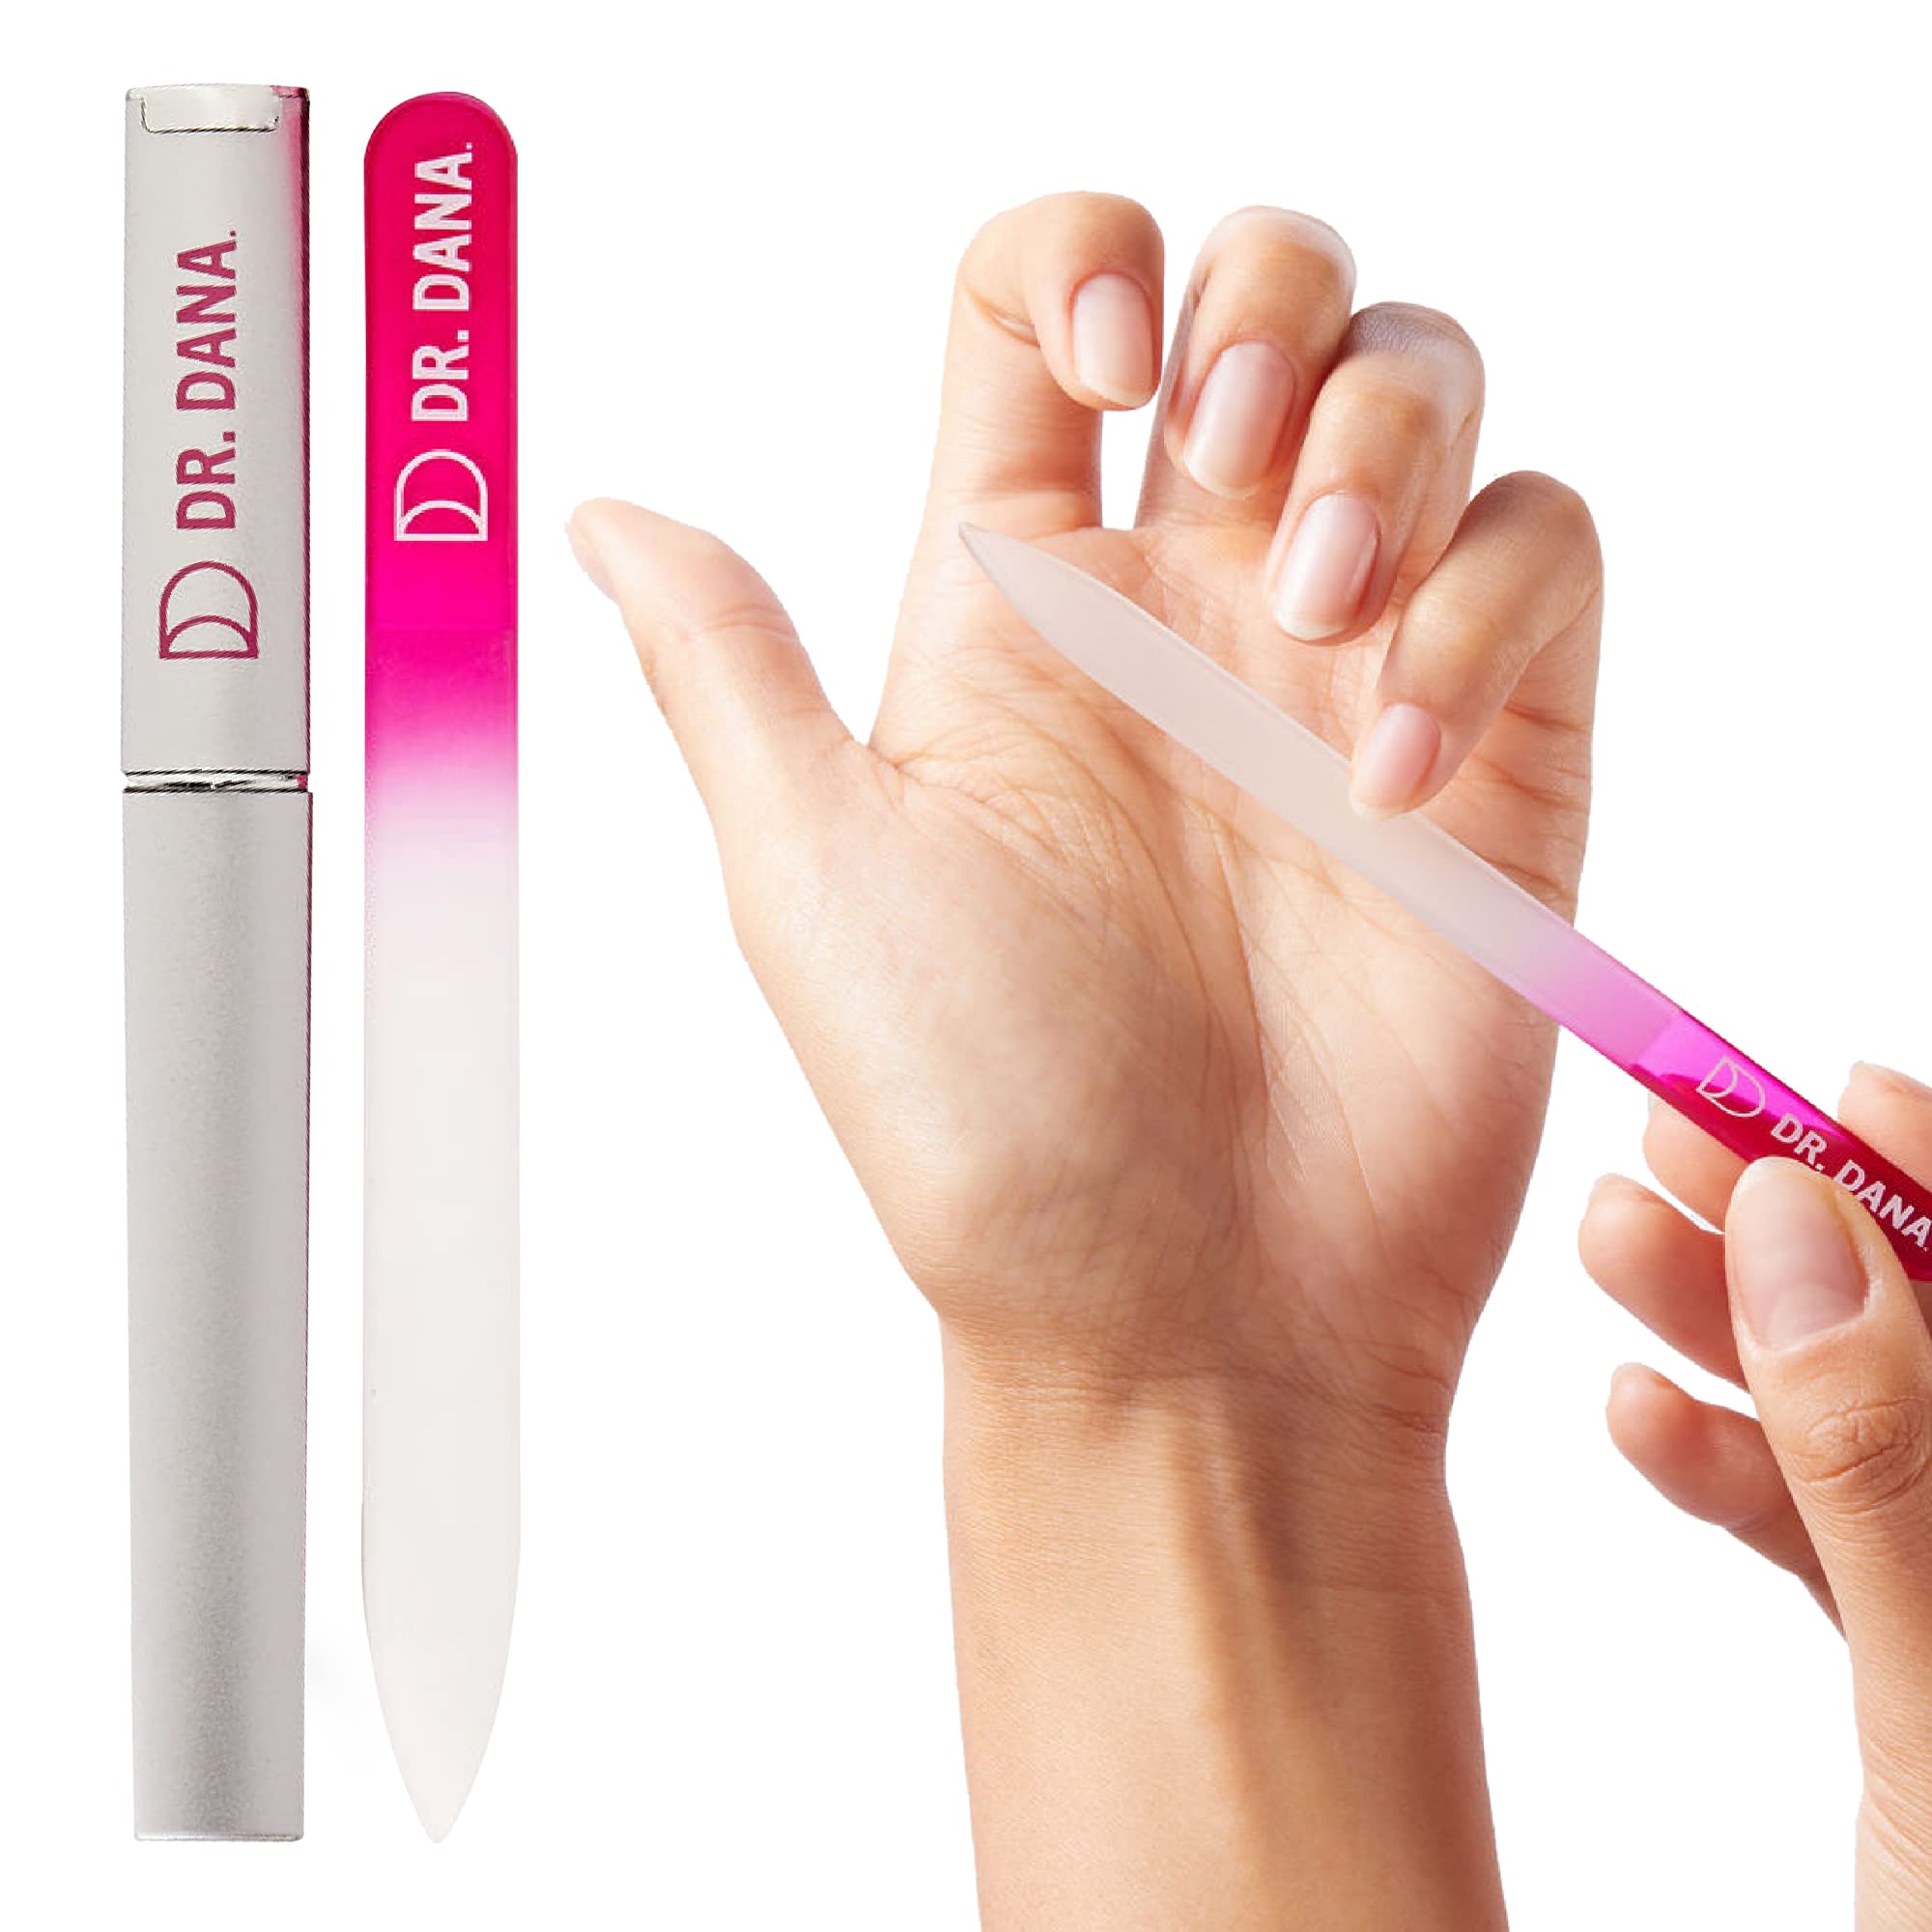
Like a traditional manicure, a gel manicure begins with most of the same steps: nail cutting, filing, and shaping—but that’s where the similarities end.
Nails are then painted using a specially formulated gel nail polish. Unlike classic nail lacquer, gel polish is made up of molecules that bond together when placed under a UV (ultraviolet) or LED (light-emitting diode) light. With each coat, the nails “cure,” or dry, under the light for somewhere between 30 seconds to two minutes, leaving the gel polish sealed, hardened, and smudge-proof.
Advantages of Gel Nails
Now that we’ve covered what gel nails are, let’s talk about the advantages of getting them.
1. Long-Lasting
Perhaps one of the most well-known benefits of getting a gel manicure is that gel polish lasts much longer than regular nail polish. While regular nail polish typically chips within a couple of days, gel nail polish (because of its unique curing process) is made to last 2-3 weeks when professionally applied and with normal wear and proper care.
2. Fast-Drying
While regular nail polish is prone to smears, smudges, and chips because of the longer drying process, gel nail polish dries in seconds. Rather than air-drying, gel nails are placed under a special curing lamp that significantly speeds up the drying time of your manicure.
3. Endless Options
From bolds and brights, to glitters and shimmers, mattes, and metallics, there are endless possibilities available when it comes to expressing yourself with a gel manicure. In addition to the many shades to choose from, you can also more easily experiment with designs when using a gel nail polish. Because this type of polish dries so quickly, your nail technician will be able to apply layers quickly and easily to create fun, colorful, or intricate nail art designs.
WIll Gel Manicures Damage My Nails?
One of the biggest questions people have is if gel manicures are safe for your nails. Have you ever heard someone say, “I love gel nails because they last so long, but they always destroy my nails?” This is a common misconception, with many people believing that gel polishes weaken and damage the nail and nail bed; in reality, it’s the removal process that poses the largest risk.
Improper removal of gel nail polish is a major cause of temporary damage to natural nails. While picking off your gels or aggressively filing the nail bed to break up the gel can sometimes be tempting, improper methods of removal are known to cause peeling, lifting, and thinning. That being said, you should always remove your gel nail polish correctly, or have it done by a professional, to protect the integrity of the nail plate. It’s important that your nail technician follows the proper removal procedures provided by the gel polish manufacturer.
How To Prevent Damage Caused by Gel Nail Polish
To keep your nails healthy and prevent damage before, after, and during your gel manicure, we recommend these tips:
1. Remove Gel Nail Polish Correctly
As mentioned above, improper polish removal is the top cause of natural nail damage when it comes to gel manicures. Whether you’re having the removal done by a professional nail technician or opt to do it yourself at home, the process should still be the same.
When done properly, gels should come off easily with just acetone. Soak a cotton ball in acetone until it is damp. Avoid over-saturating the cotton ball, as too much acetone can cause irritation to the skin, causing it to become dry, red, and cracked.
Wrap the tip of your finger in a small piece of aluminum foil to hold the cotton ball in place. Now, repeat on each fingernail. Allow the acetone to soak into the gel nail polish for about 10 minutes before moving onto the next step. At this point, the gel nail polish should be softened and look like it is flaking off.
Next, using a wooden stick or metal cuticle pusher, gently push the paint off of each nail. If the polish is still struggling to come off, be sure not to force the product off the nail plate—instead, re-wrap and repeat the process until the gel comes off effortlessly.
2. Protect Your Hands
Another safety concern surrounding gel nails: Will UV light used to cure gels give me skin cancer? The answer to this is still somewhat unclear. While there is a scientifically proven connection between UV rays and skin cancer, the effect of salon UV lamps needs more research to form a real conclusion. If you decide to get a gel manicure, you should protect your hands and lessen any risk of damage associated with UV lamps.
Board-certified dermatologist Dr. Dana Stern recommends applying a broad-spectrum sunscreen SPF 30 or higher to your fingers, hands, and cuticles. This will help to protect your skin from possible UV exposure.
Dr. Stern suggests also purchasing UPF-rated manicure gloves to offer additional UV protection. Available as both reusable and disposable, these gloves are specially made to shield skin from excess radiation, keeping your hands safe and protected as you indulge in your you-time.
3. Hydrate Your Nails
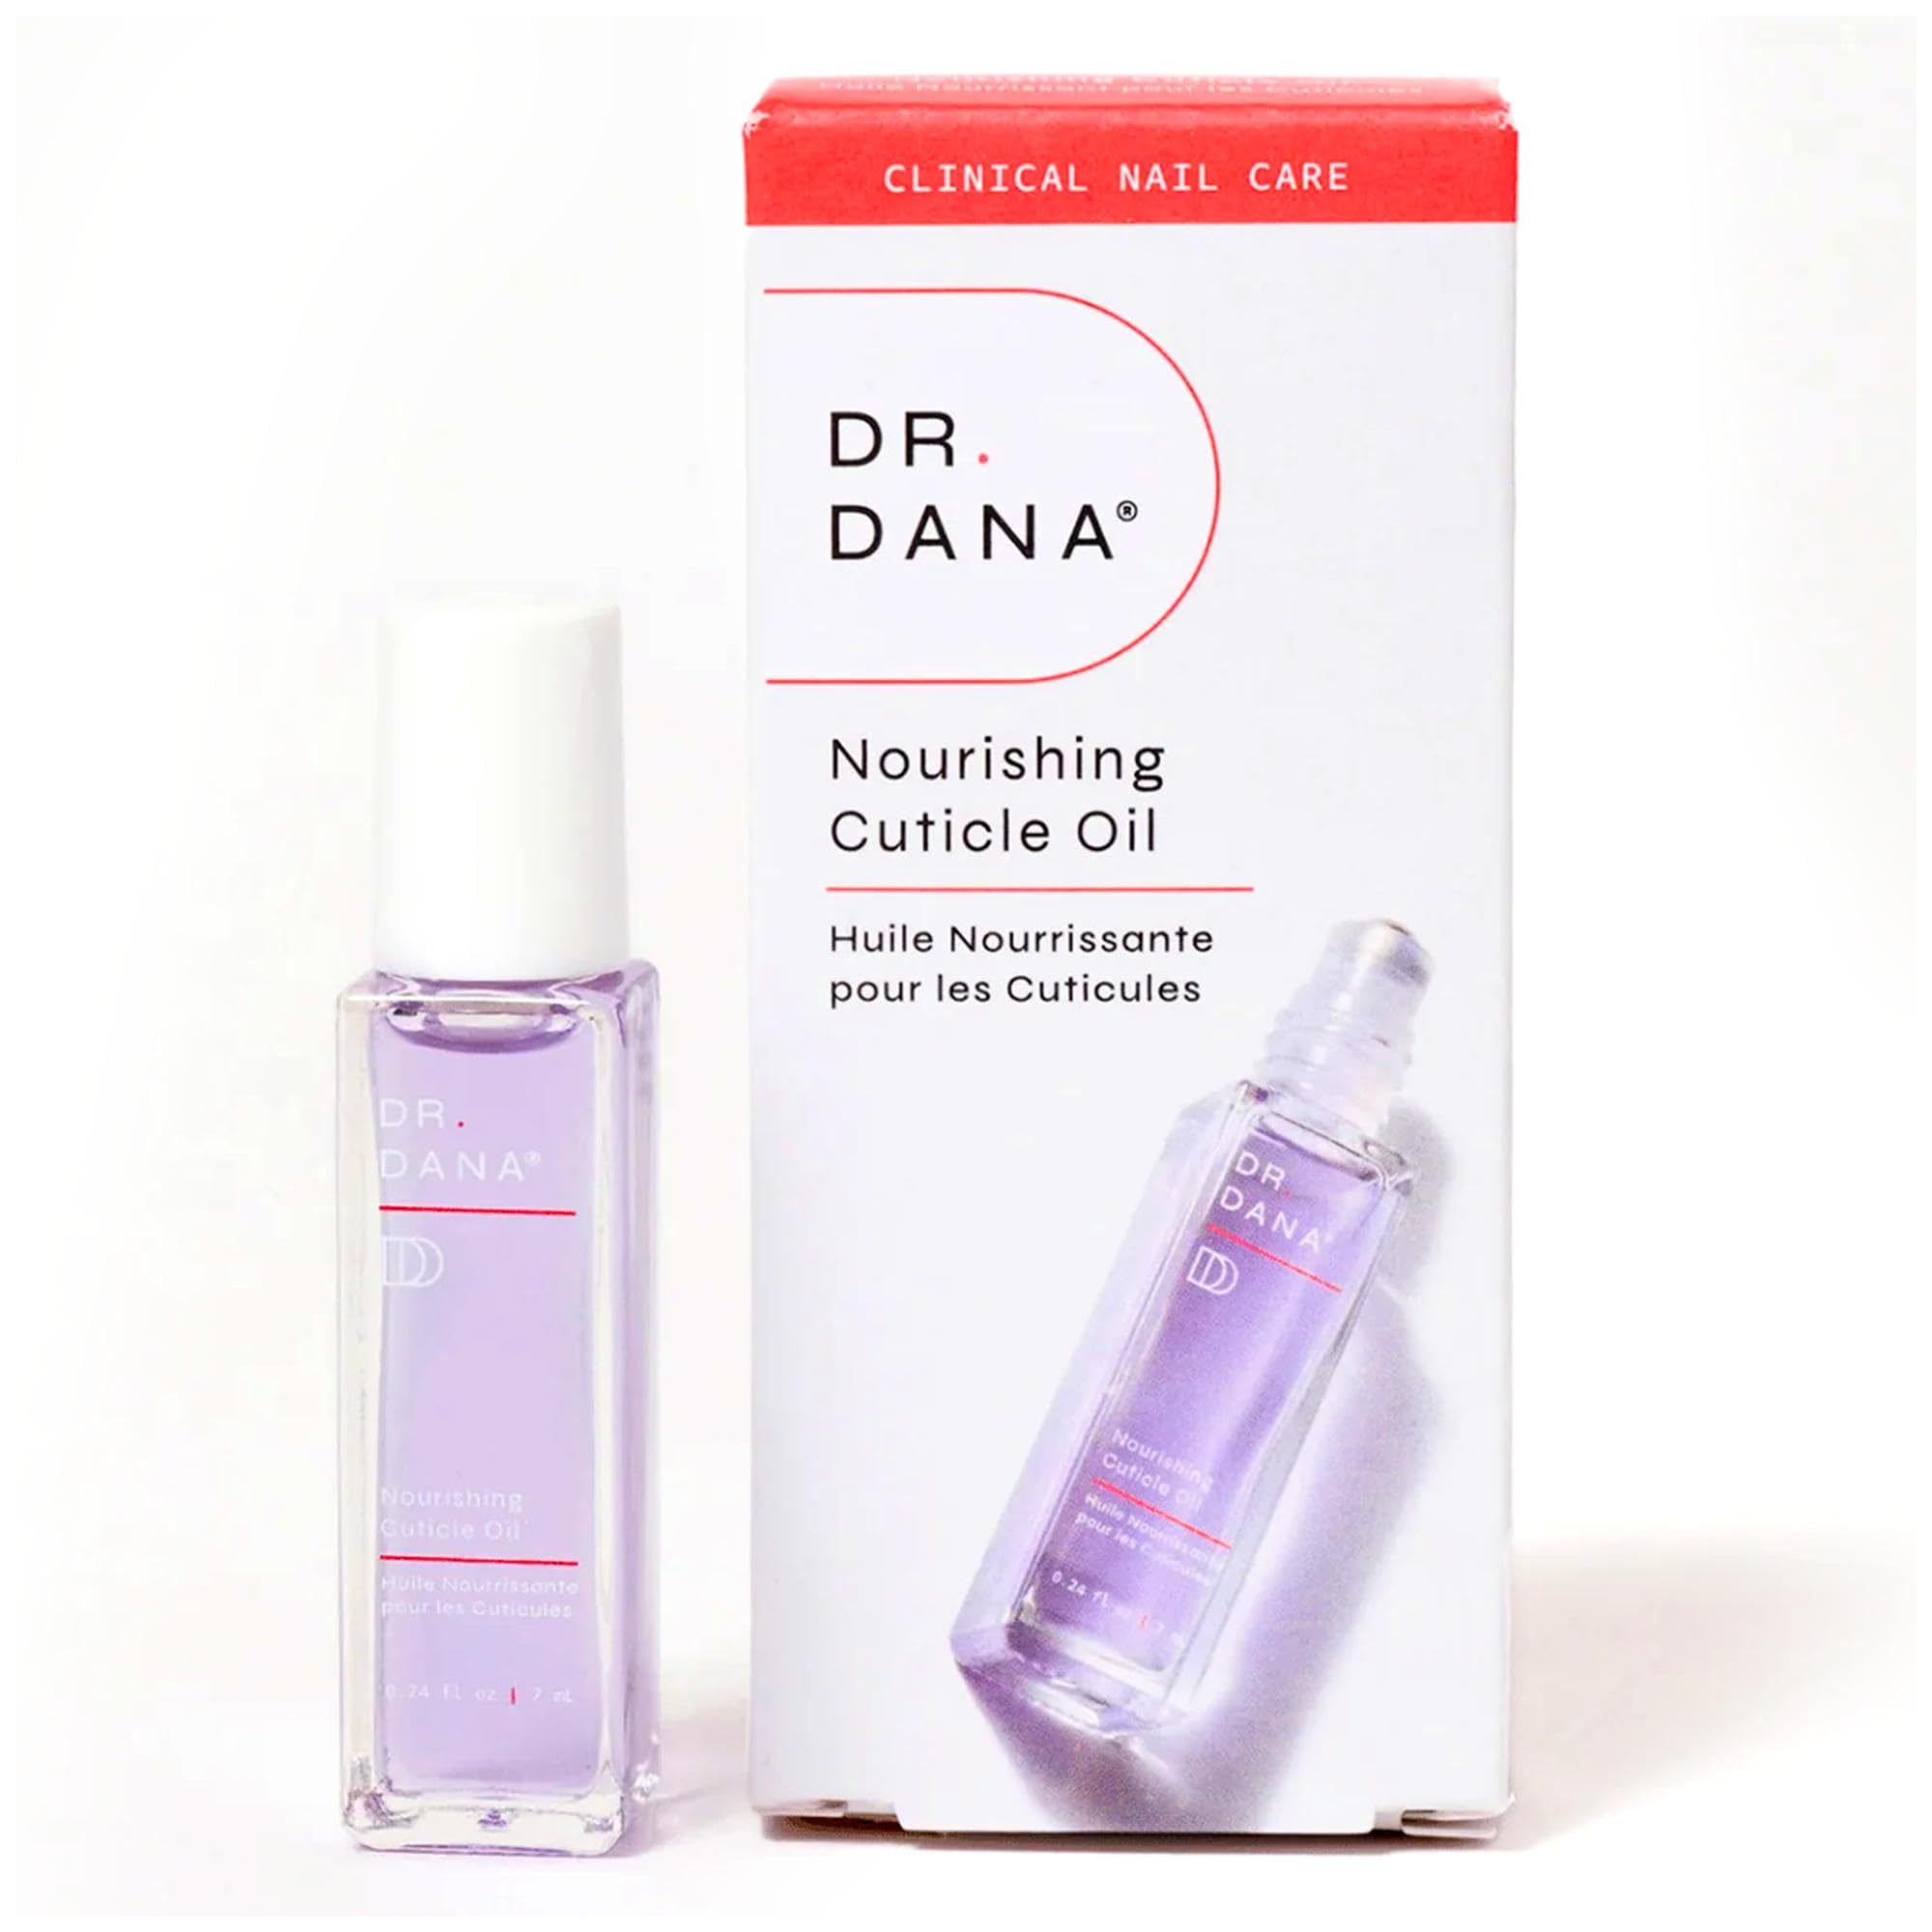
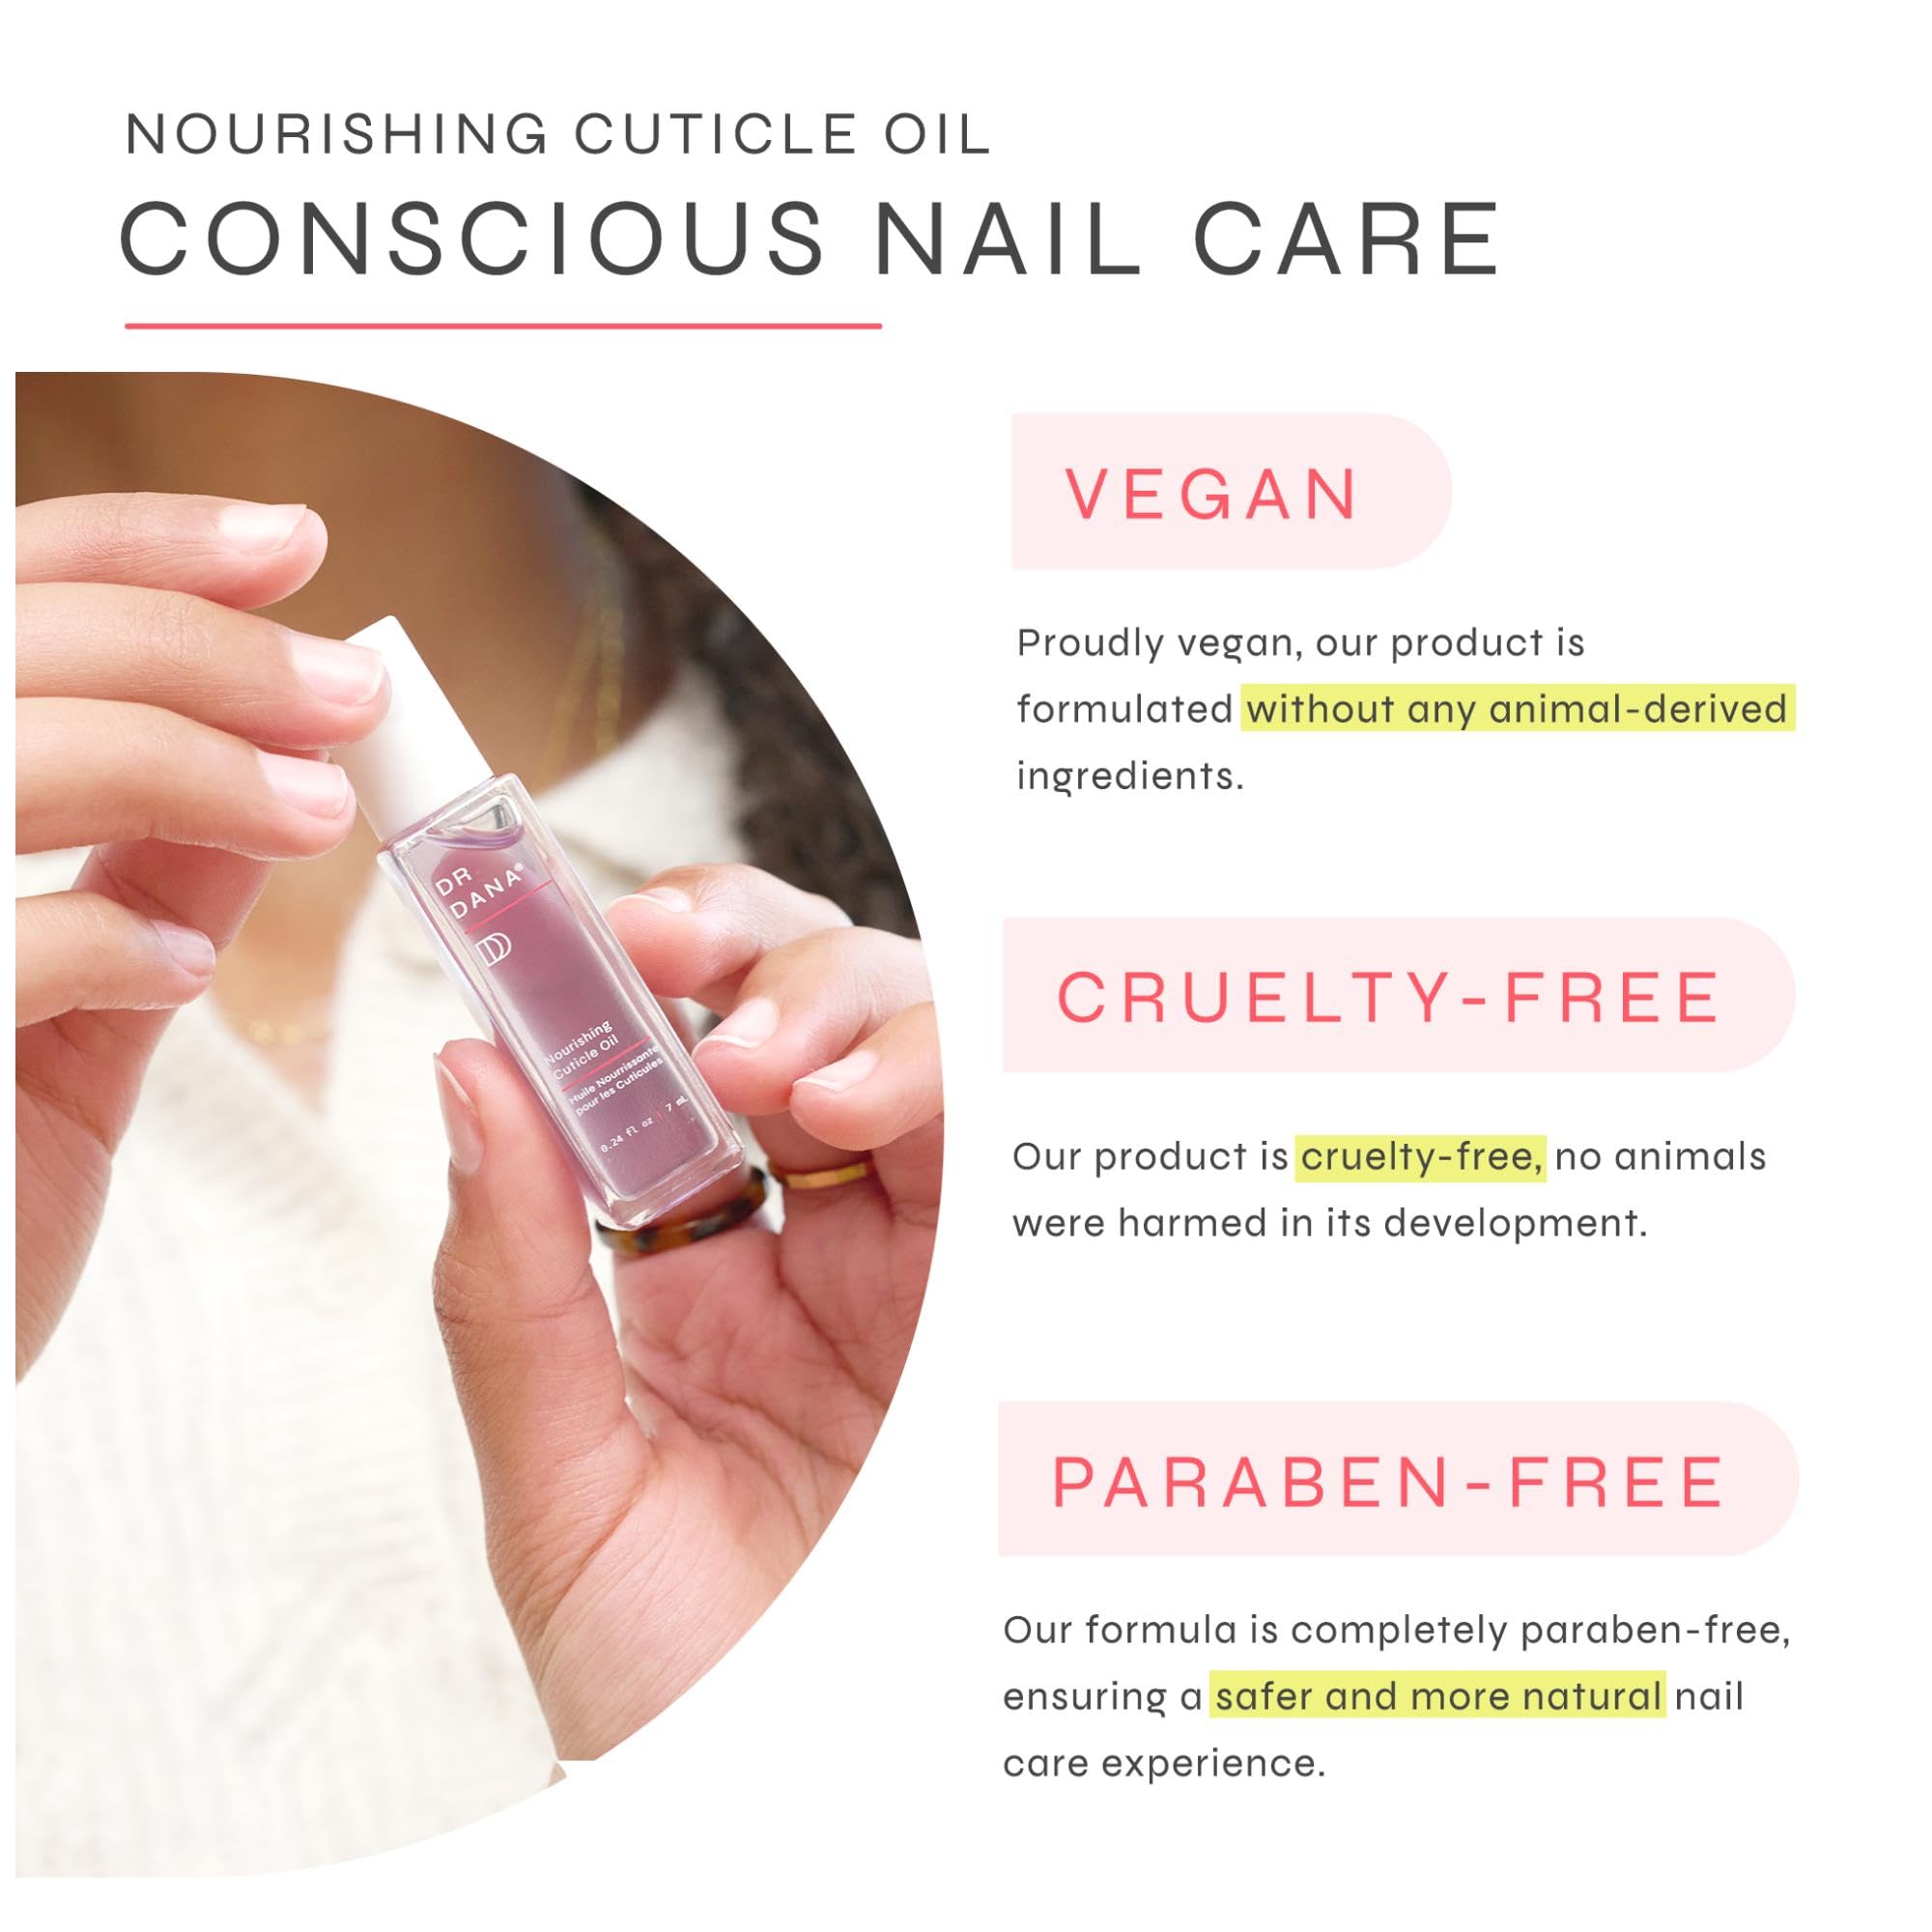
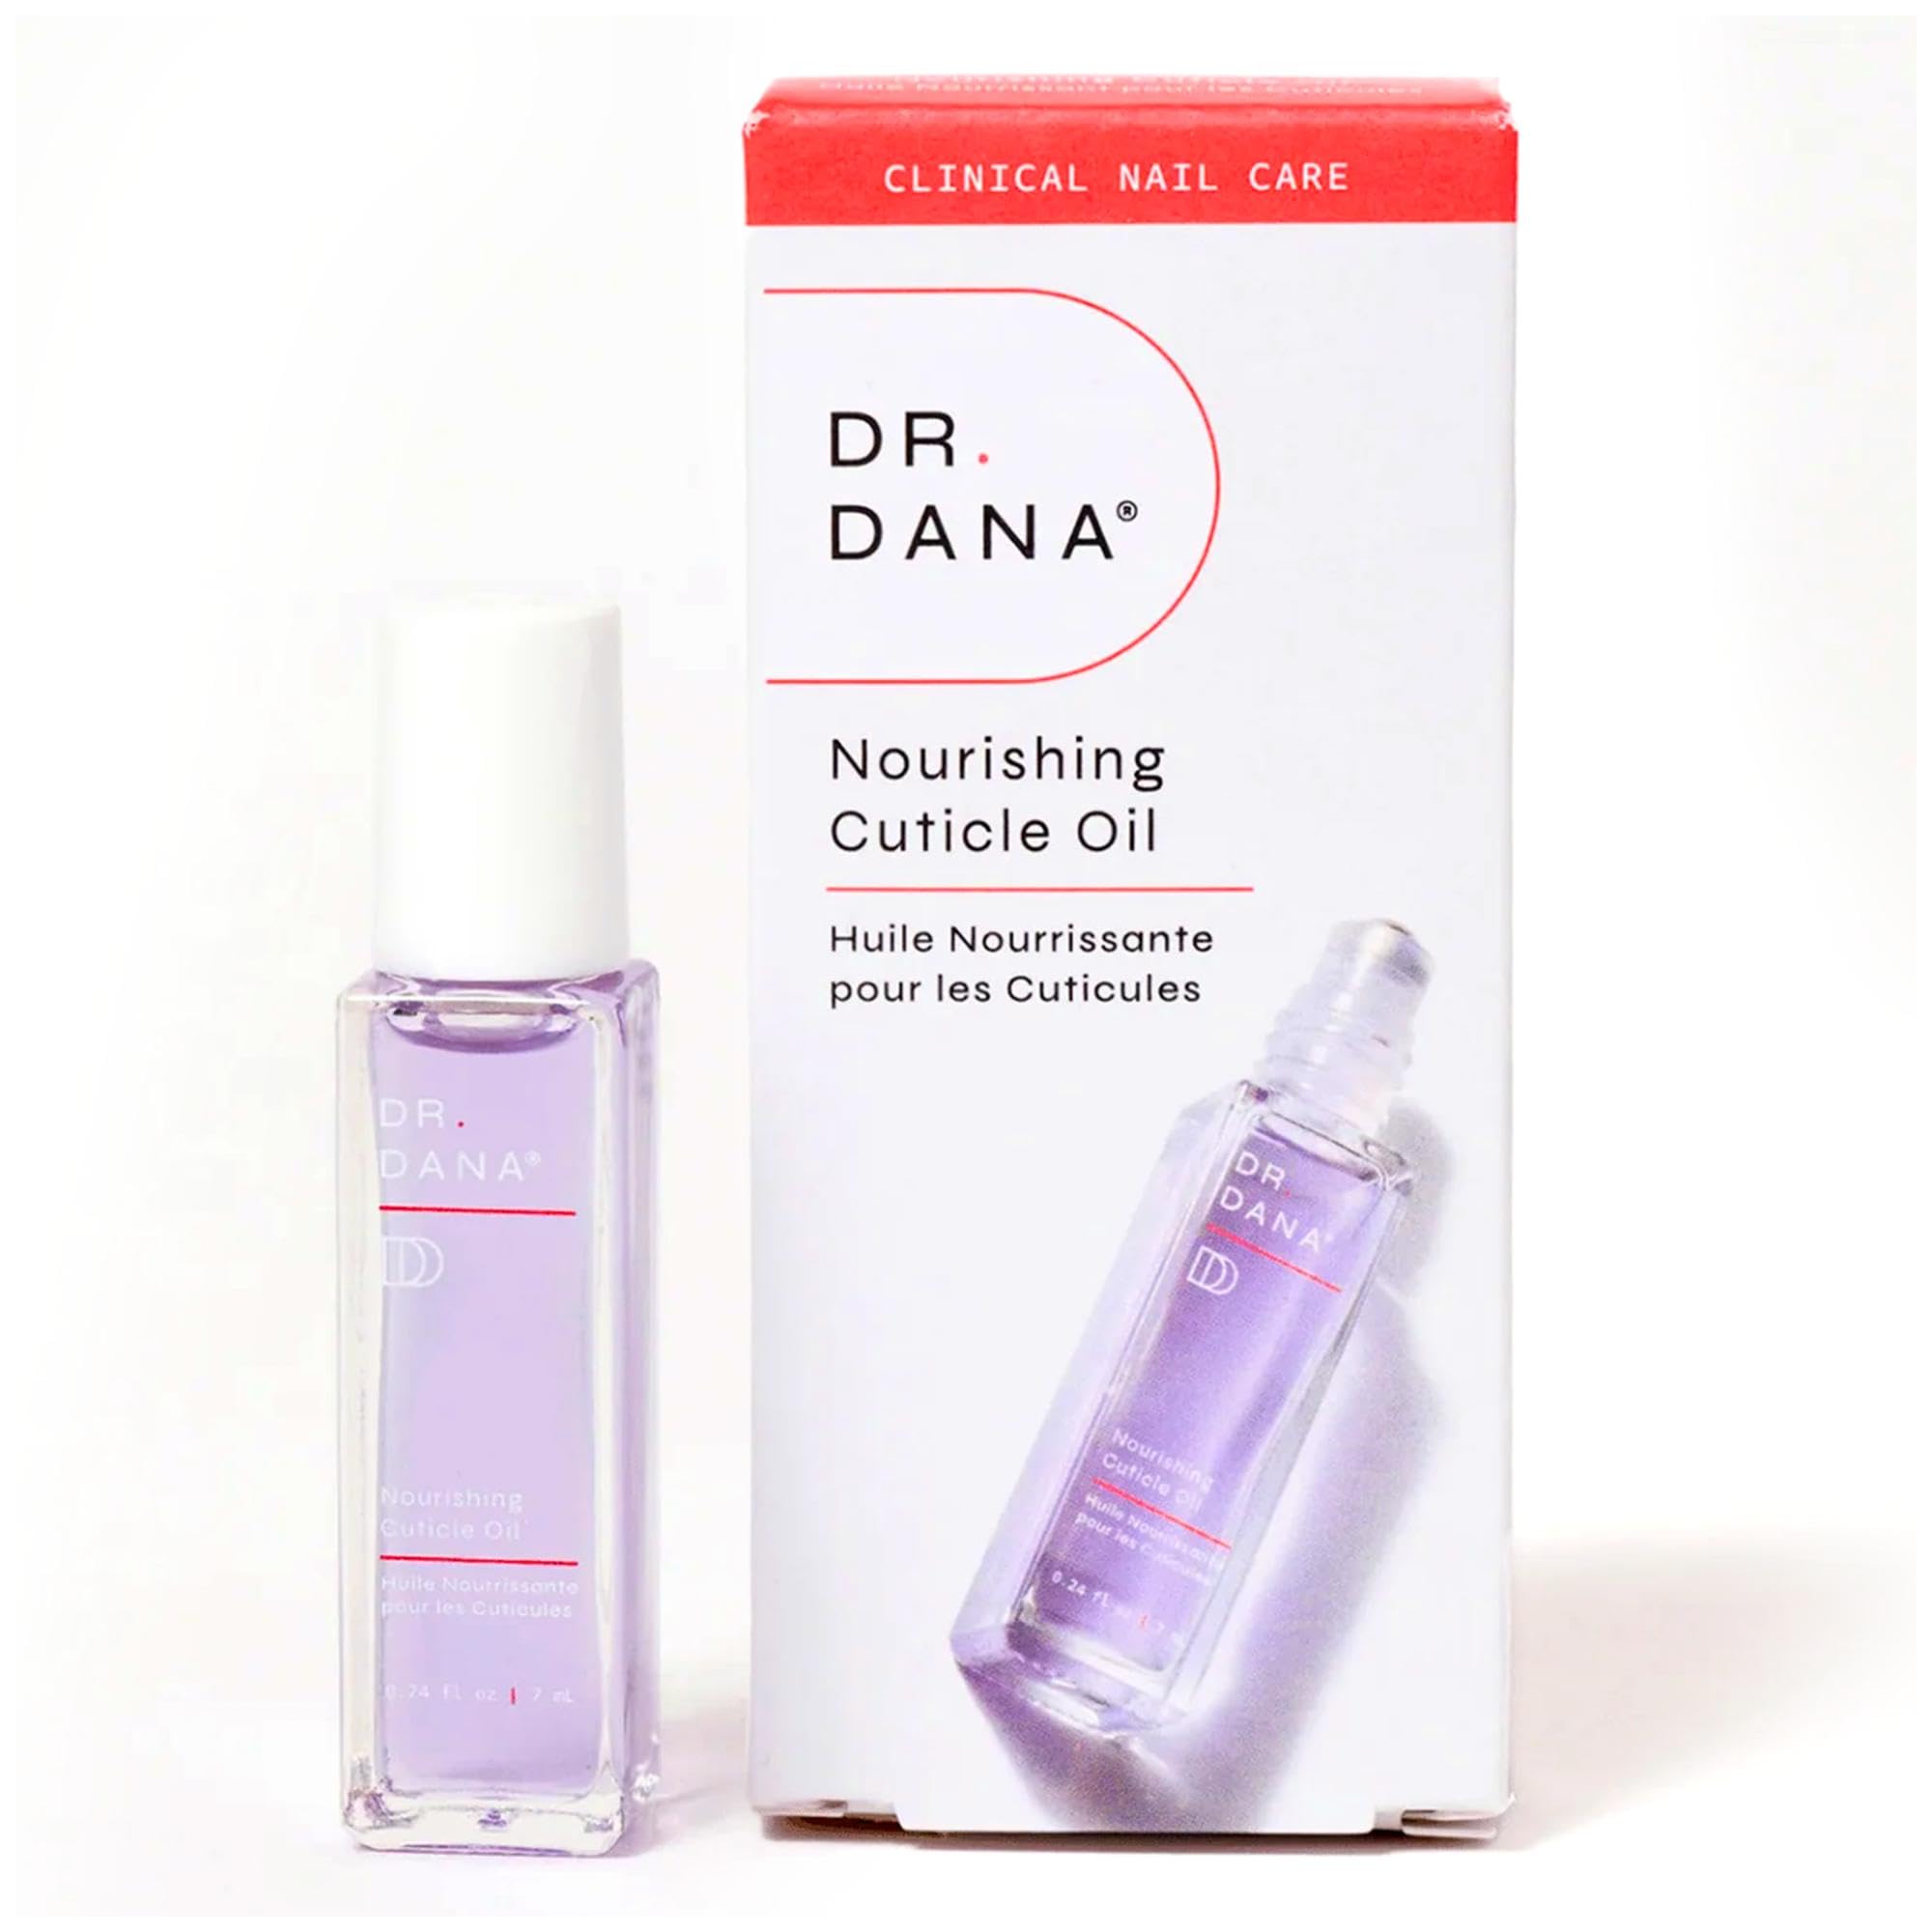
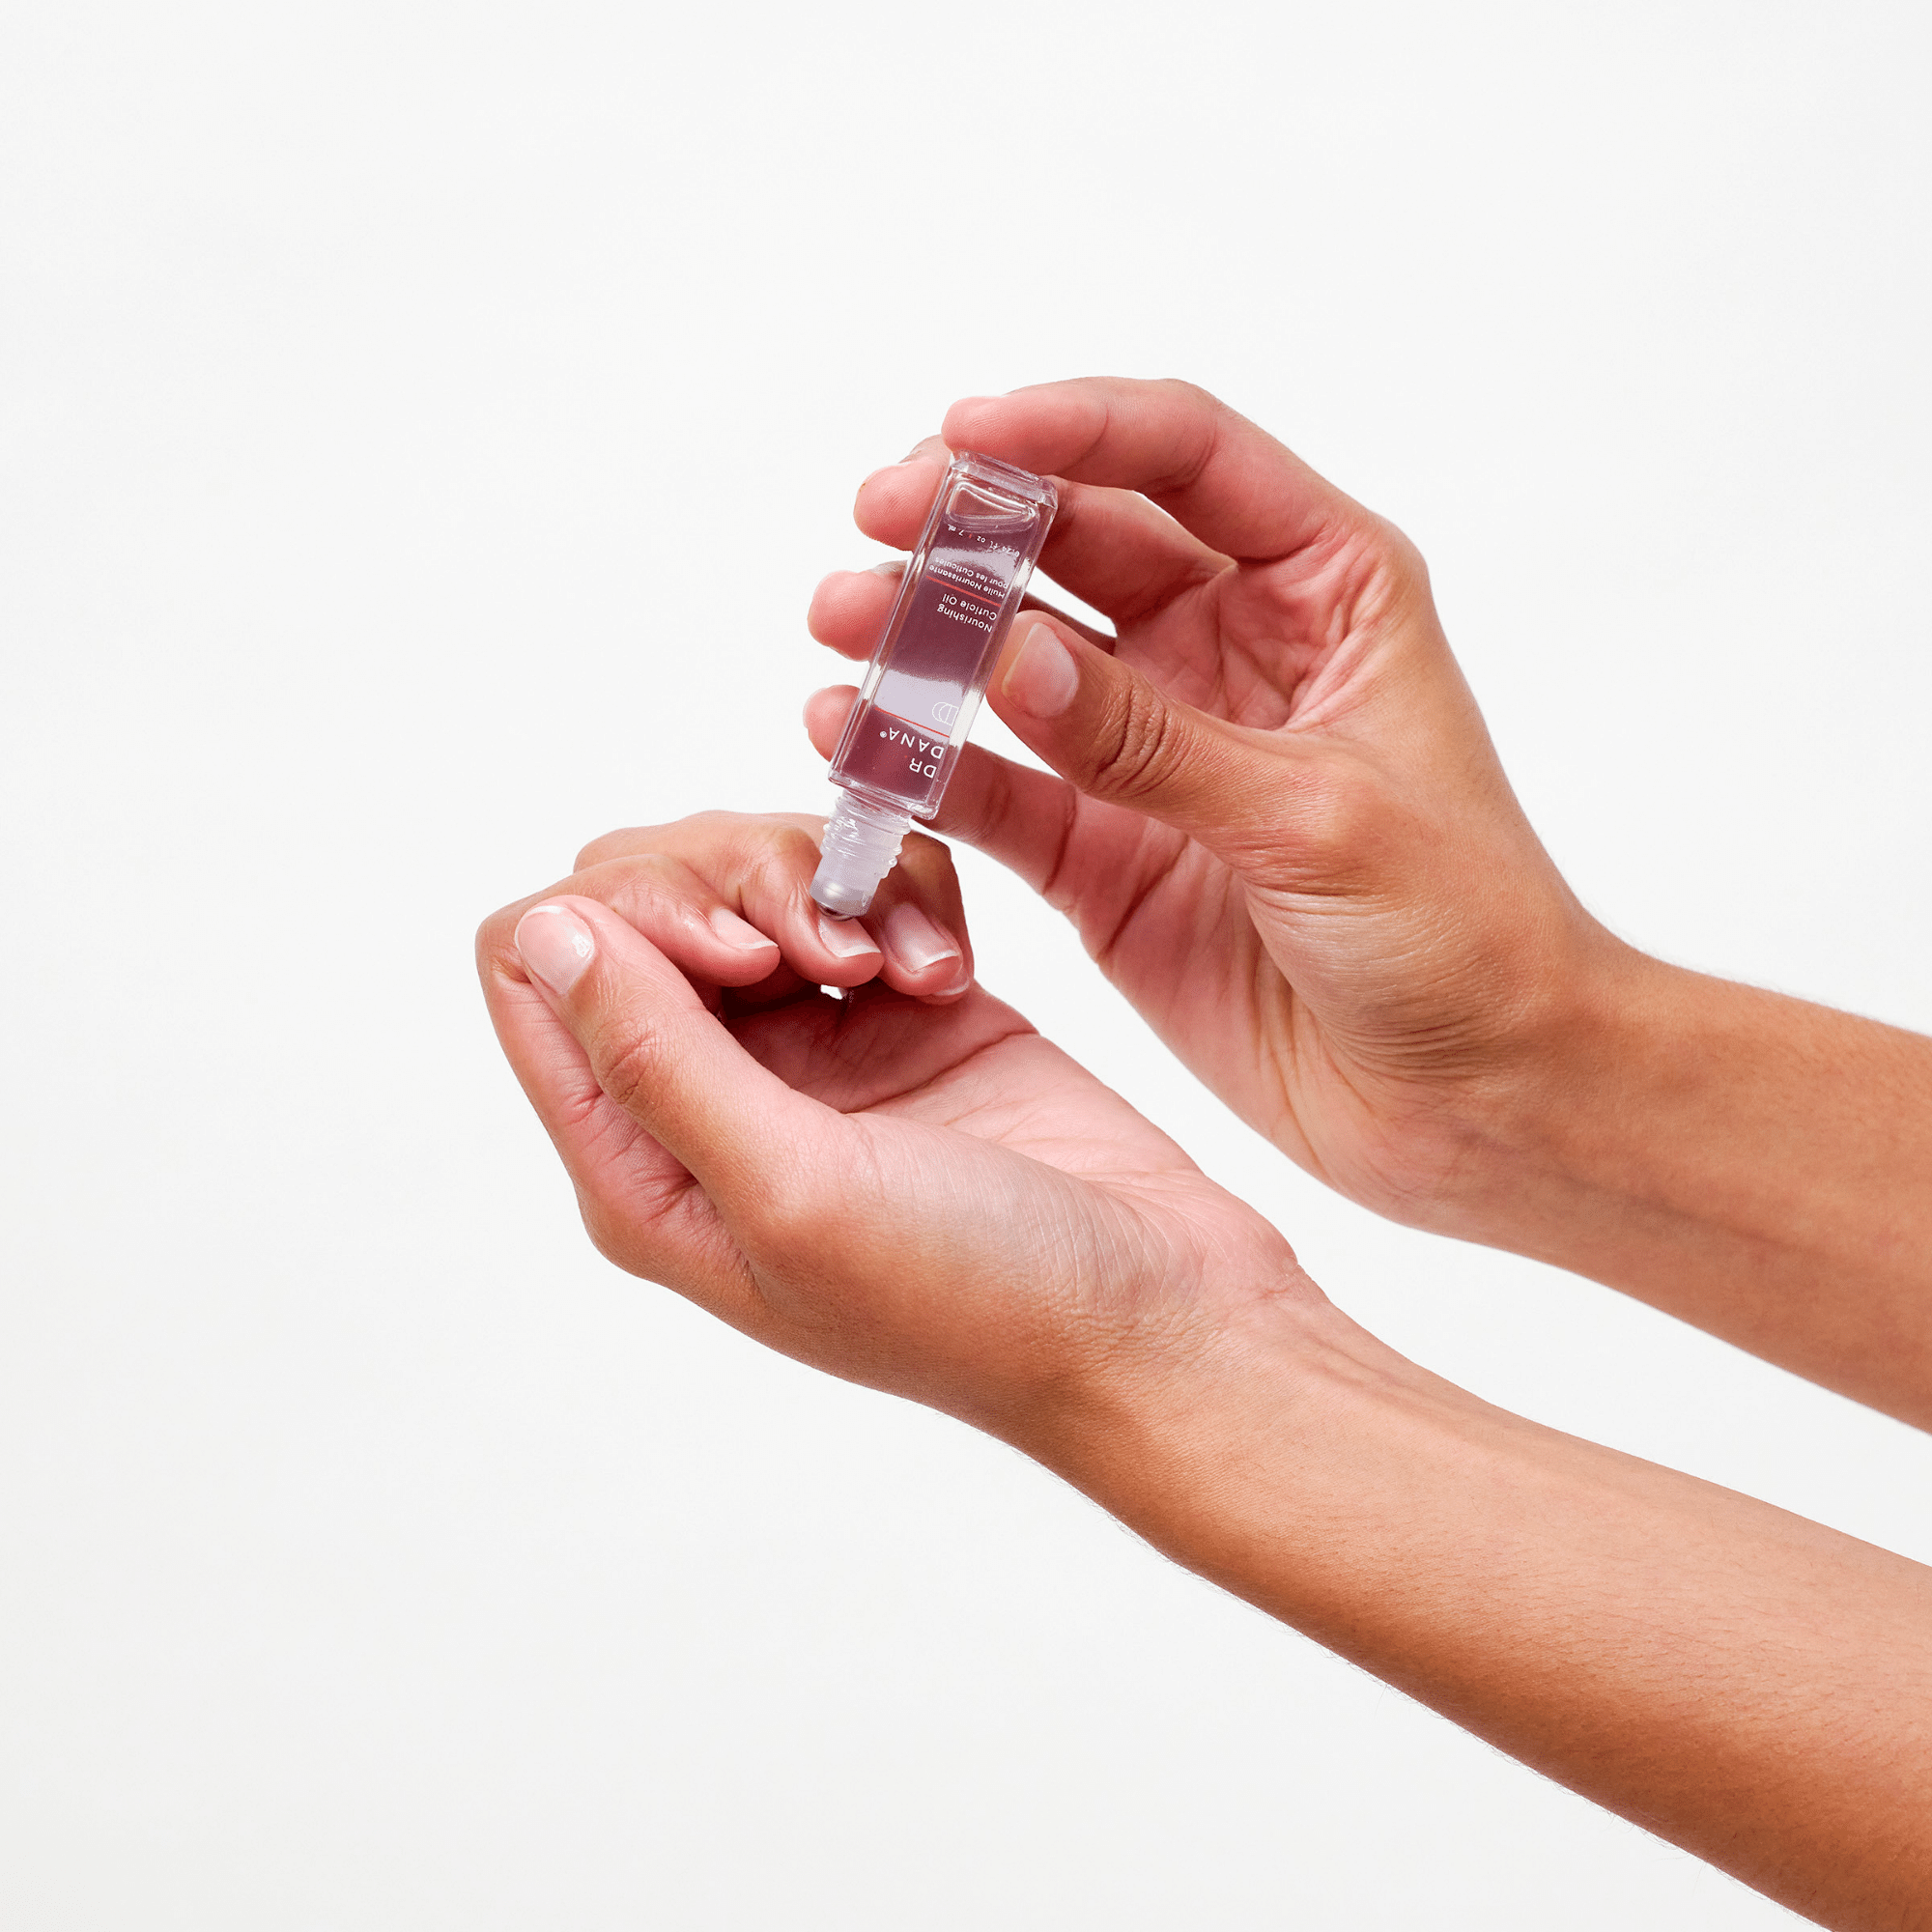
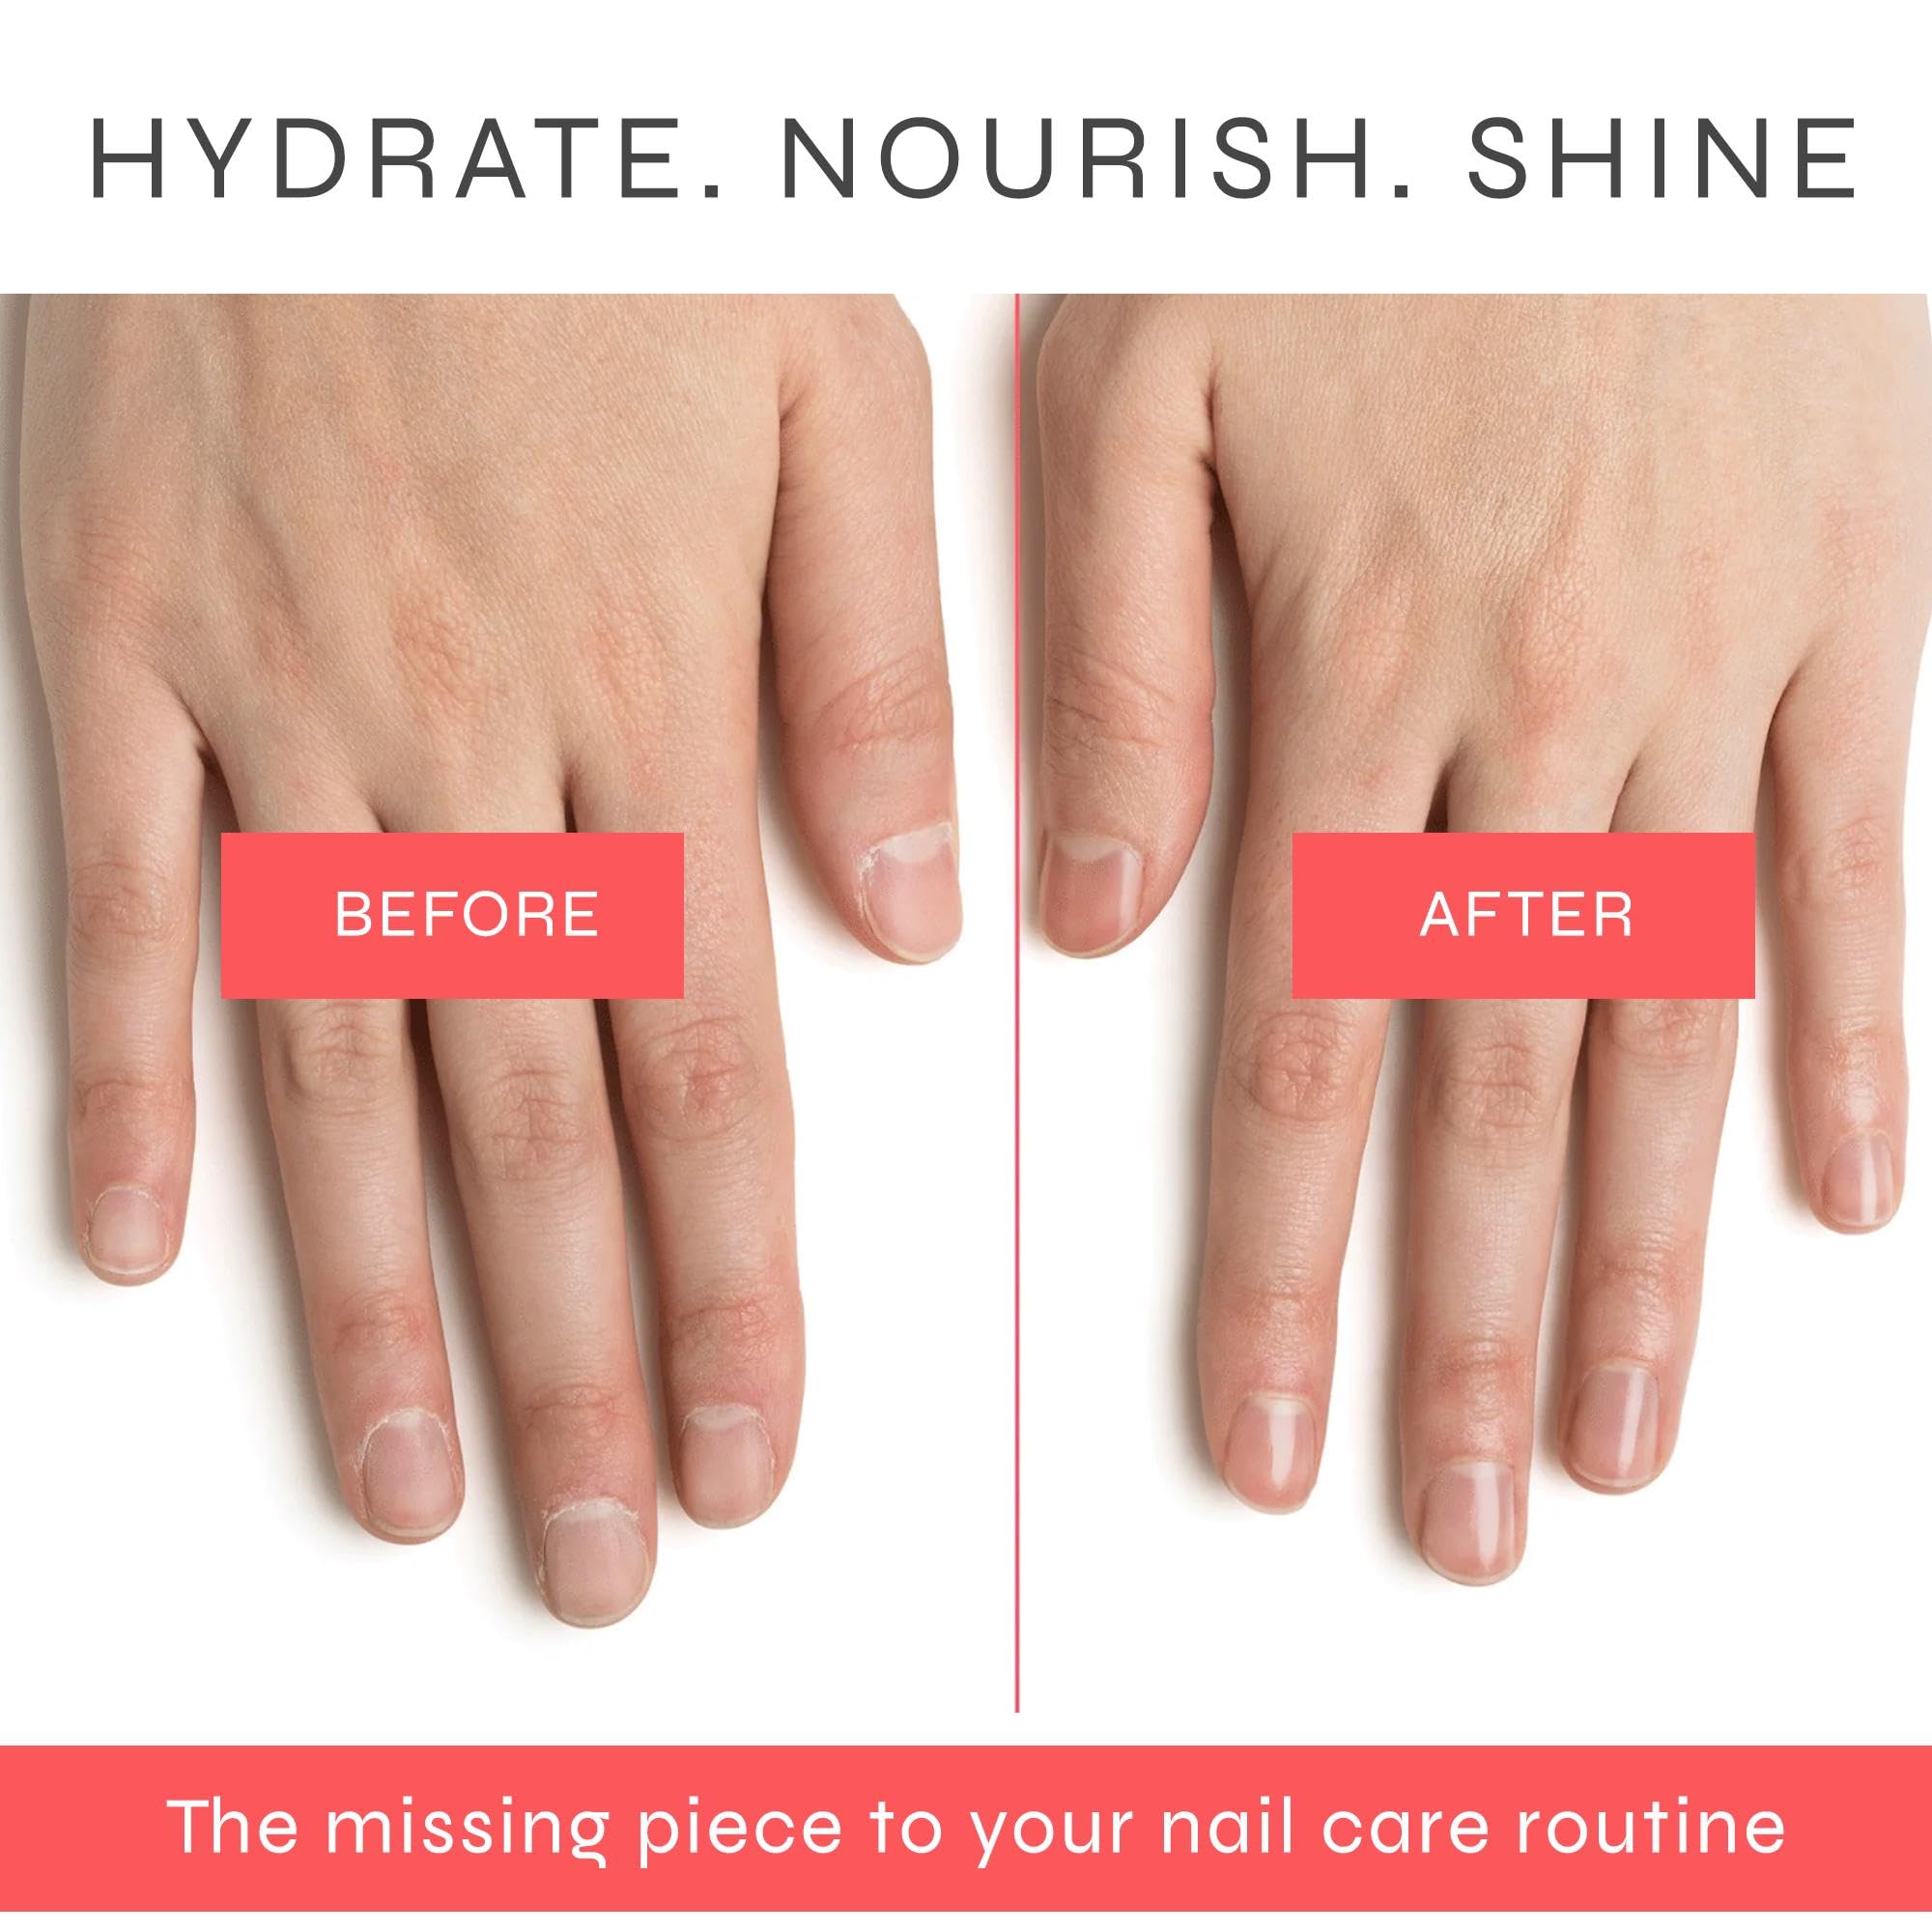
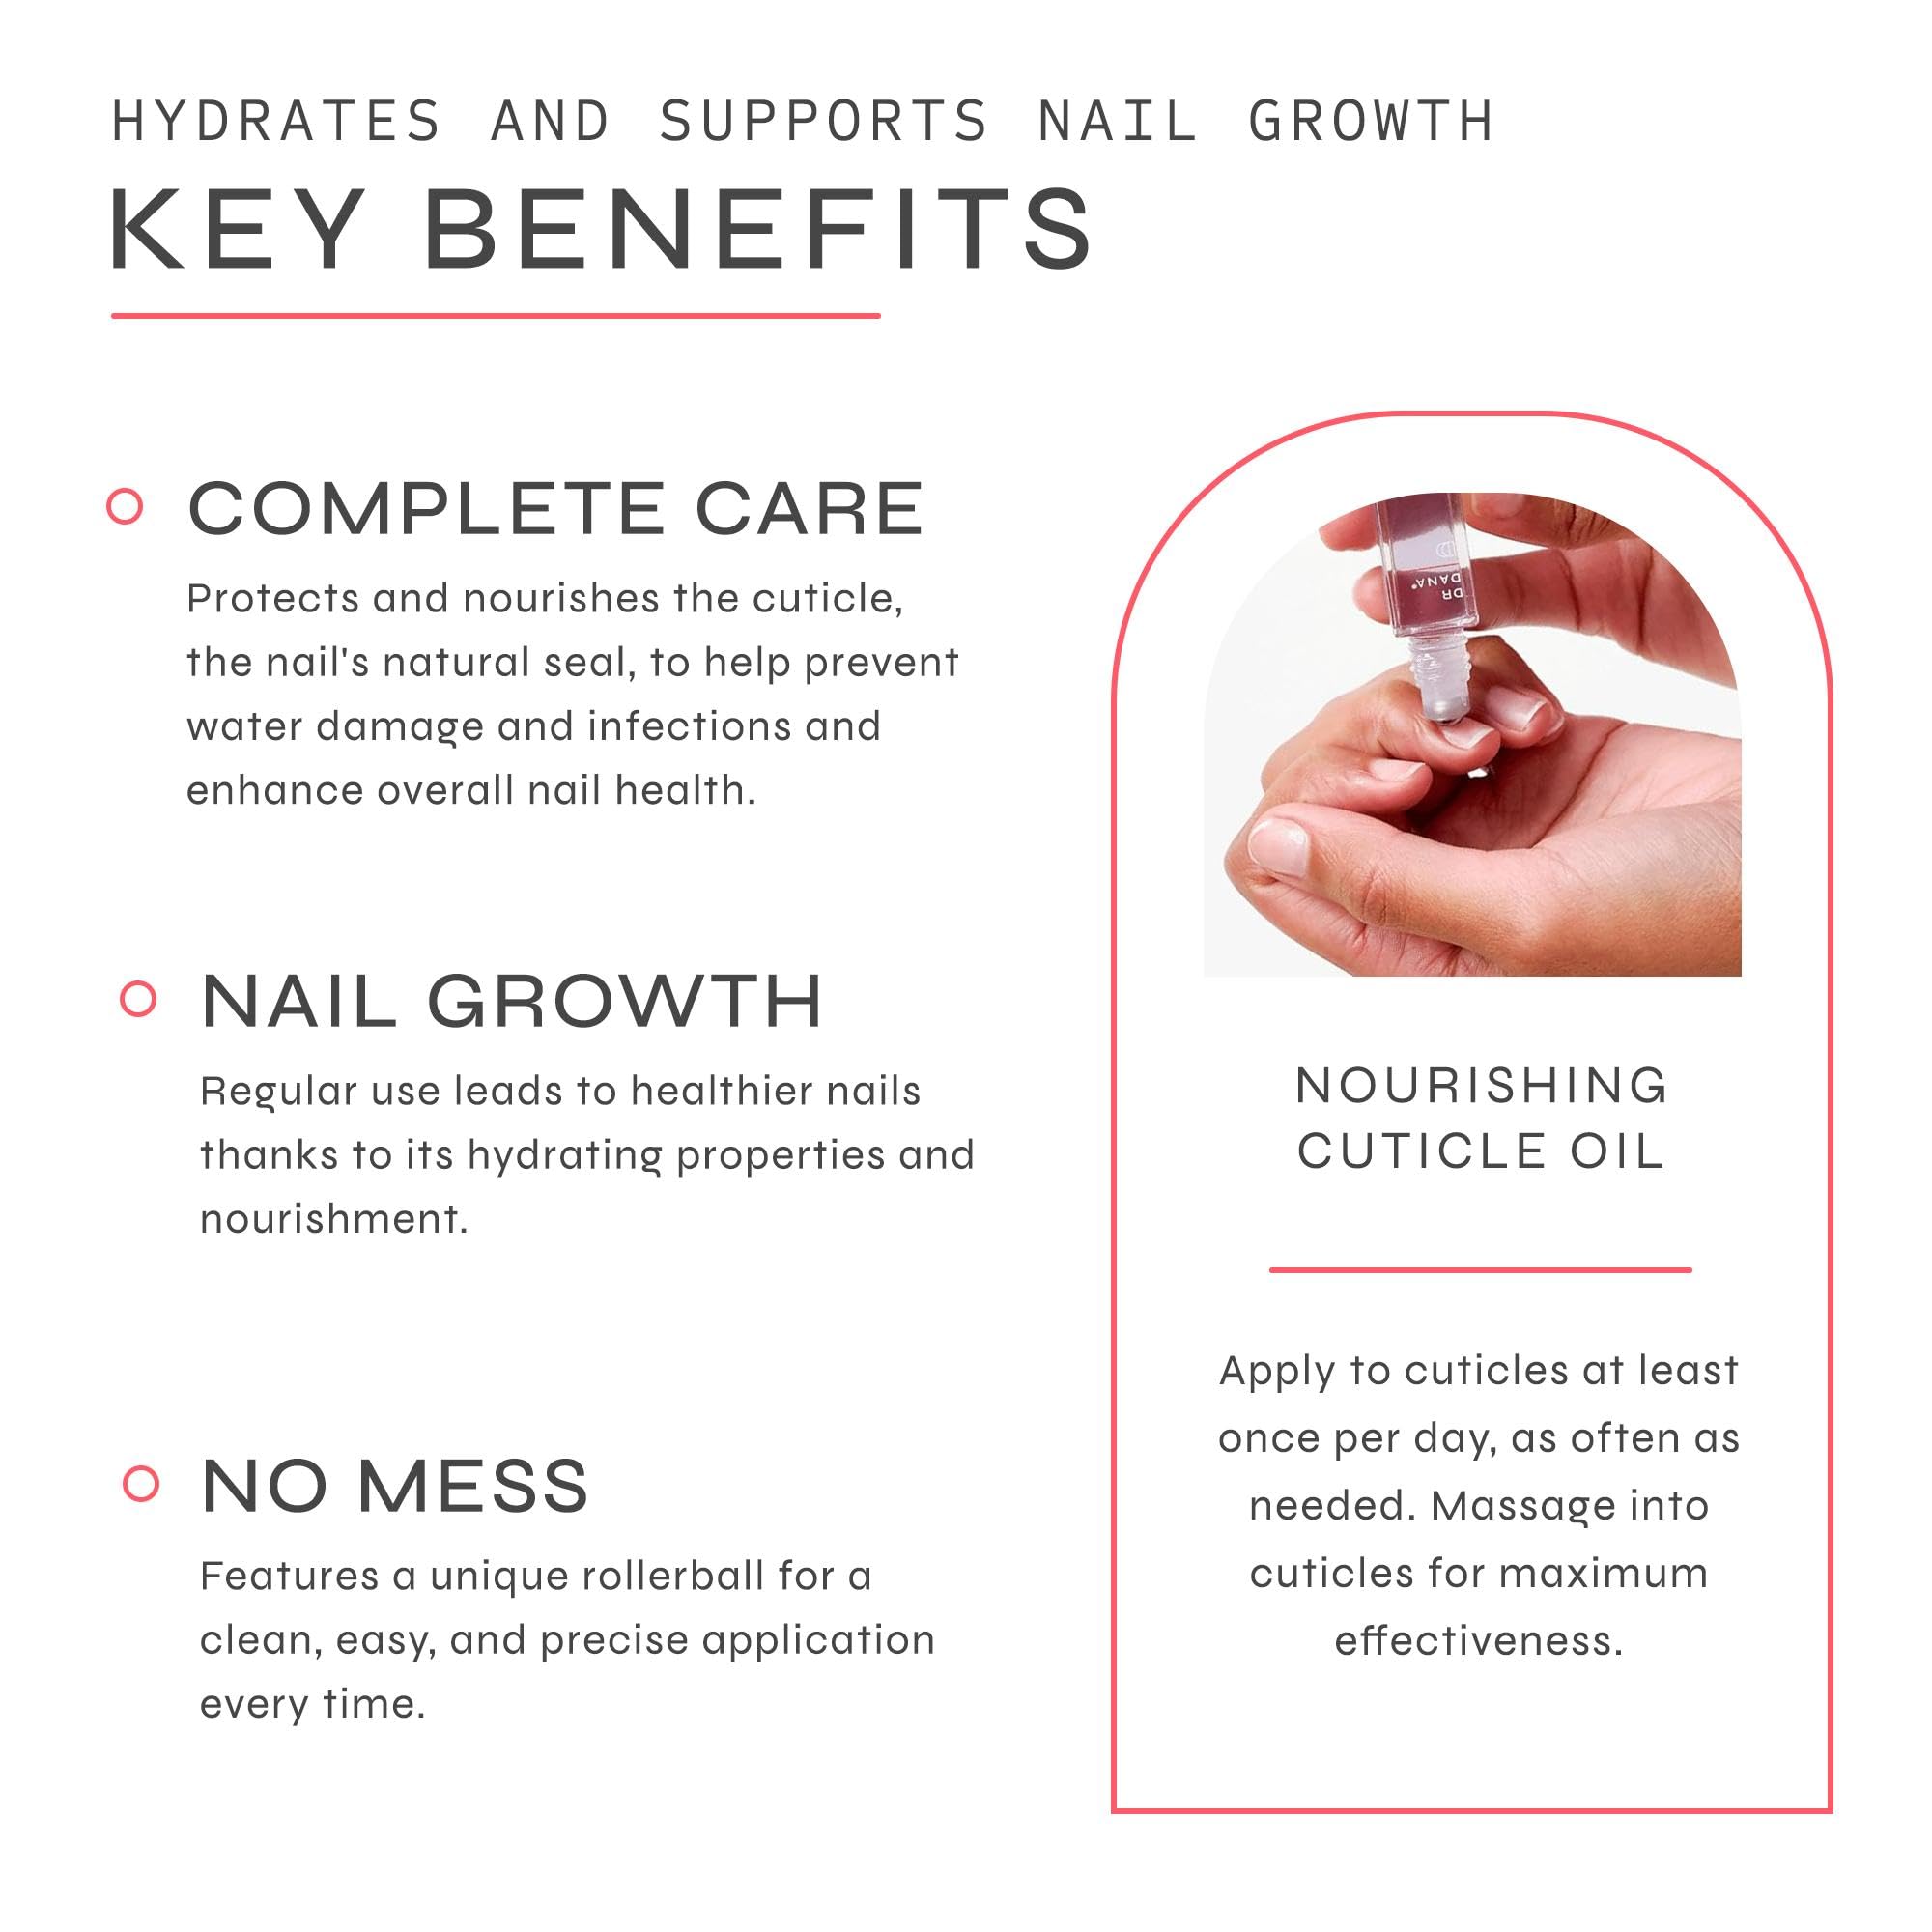
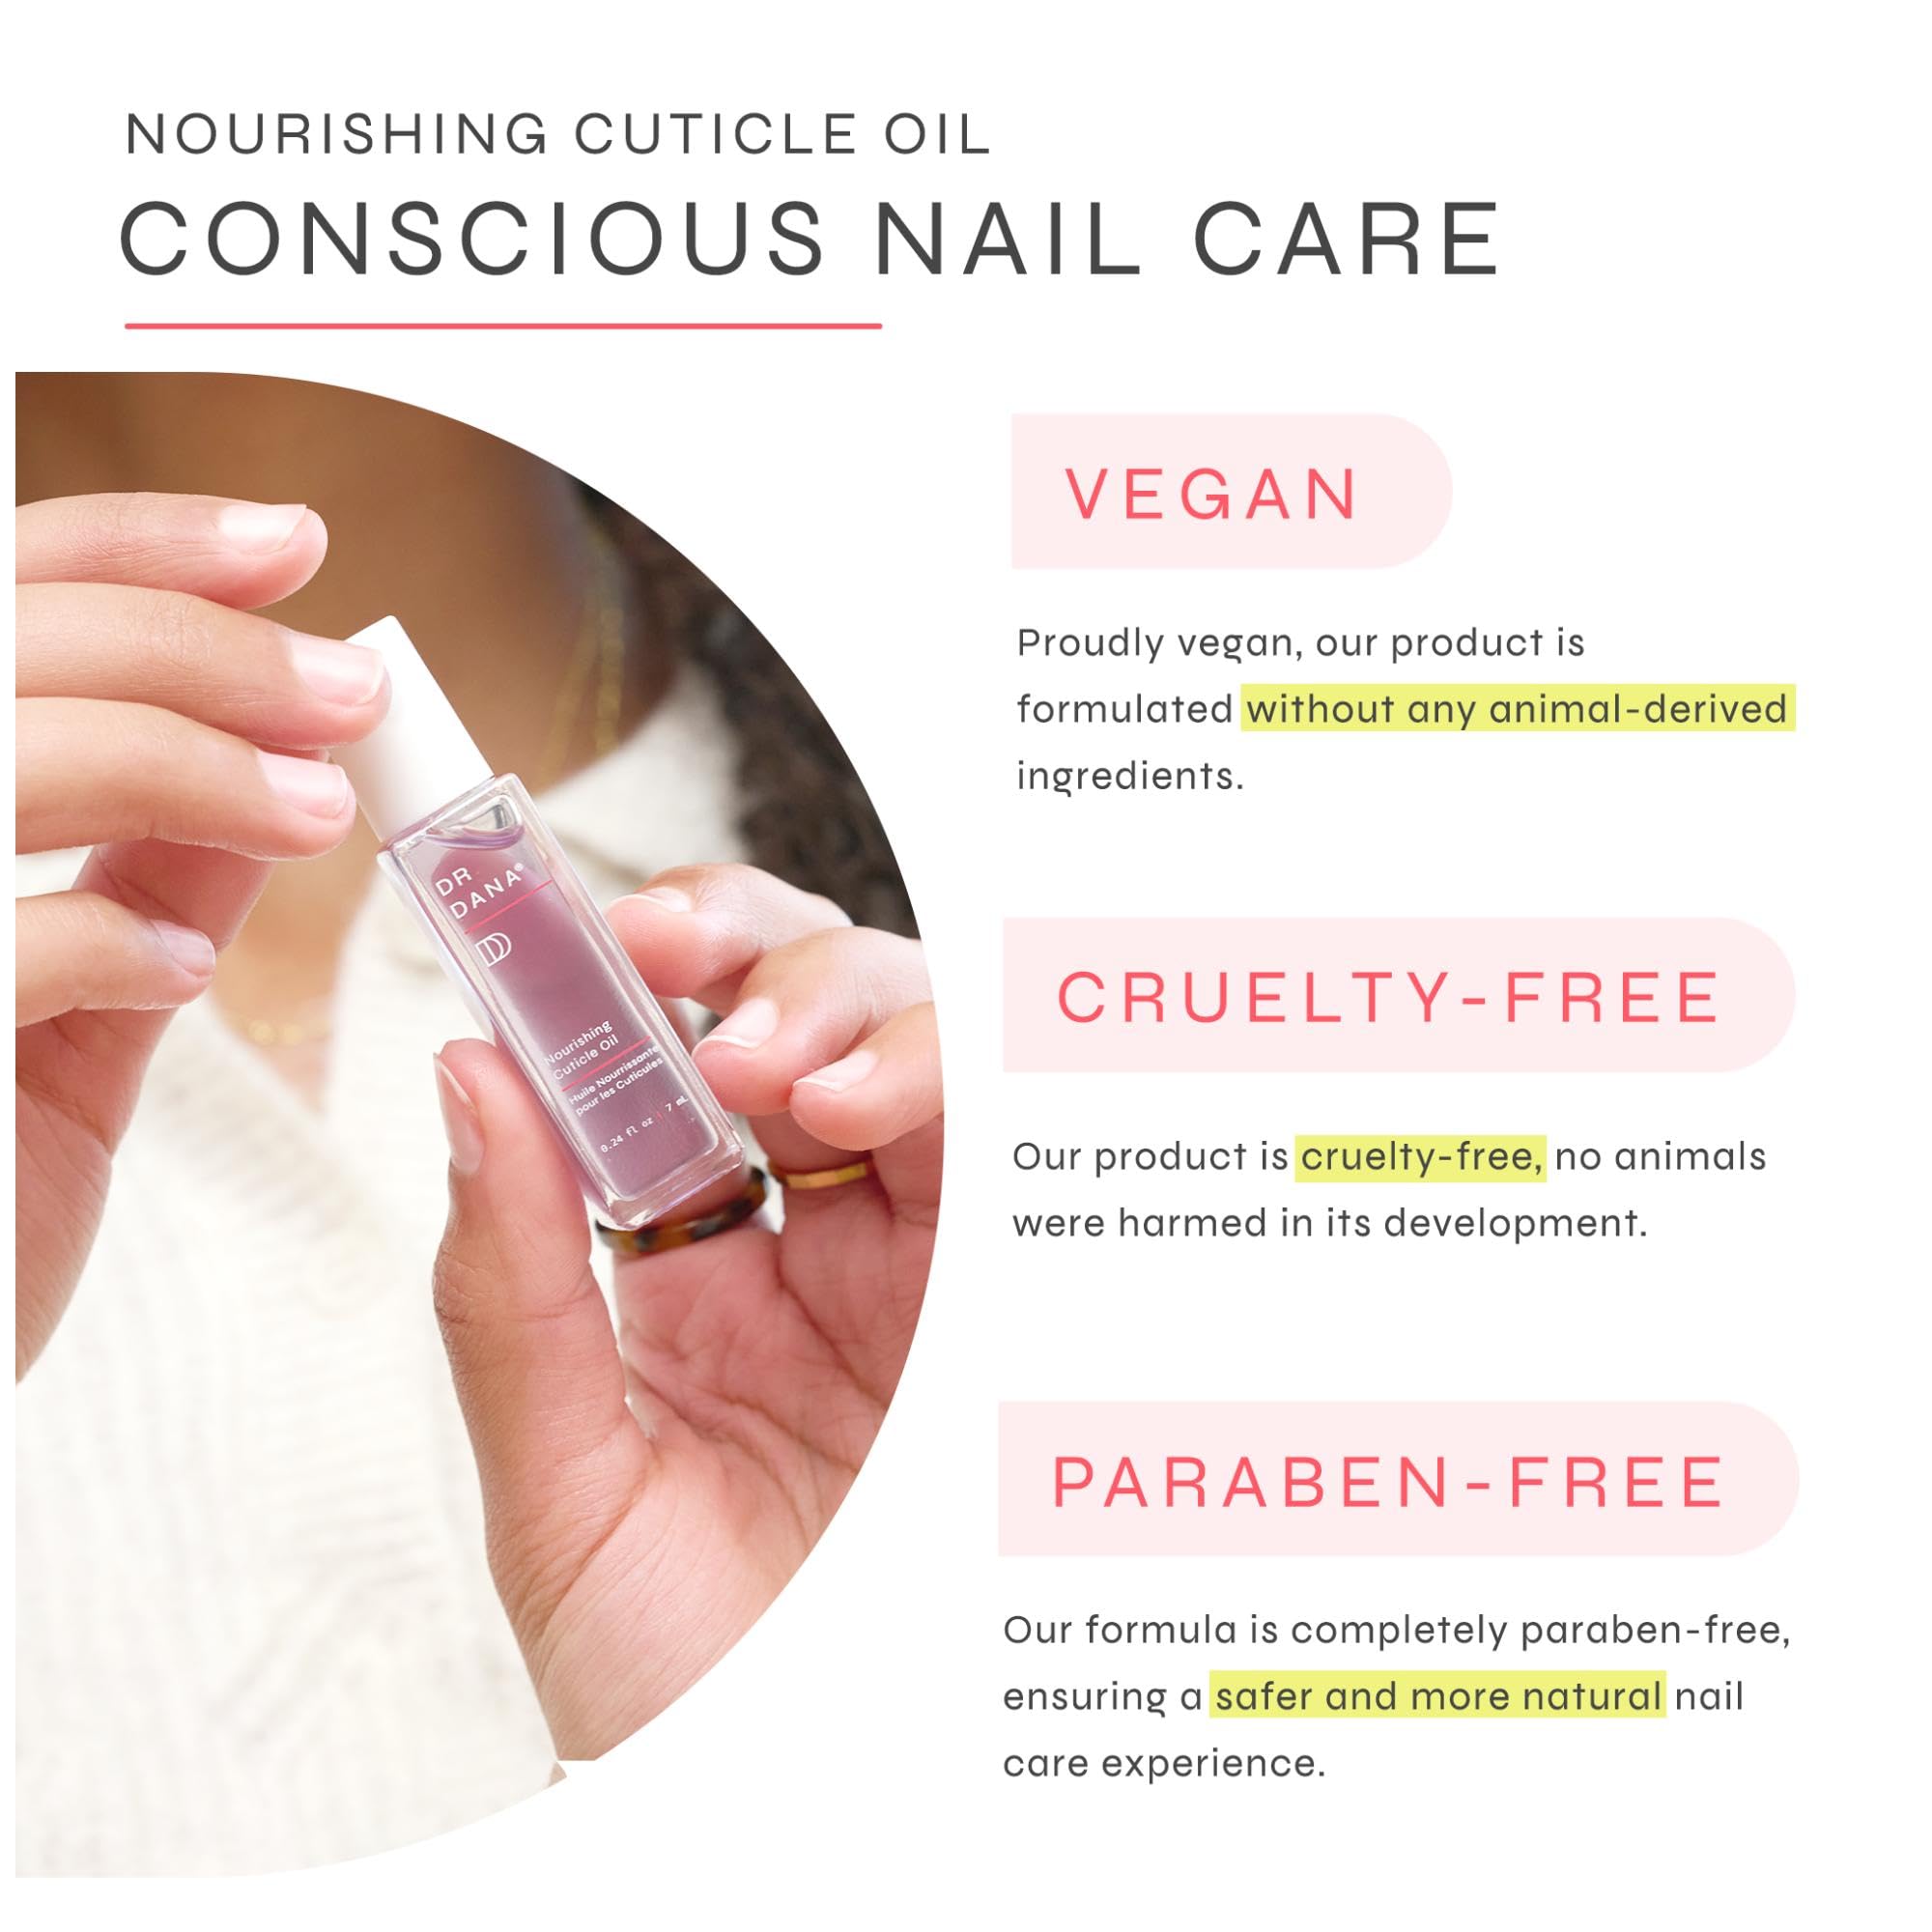
Hydration is key when it comes to strengthening and healing nails after a gel manicure. And since acetone can be drying, you should moisturize often. Massaging a cuticle oil or conditioning treatment into your nails and the skin around them several times a day will stimulate nail growth and promote stronger, healthier-looking nails.
How To Repair Damage Caused by Gel Polish
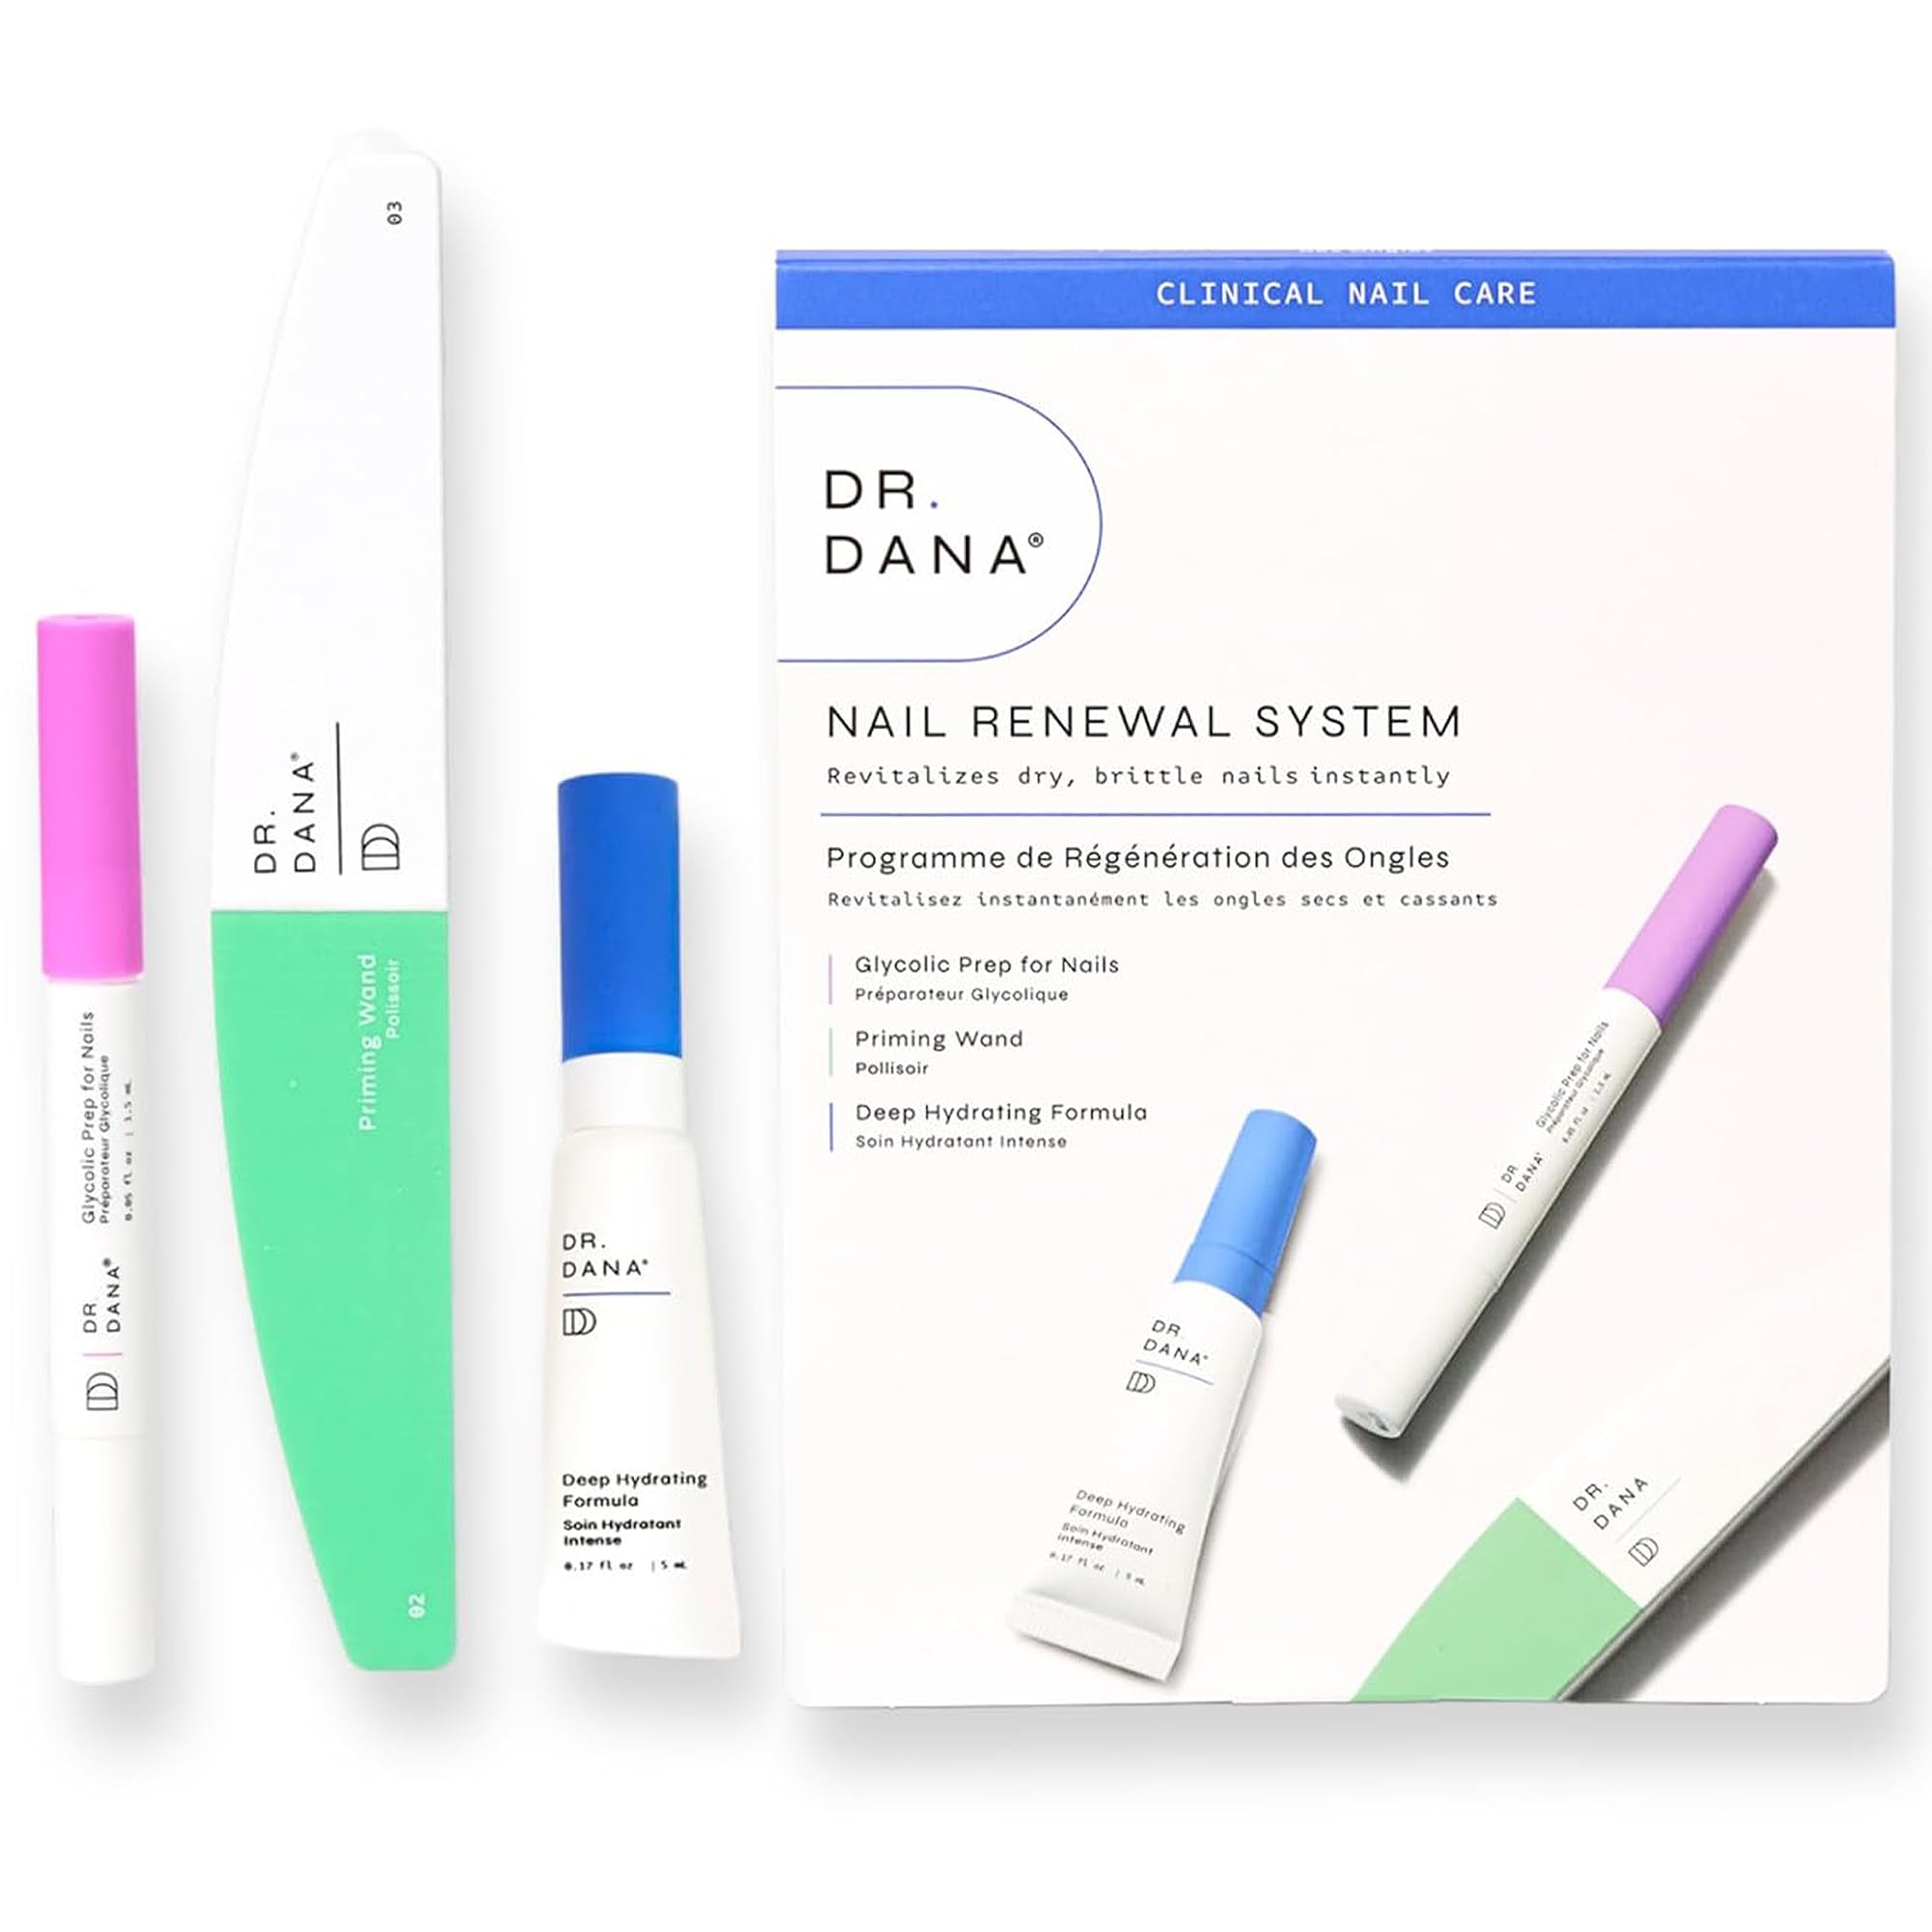
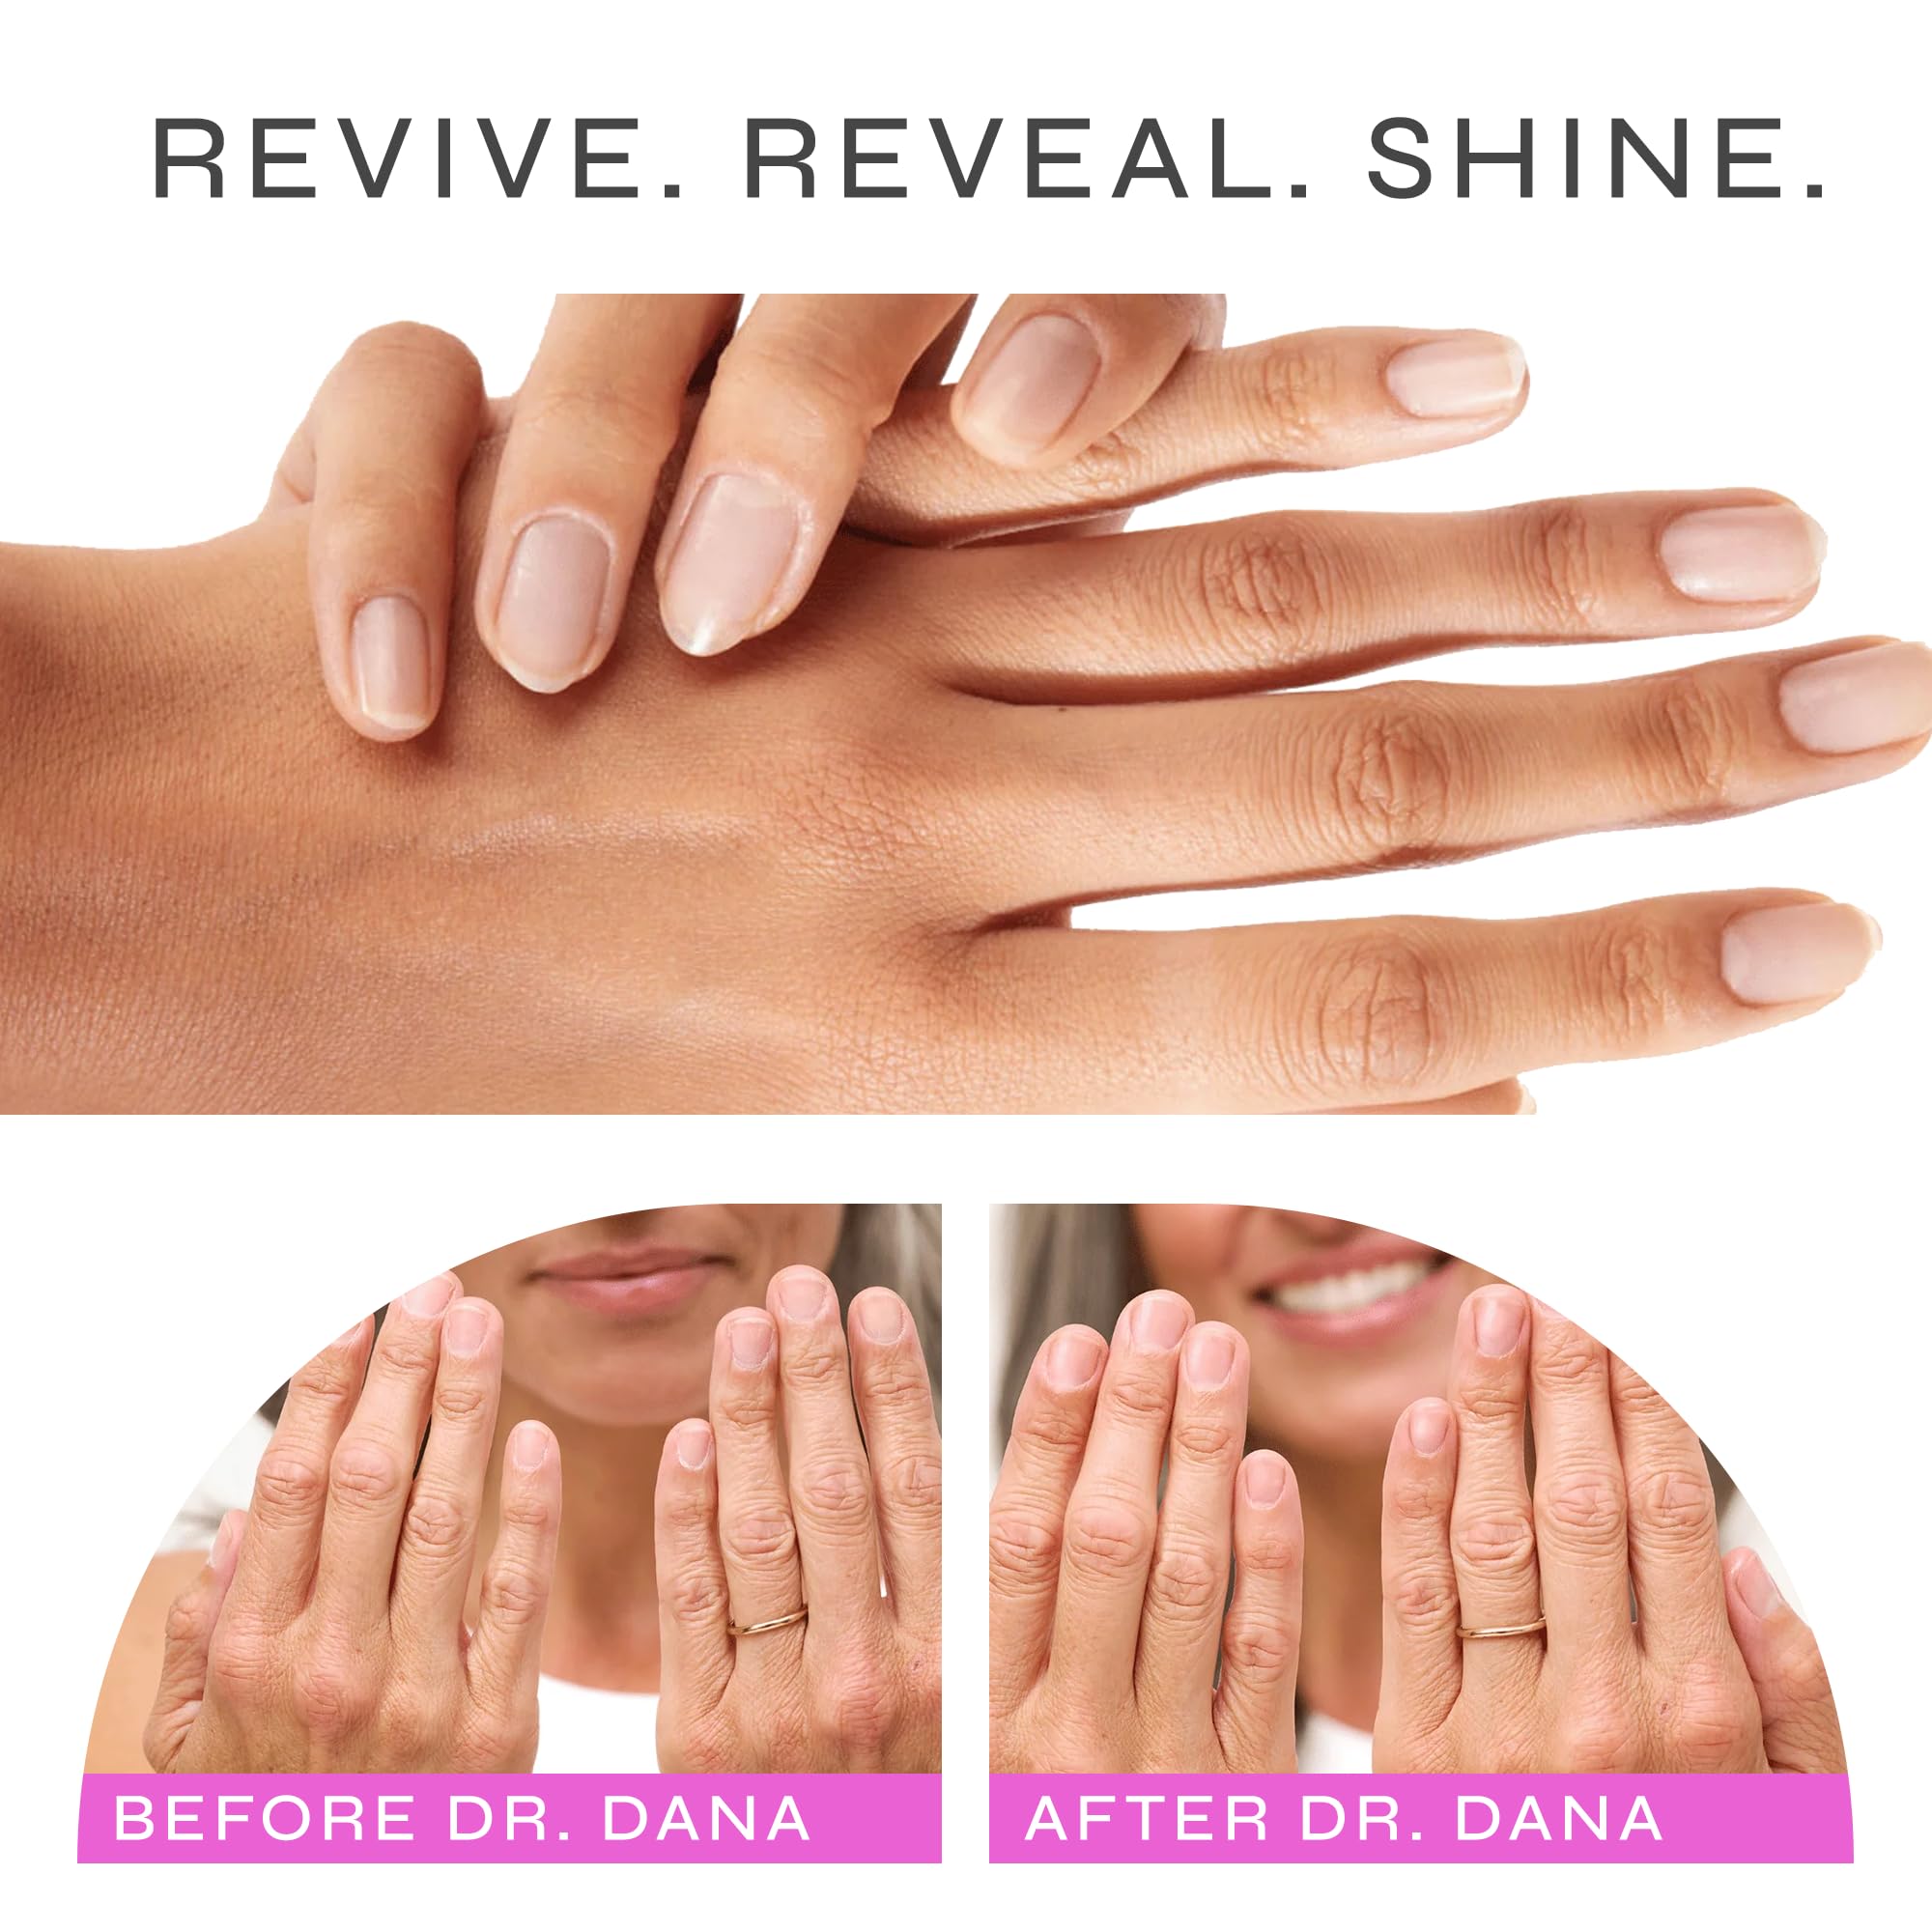
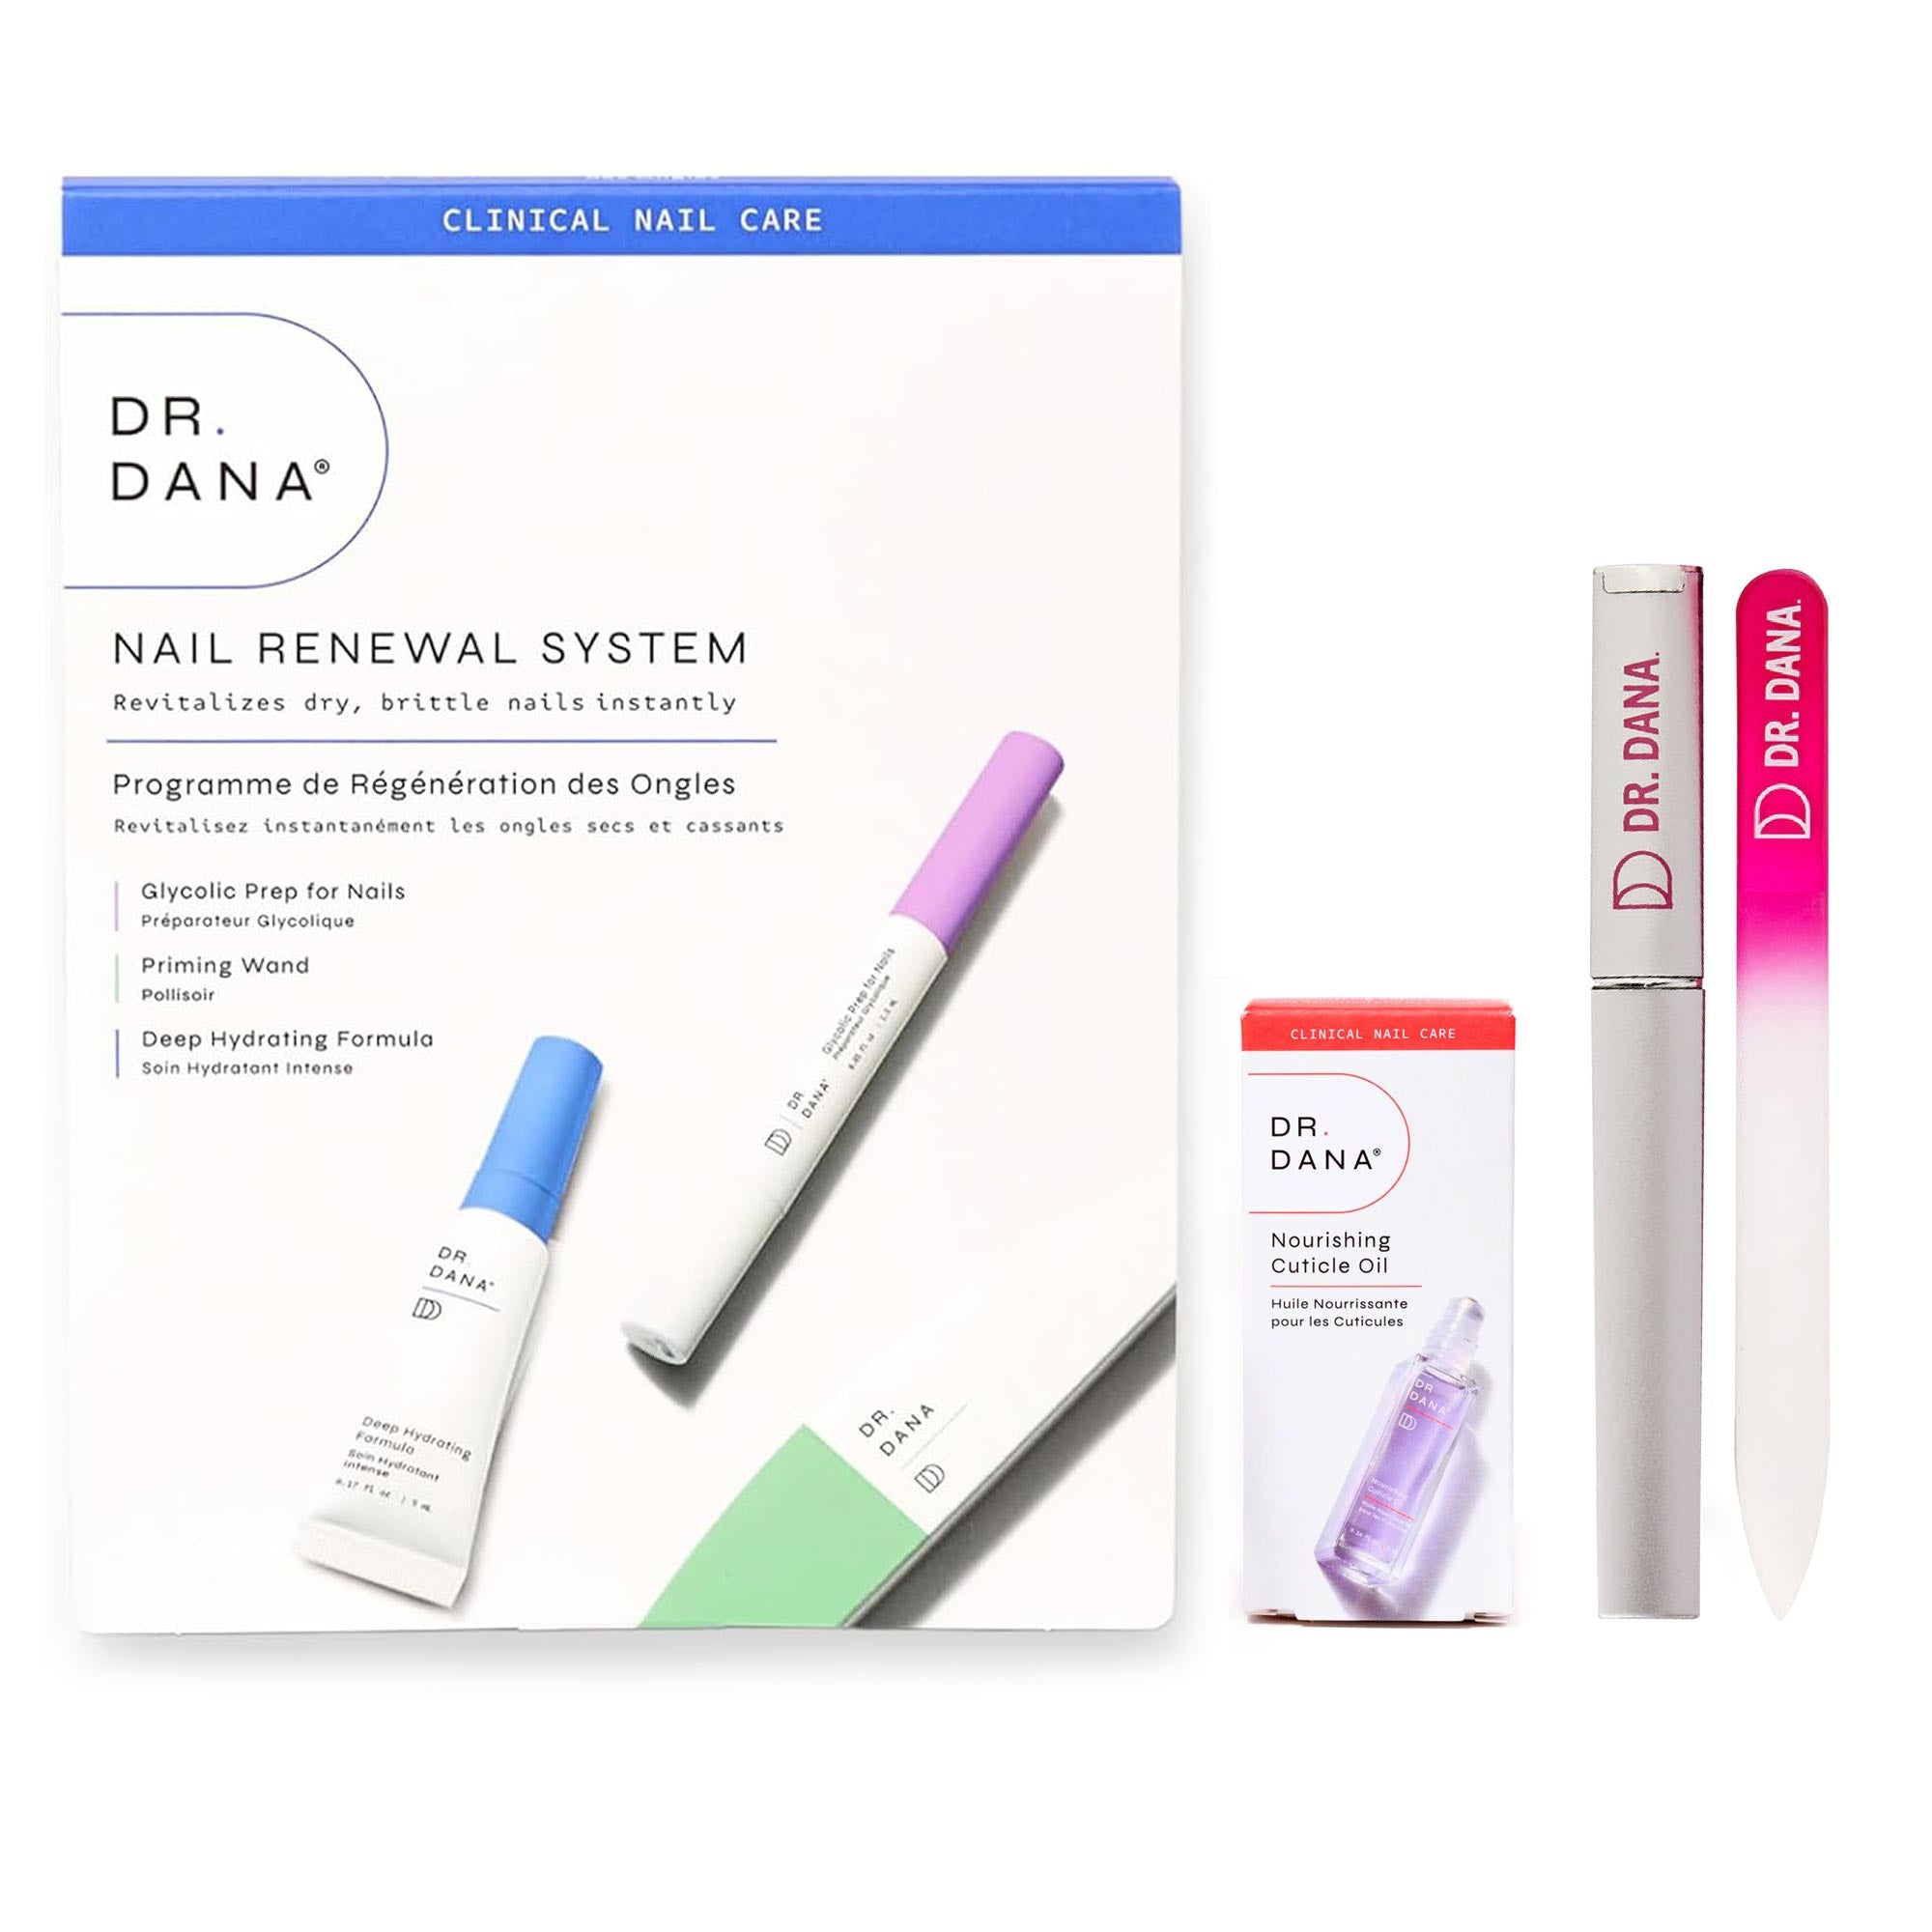
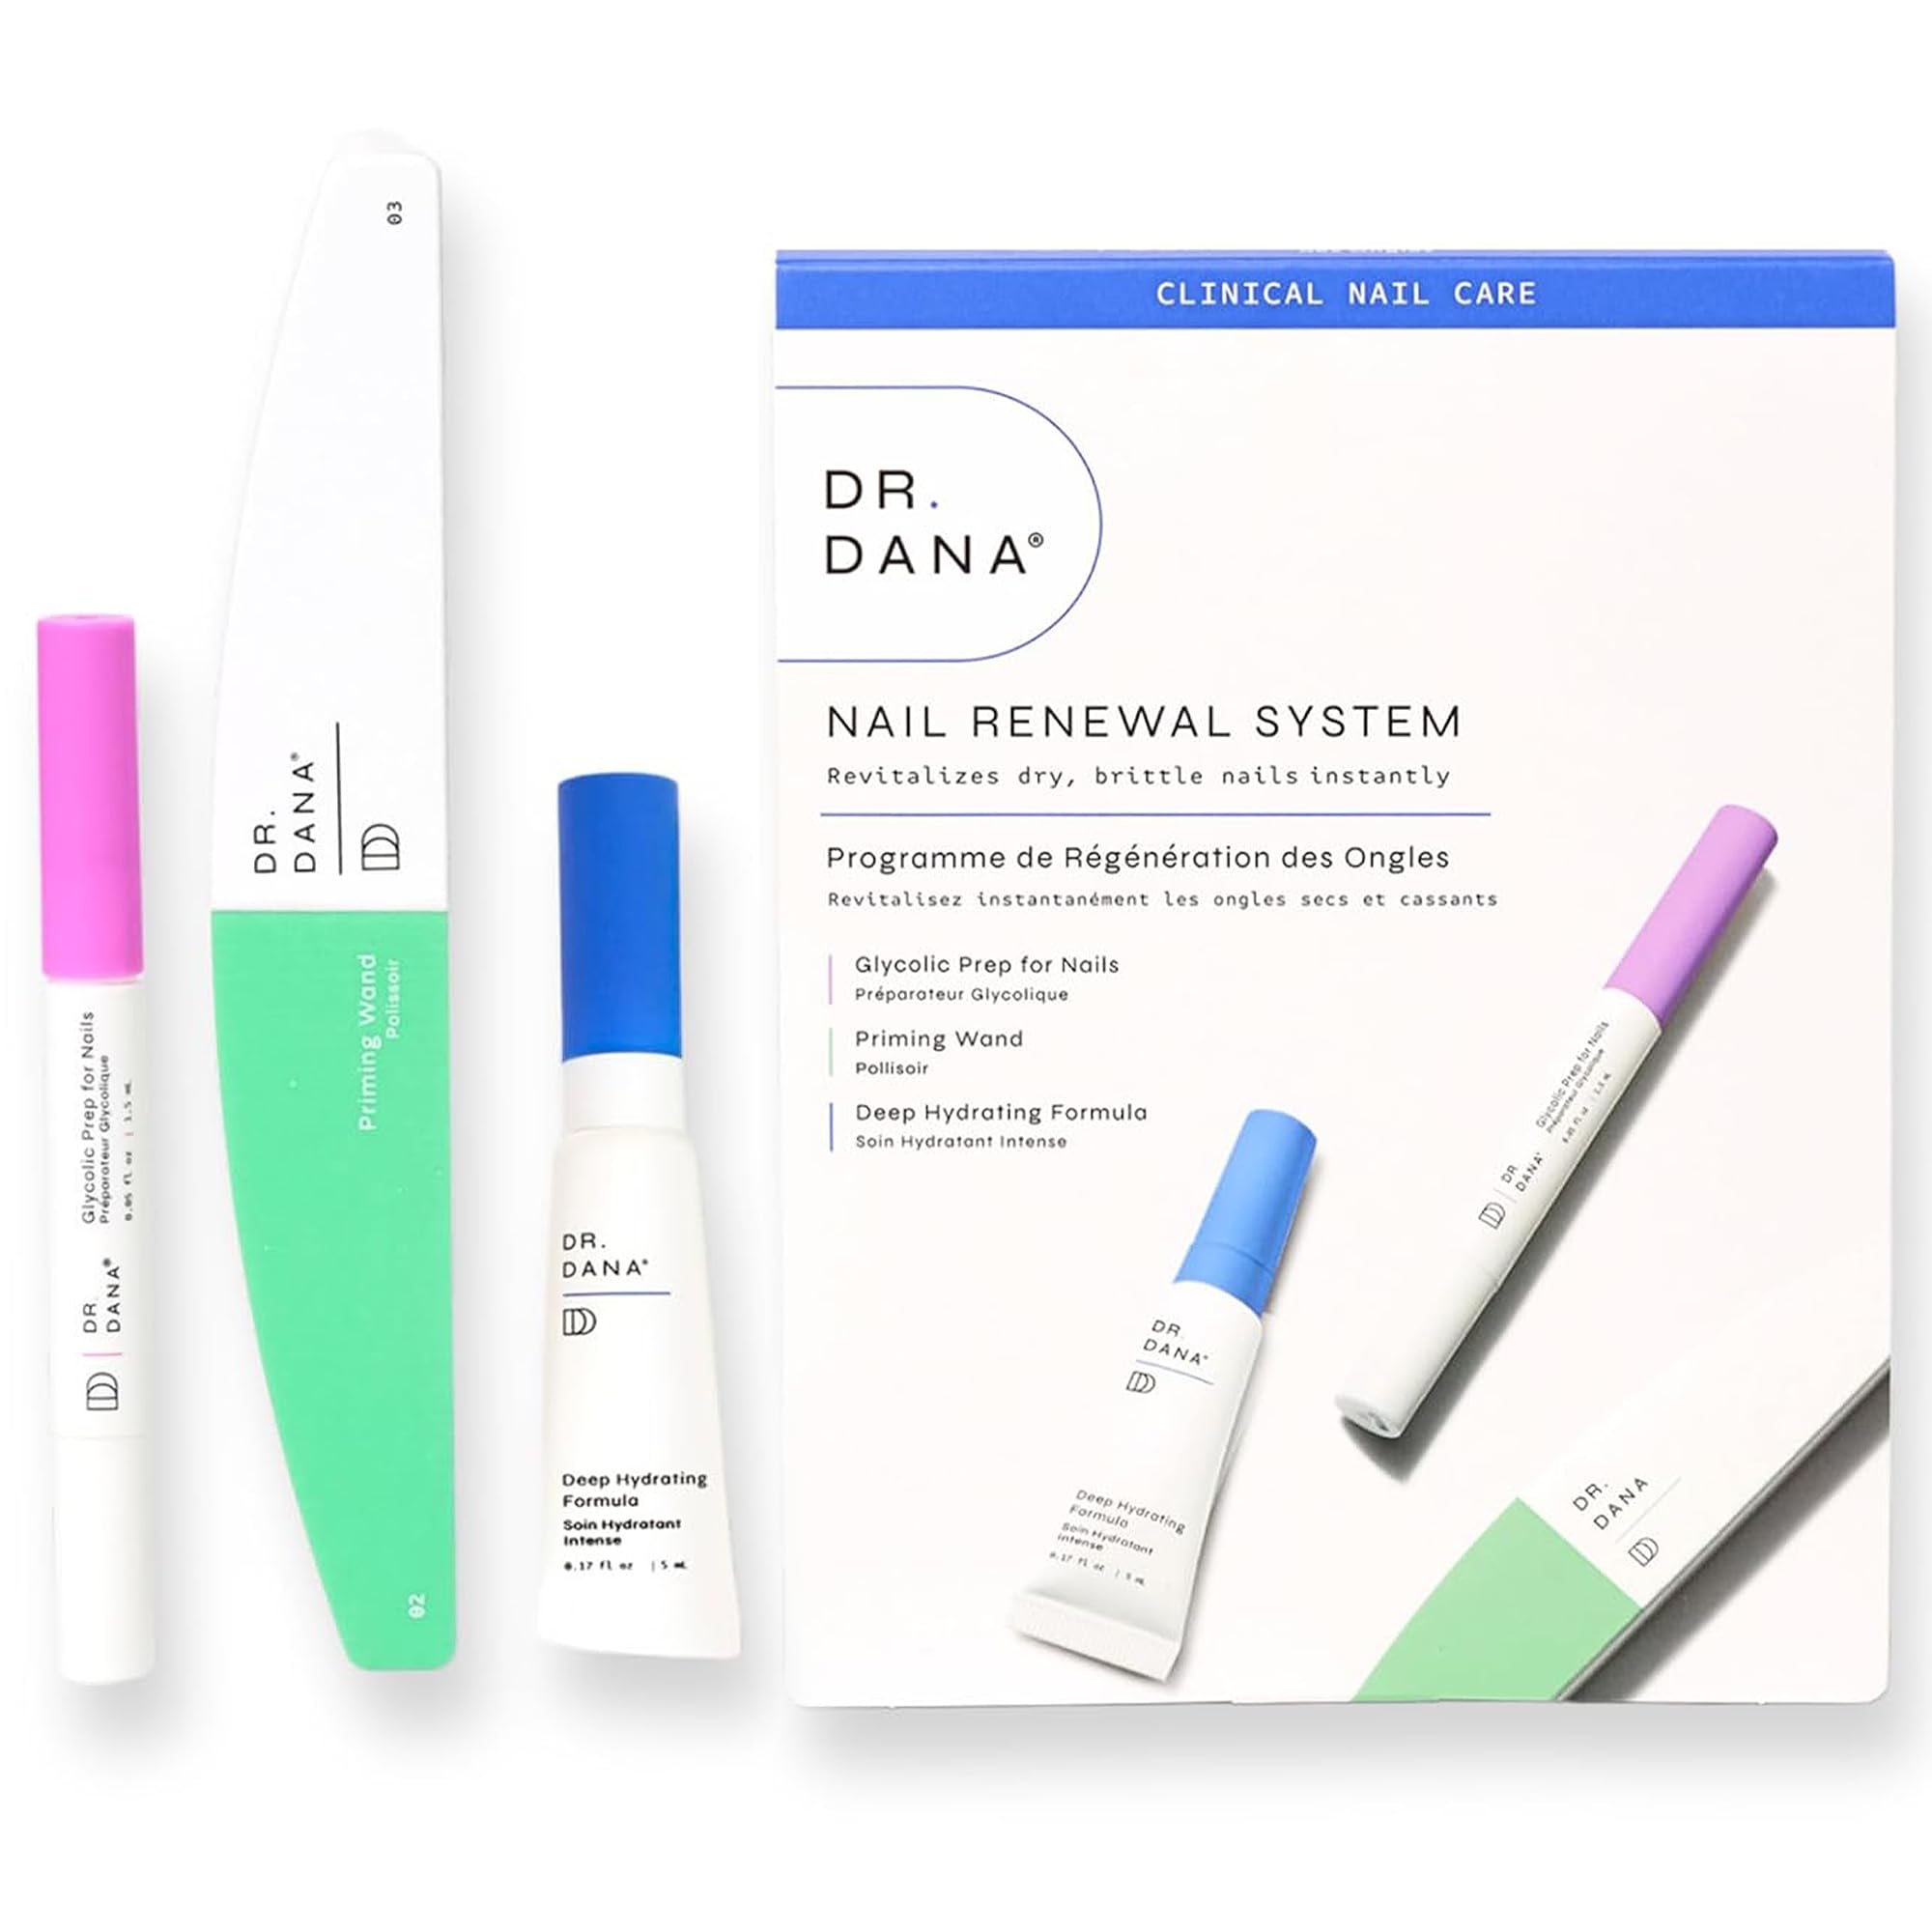
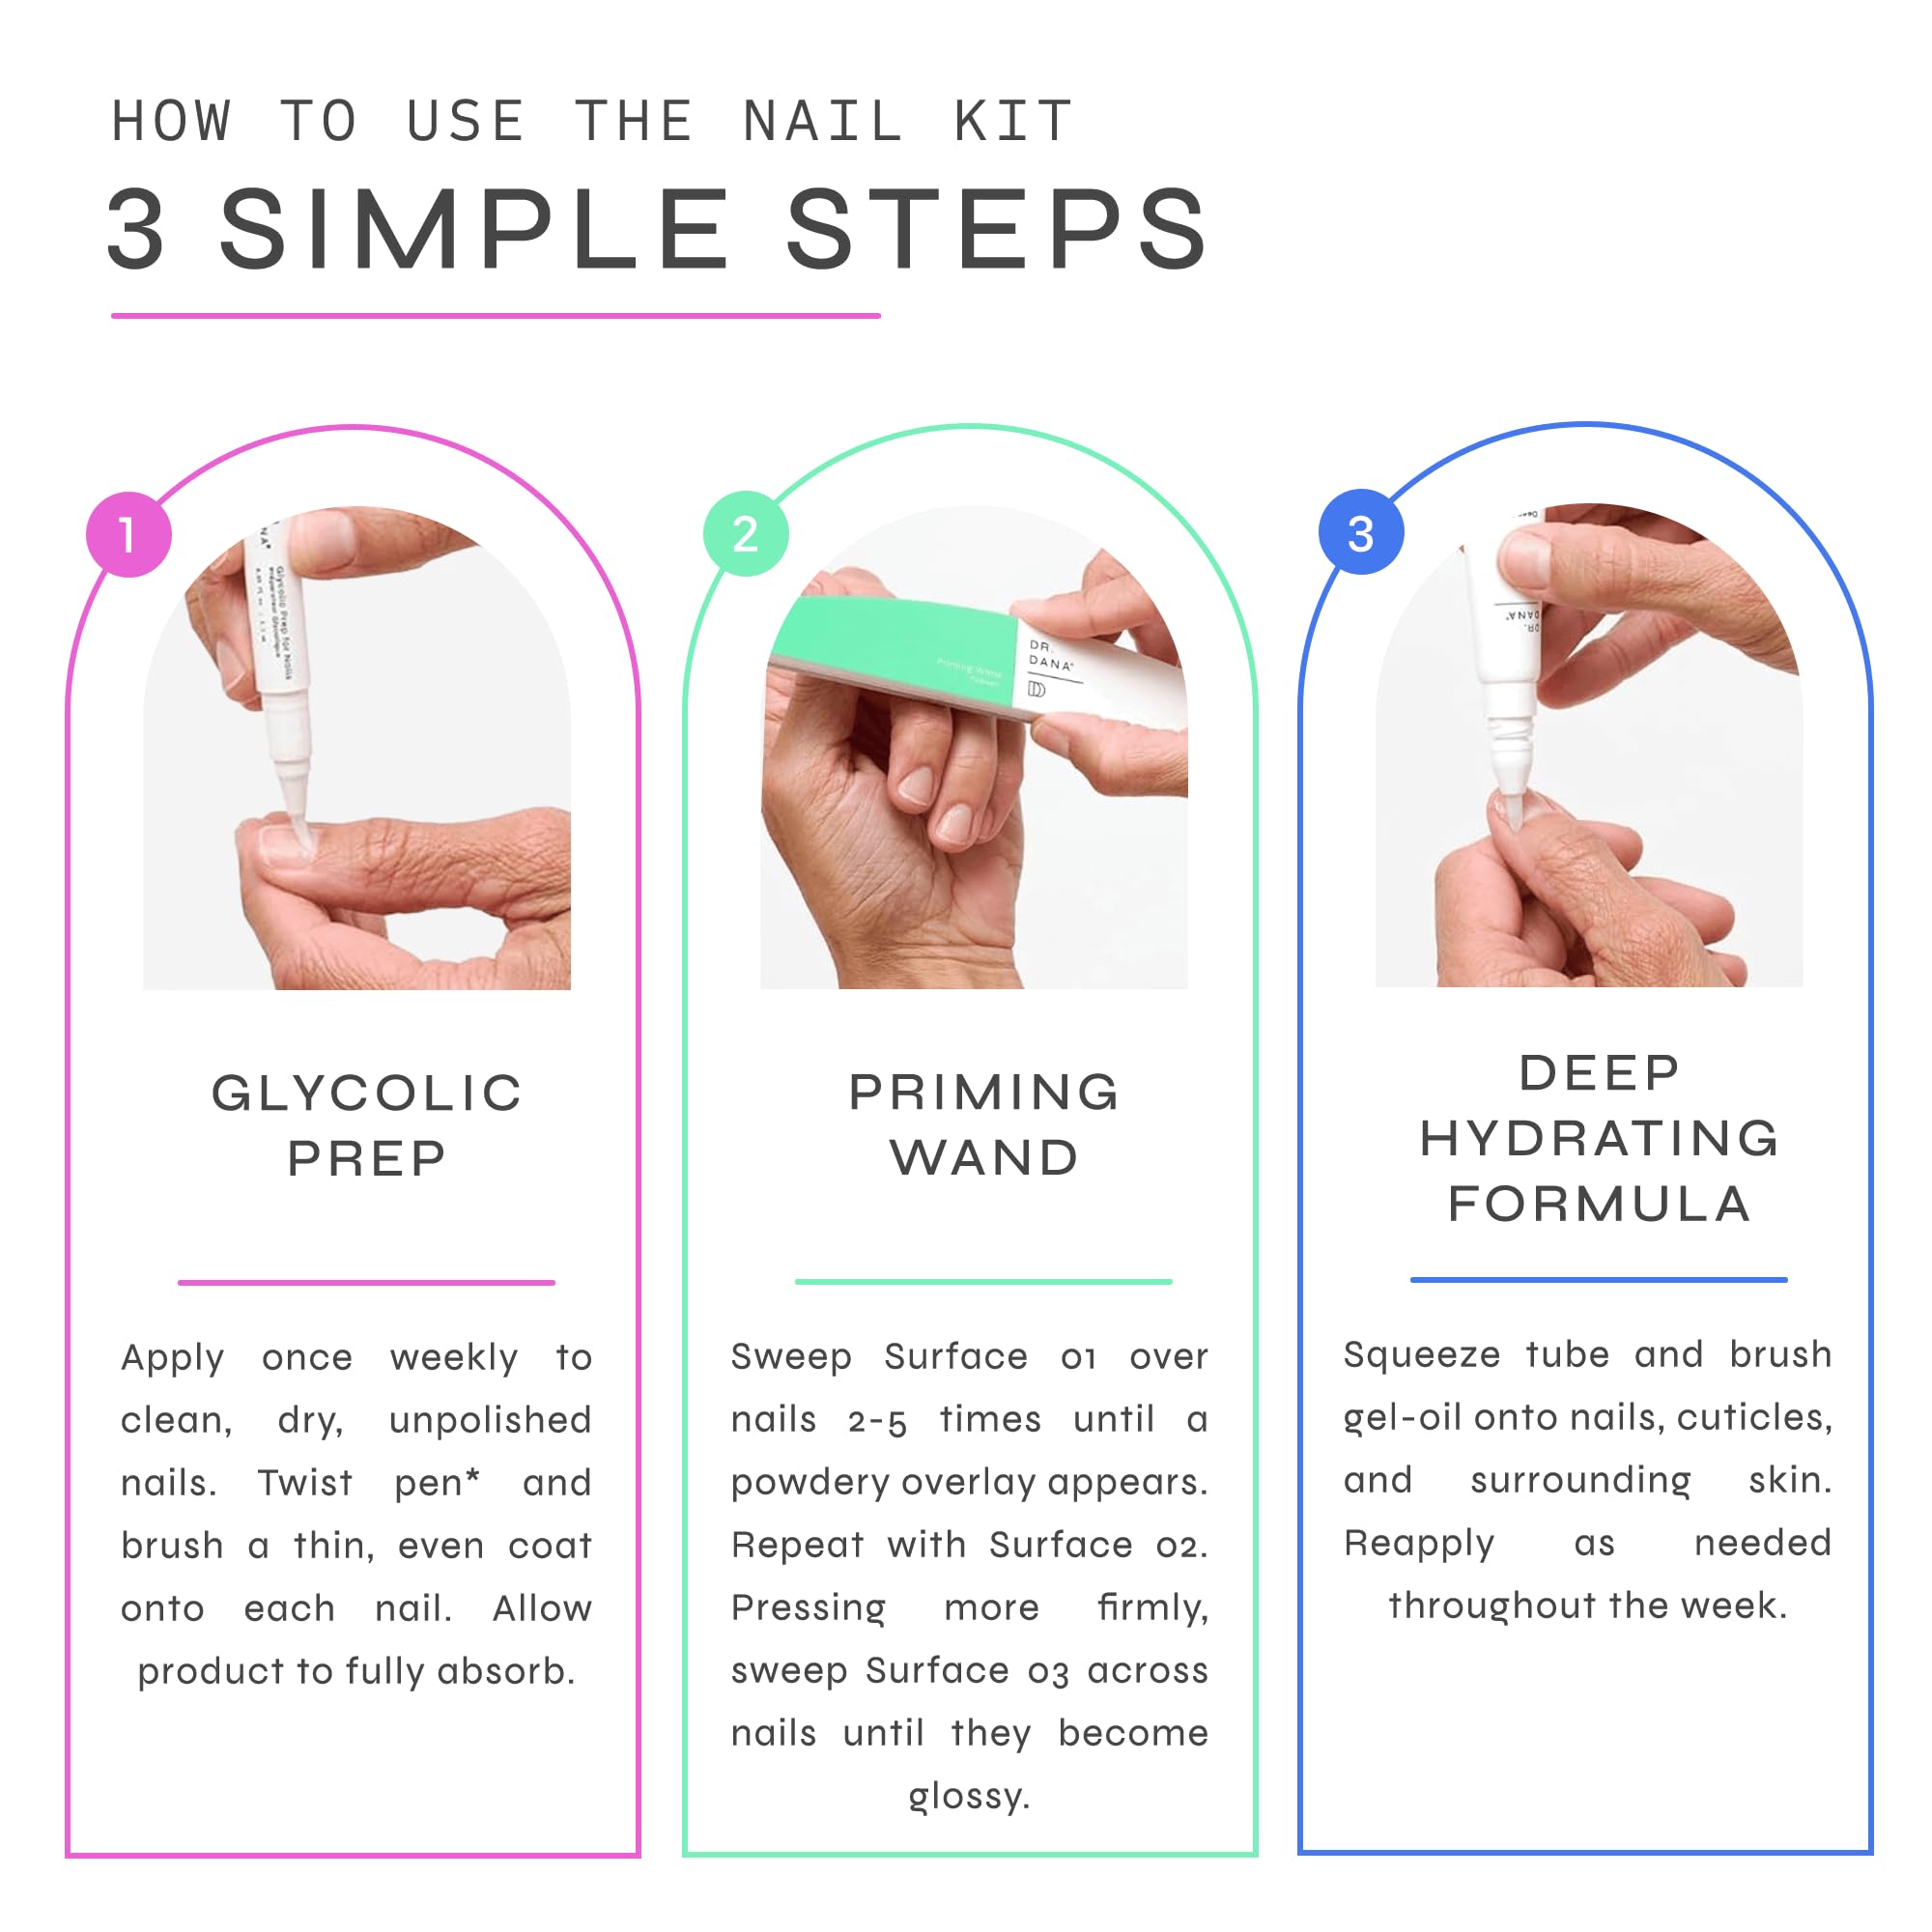
So, you’re experiencing signs of damage after getting a gel manicure? Repair the damage and get your nails back into tip-top shape with Dr. Dana Nail Renewal System for healthy, lustrous nails.
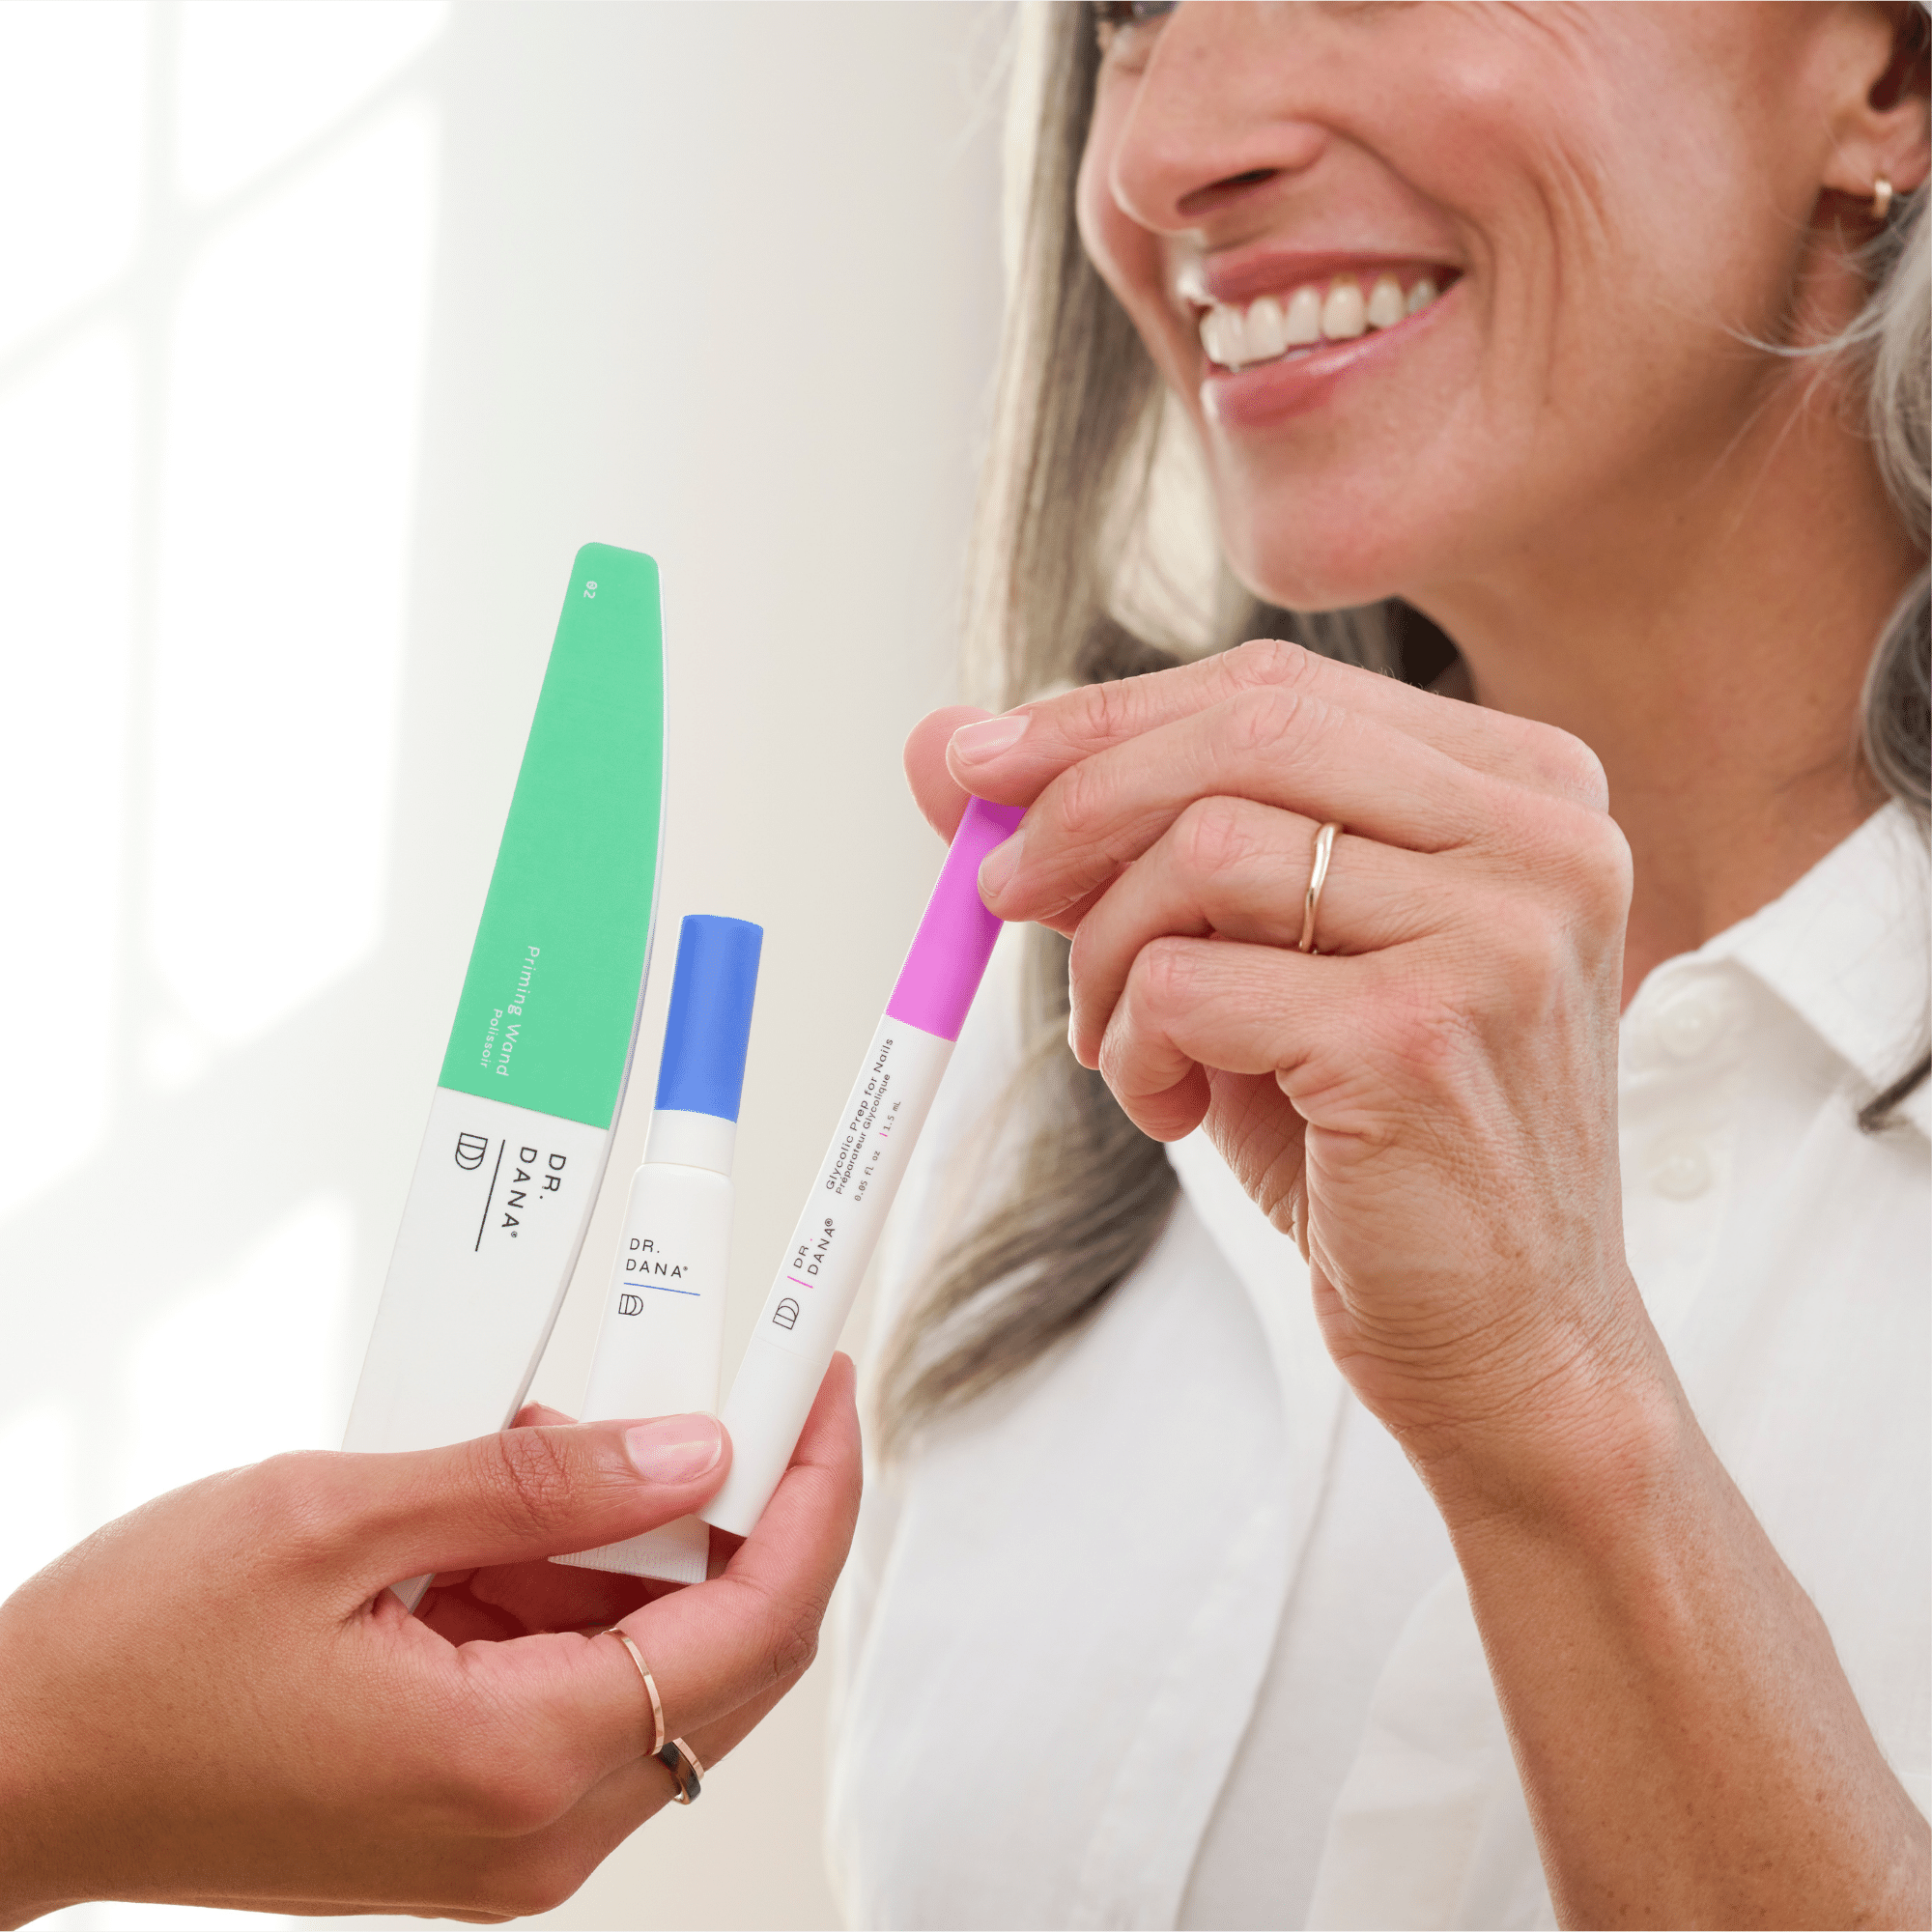
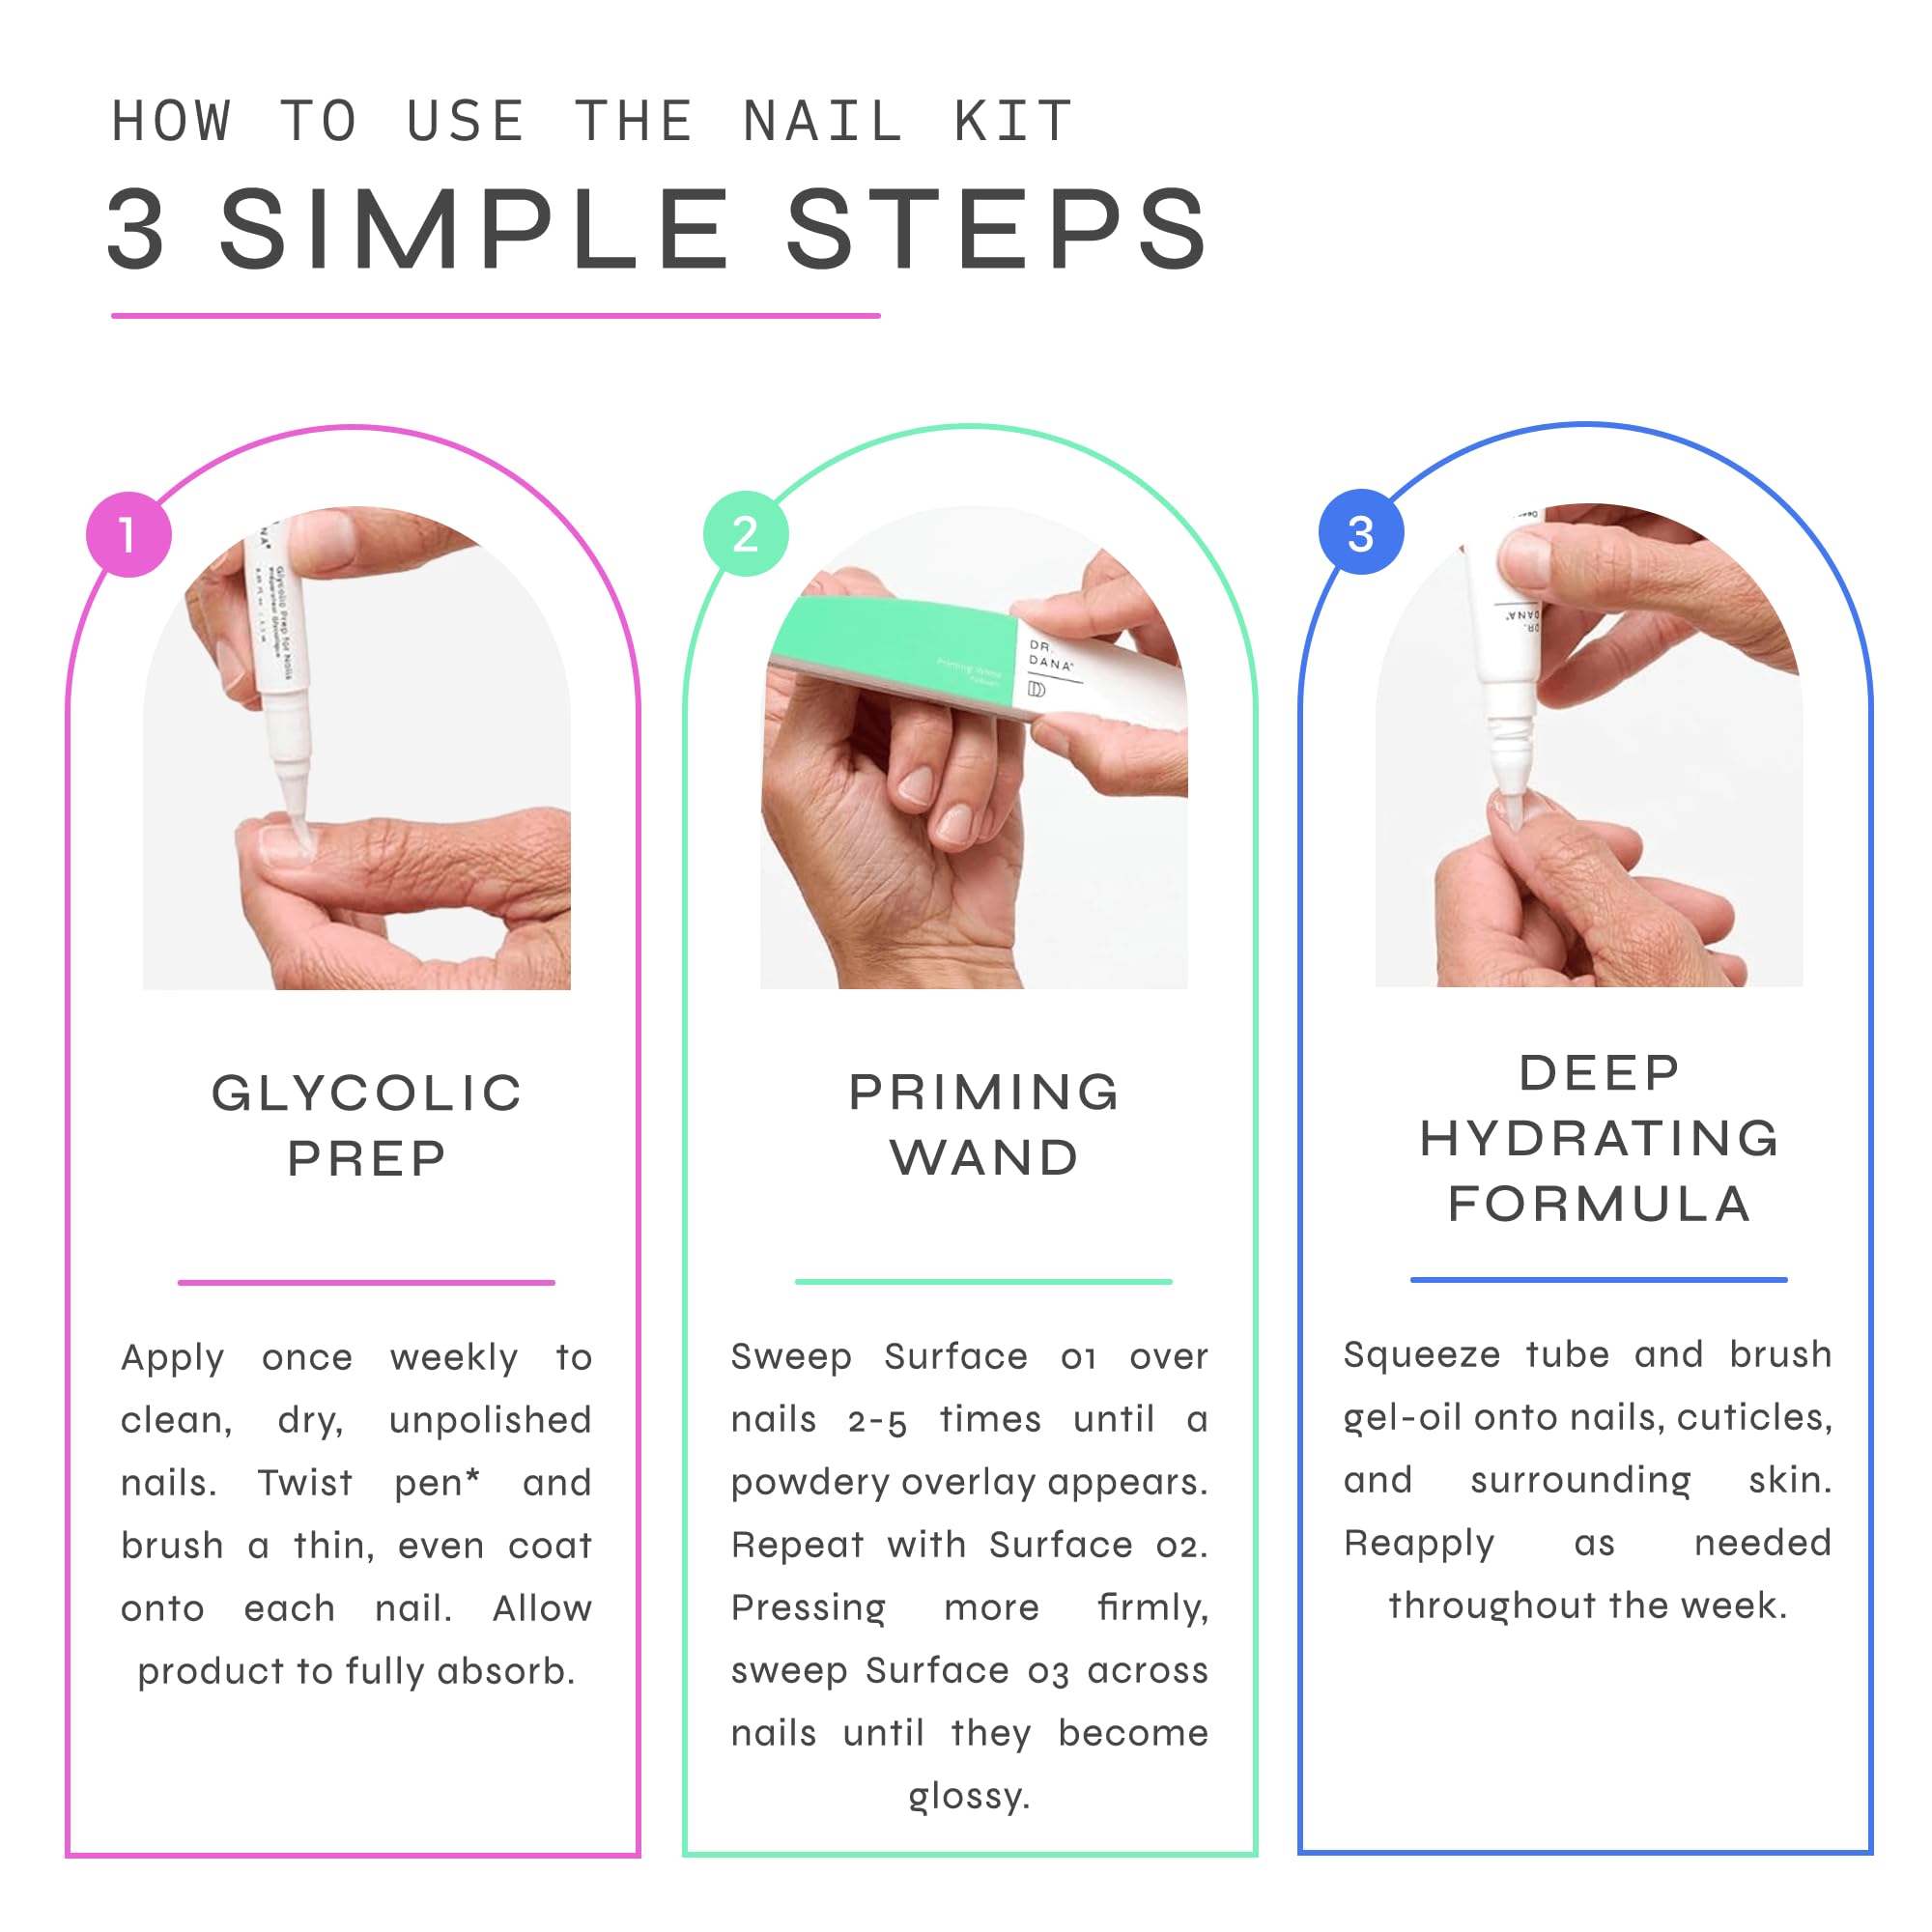
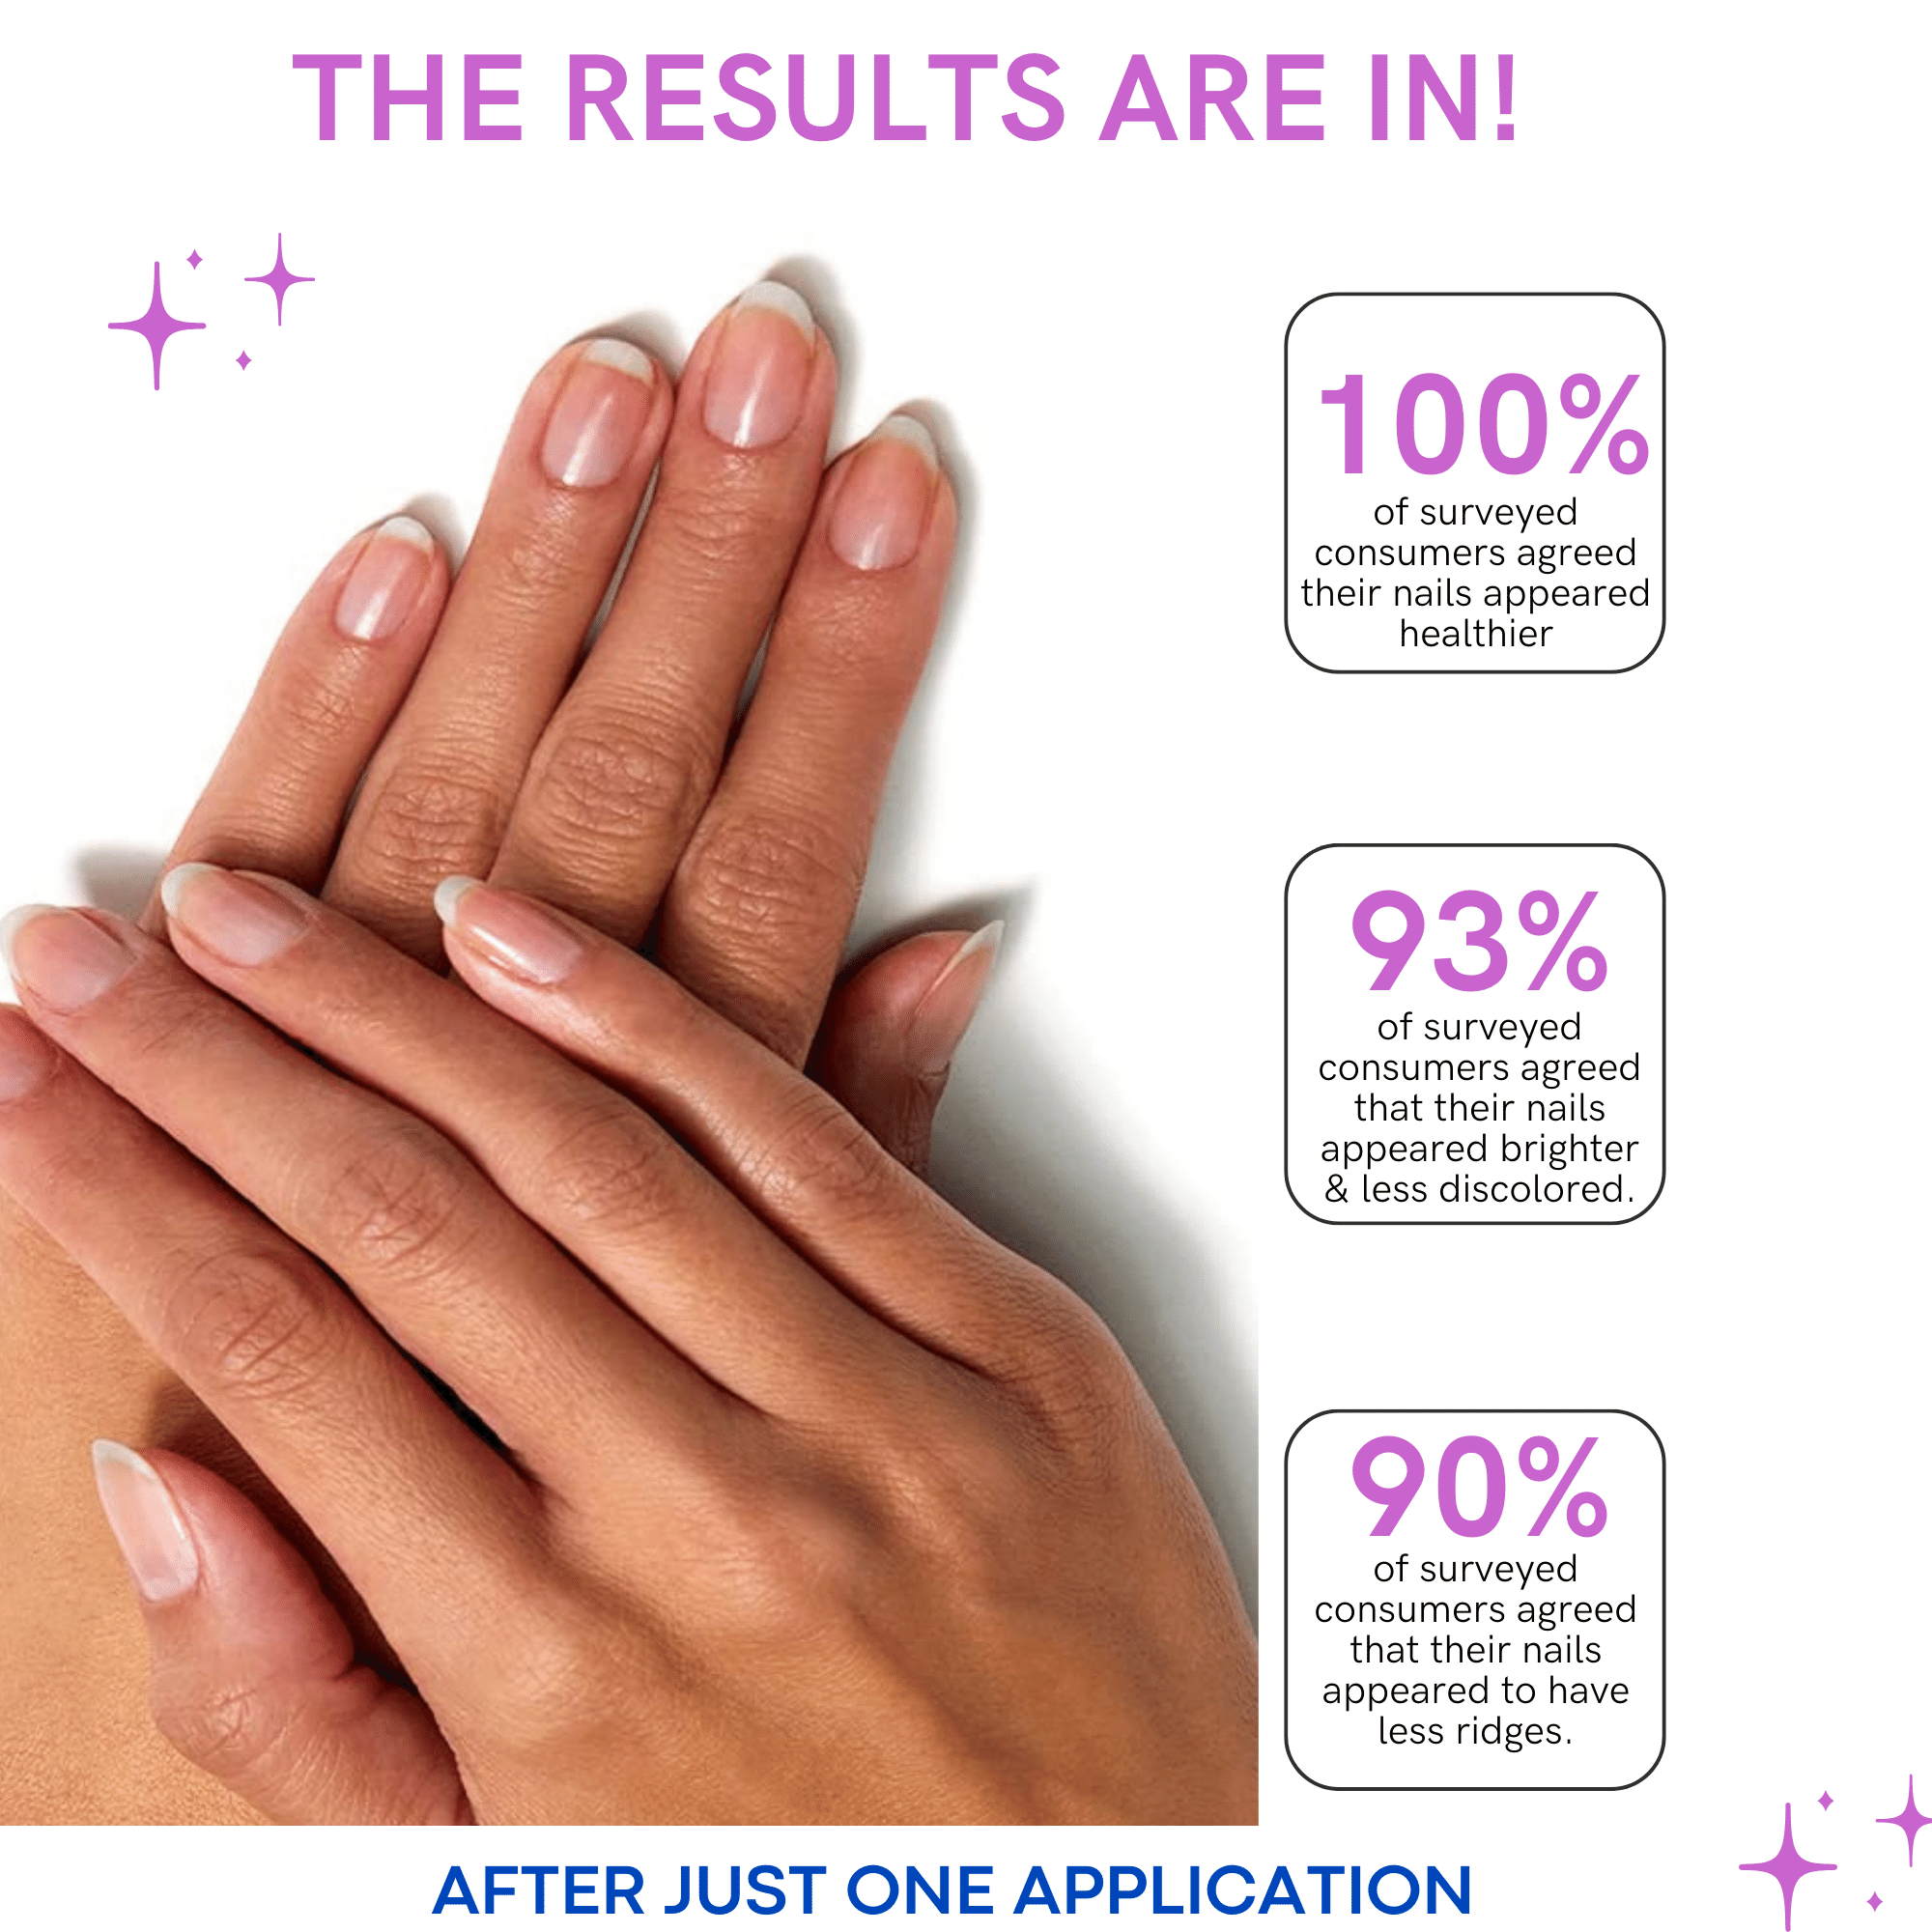
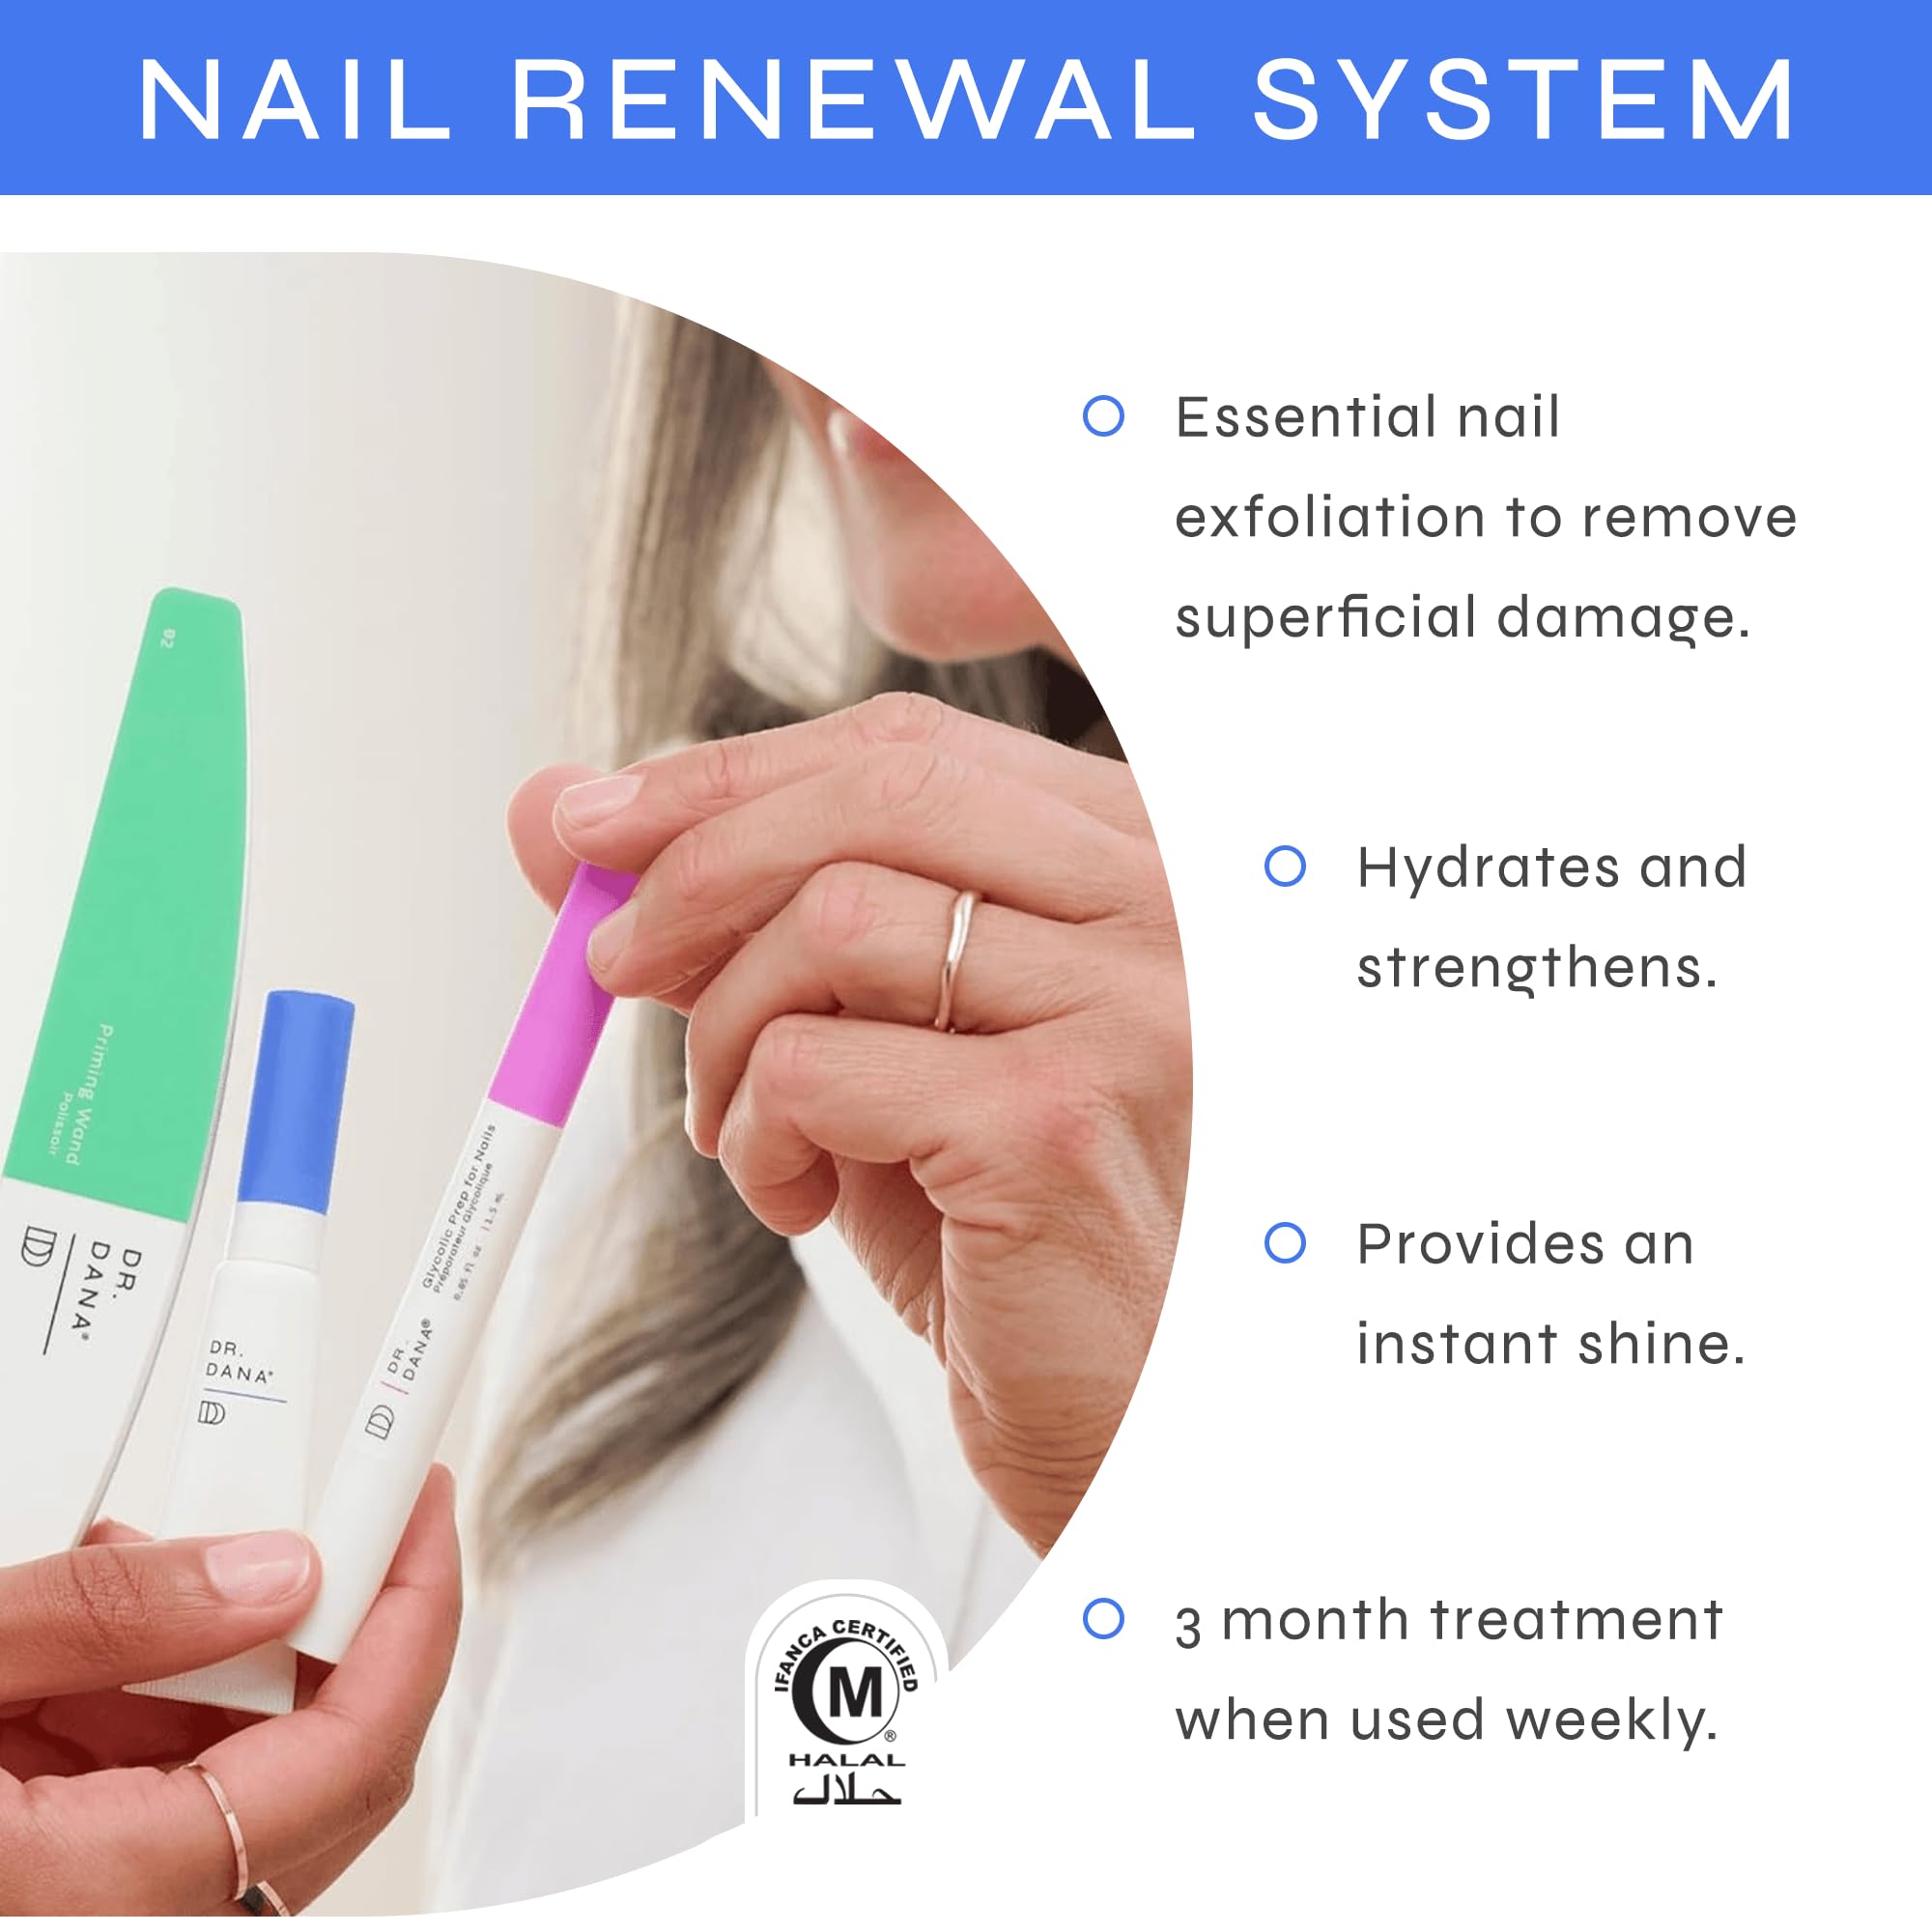
This 3- step nail care routine includes Glycolic Prep For Nails, a Priming Wand, and a Deep Hydrating Formula to exfoliate, strengthen, and hydrate nails after just one treatment.
Made to revitalize weak, dry, brittle, and peeling nails, this nail renewal system was developed by board-certified dermatologist Dr. Dana Stern to improve the health of nails with instant and long-lasting results.


