How Can I Do a Manicure at Home? Your Complete Step-by-Step Guide
If you’ve ever asked yourself, “how can I do a manicure at home?” you’re far from alone. Between rising salon costs, packed schedules, and a growing interest in clean, intentional beauty routines, at-home manicures have become a staple for millions of people. The good news? With the right tools and a simple set of manicuring steps, you can achieve smooth, healthy, salon-worthy nails right in your own home.
This guide walks you through everything: what belongs in your at-home manicure kit, how to use each tool properly, and expert tips straight from Dr. Dana Stern, a board-certified dermatologist and nail specialist who has spent her career helping people achieve their healthiest nails ever.
What Do You Need for an At-Home Manicure?
Before we get into the manicuring steps, let’s build your kit. A great at-home manicure doesn’t require a drawer full of products, just a handful of the right ones.
Essential Tools
• Glass nail file – Shapes nails gently without causing microscopic tears that lead to splitting and breakage. A major upgrade from traditional emery boards.
• Tri-grit buffing block – Smooths ridges and delivers a natural, glass-like shine, no polish needed.
• Nail brush – Cleans underneath the nail and removes debris before treatment.
• Soft towel – Used to gently push back cuticles after soaking.
• Cuticle nipper (optional) – For carefully trimming hangnails or dry, overgrown skin.
Treatment Essentials
• Glycolic prep for nails – Exfoliates the nail surface to remove imperfections and improve texture.
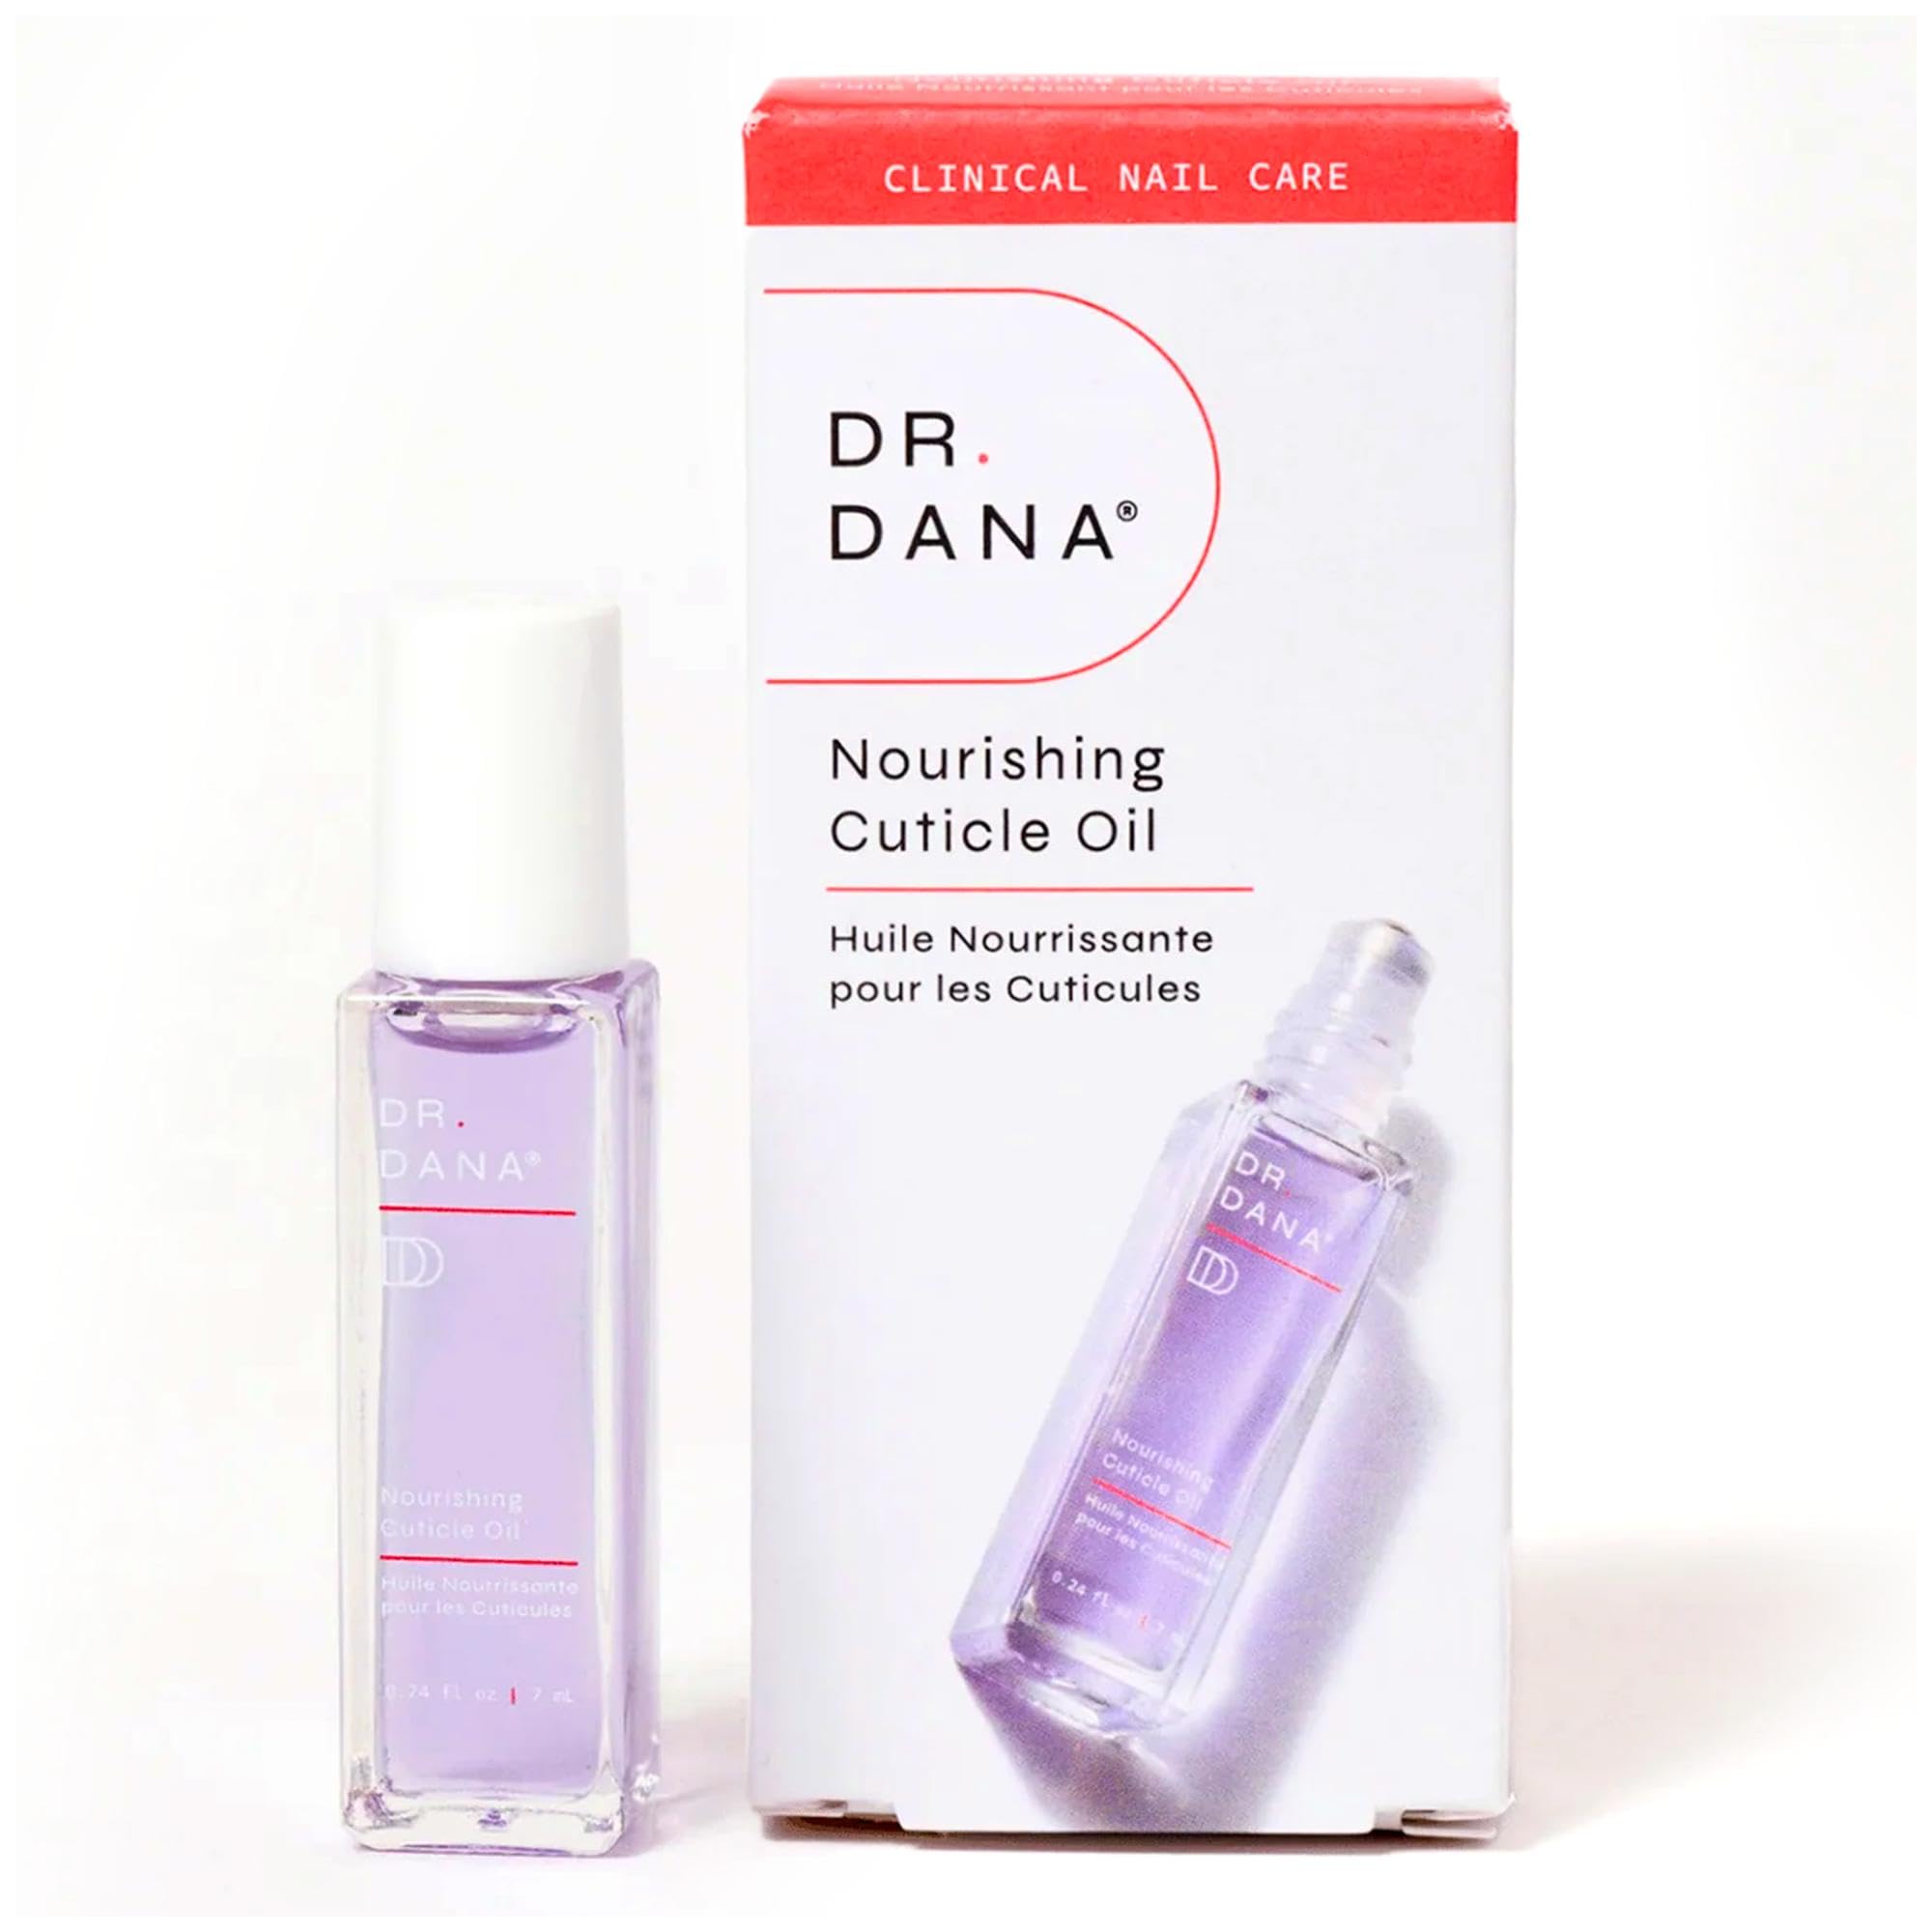
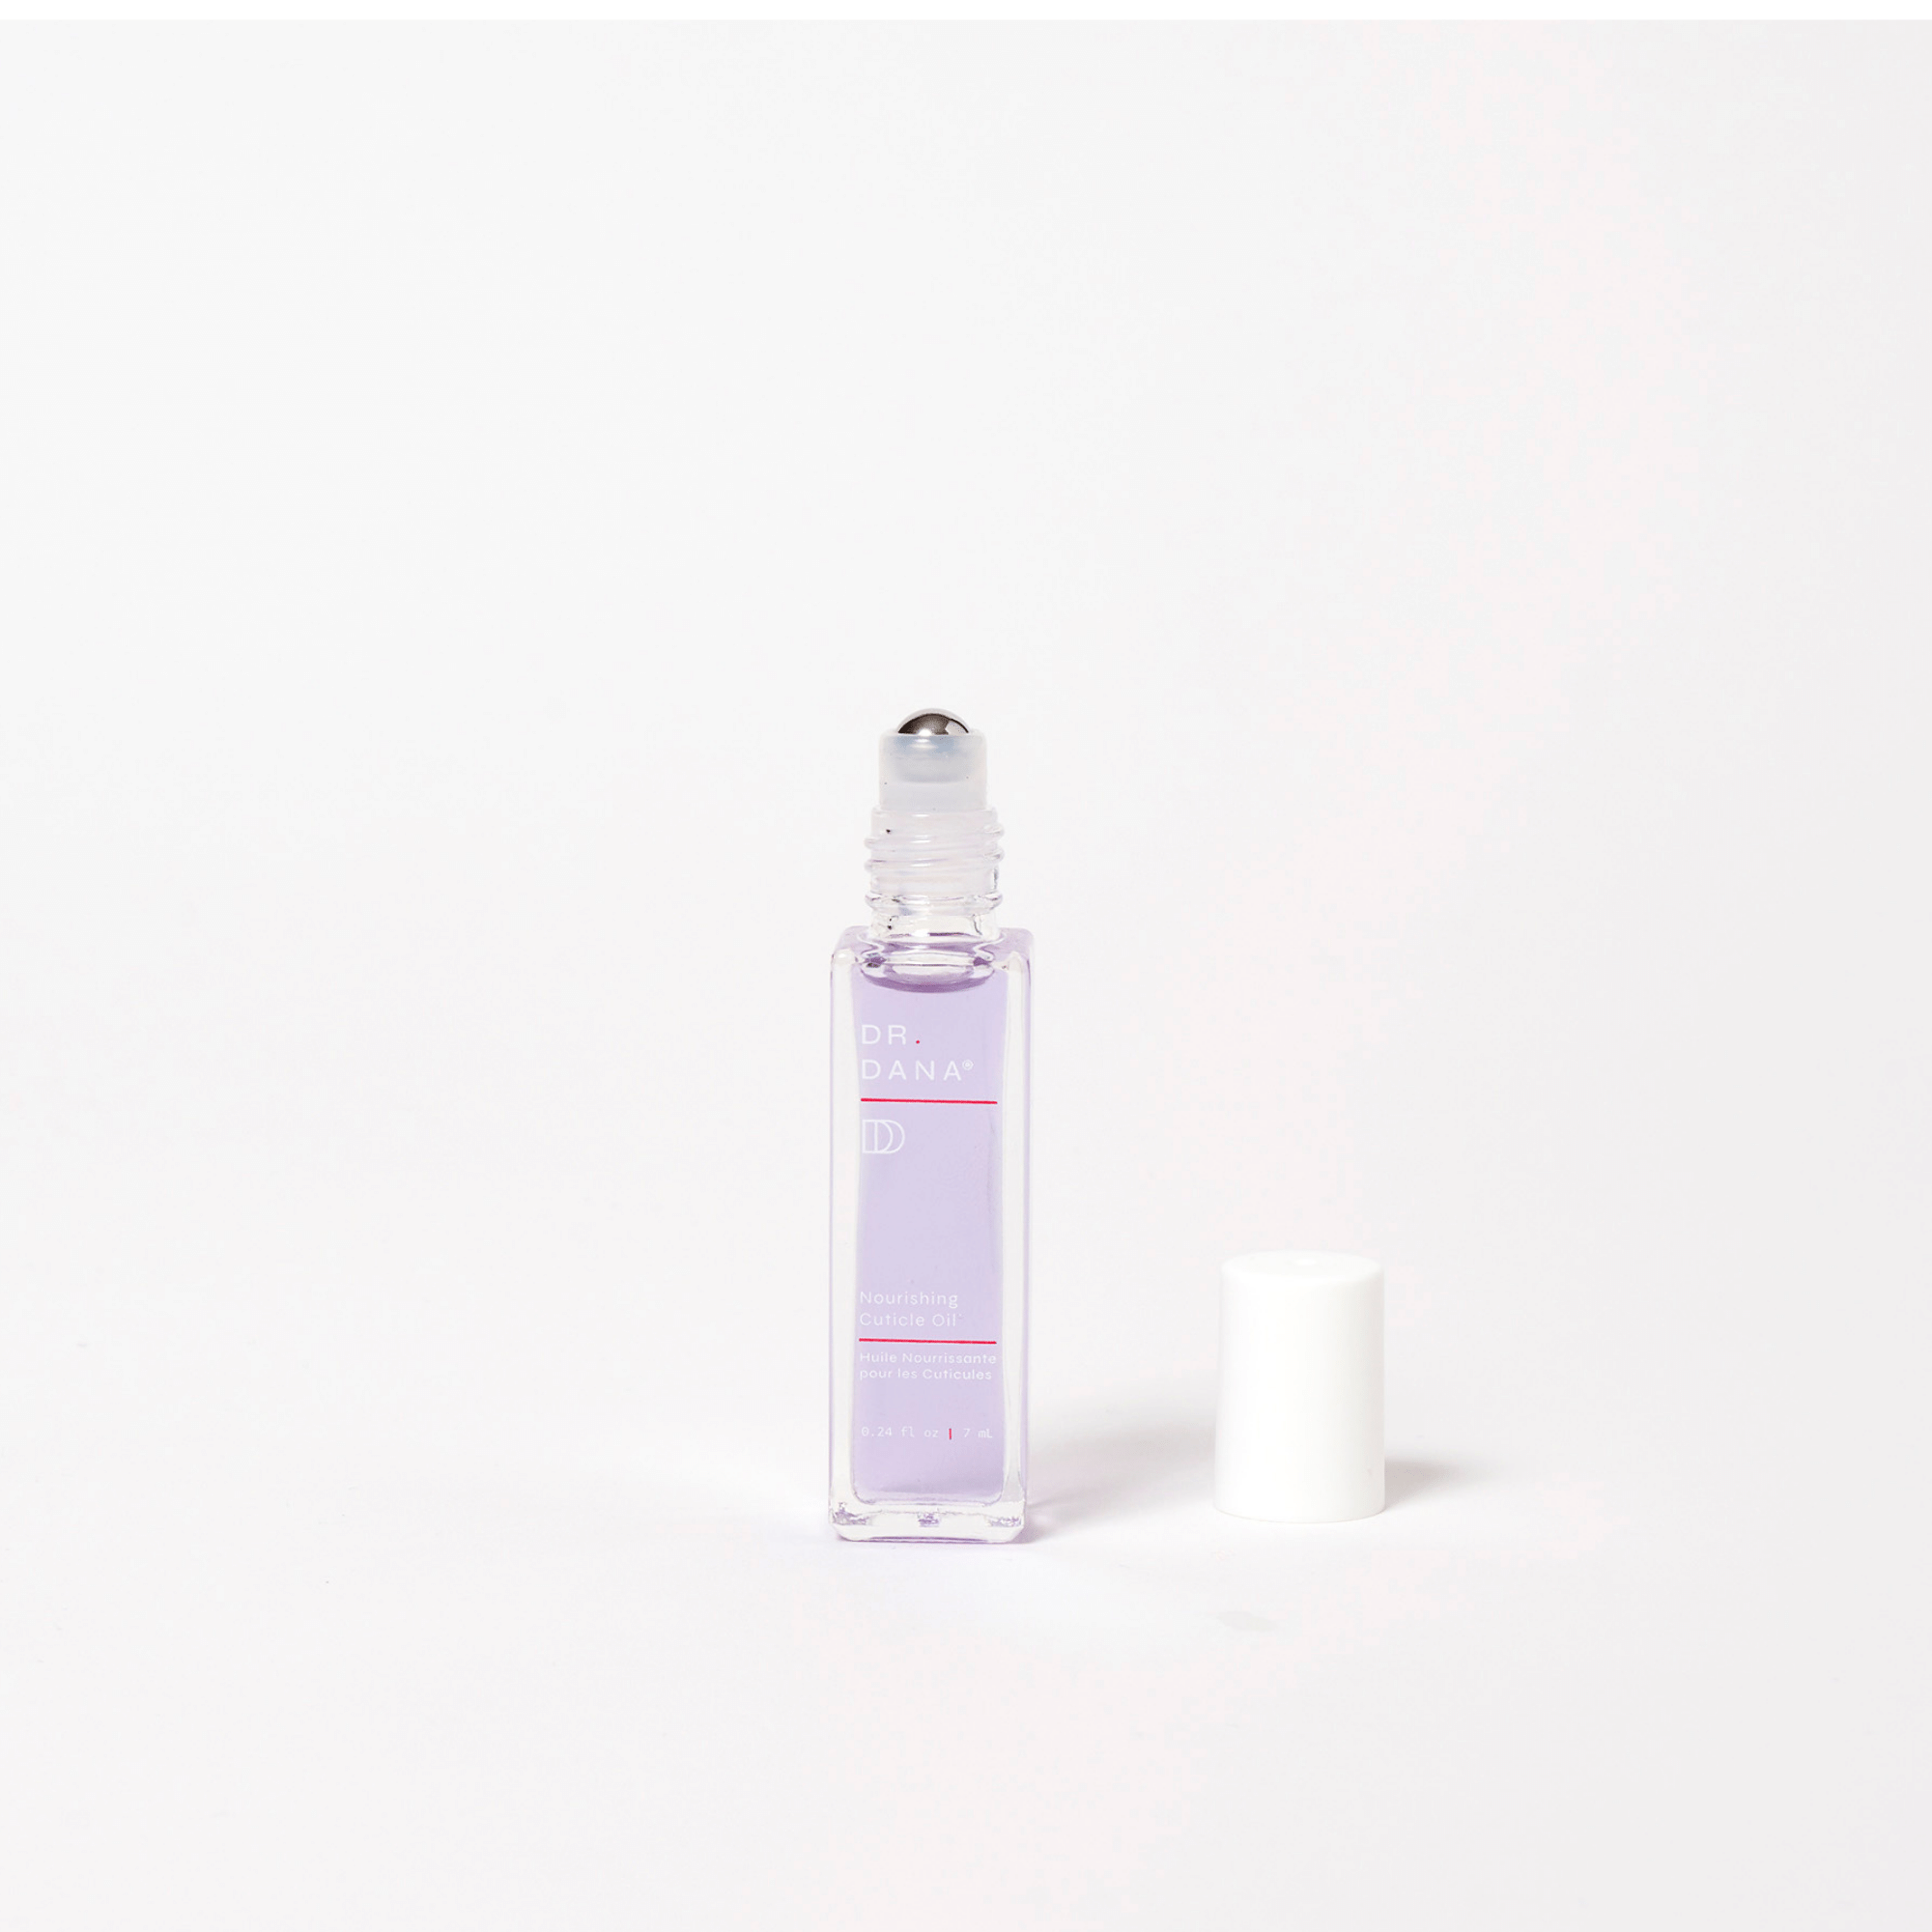
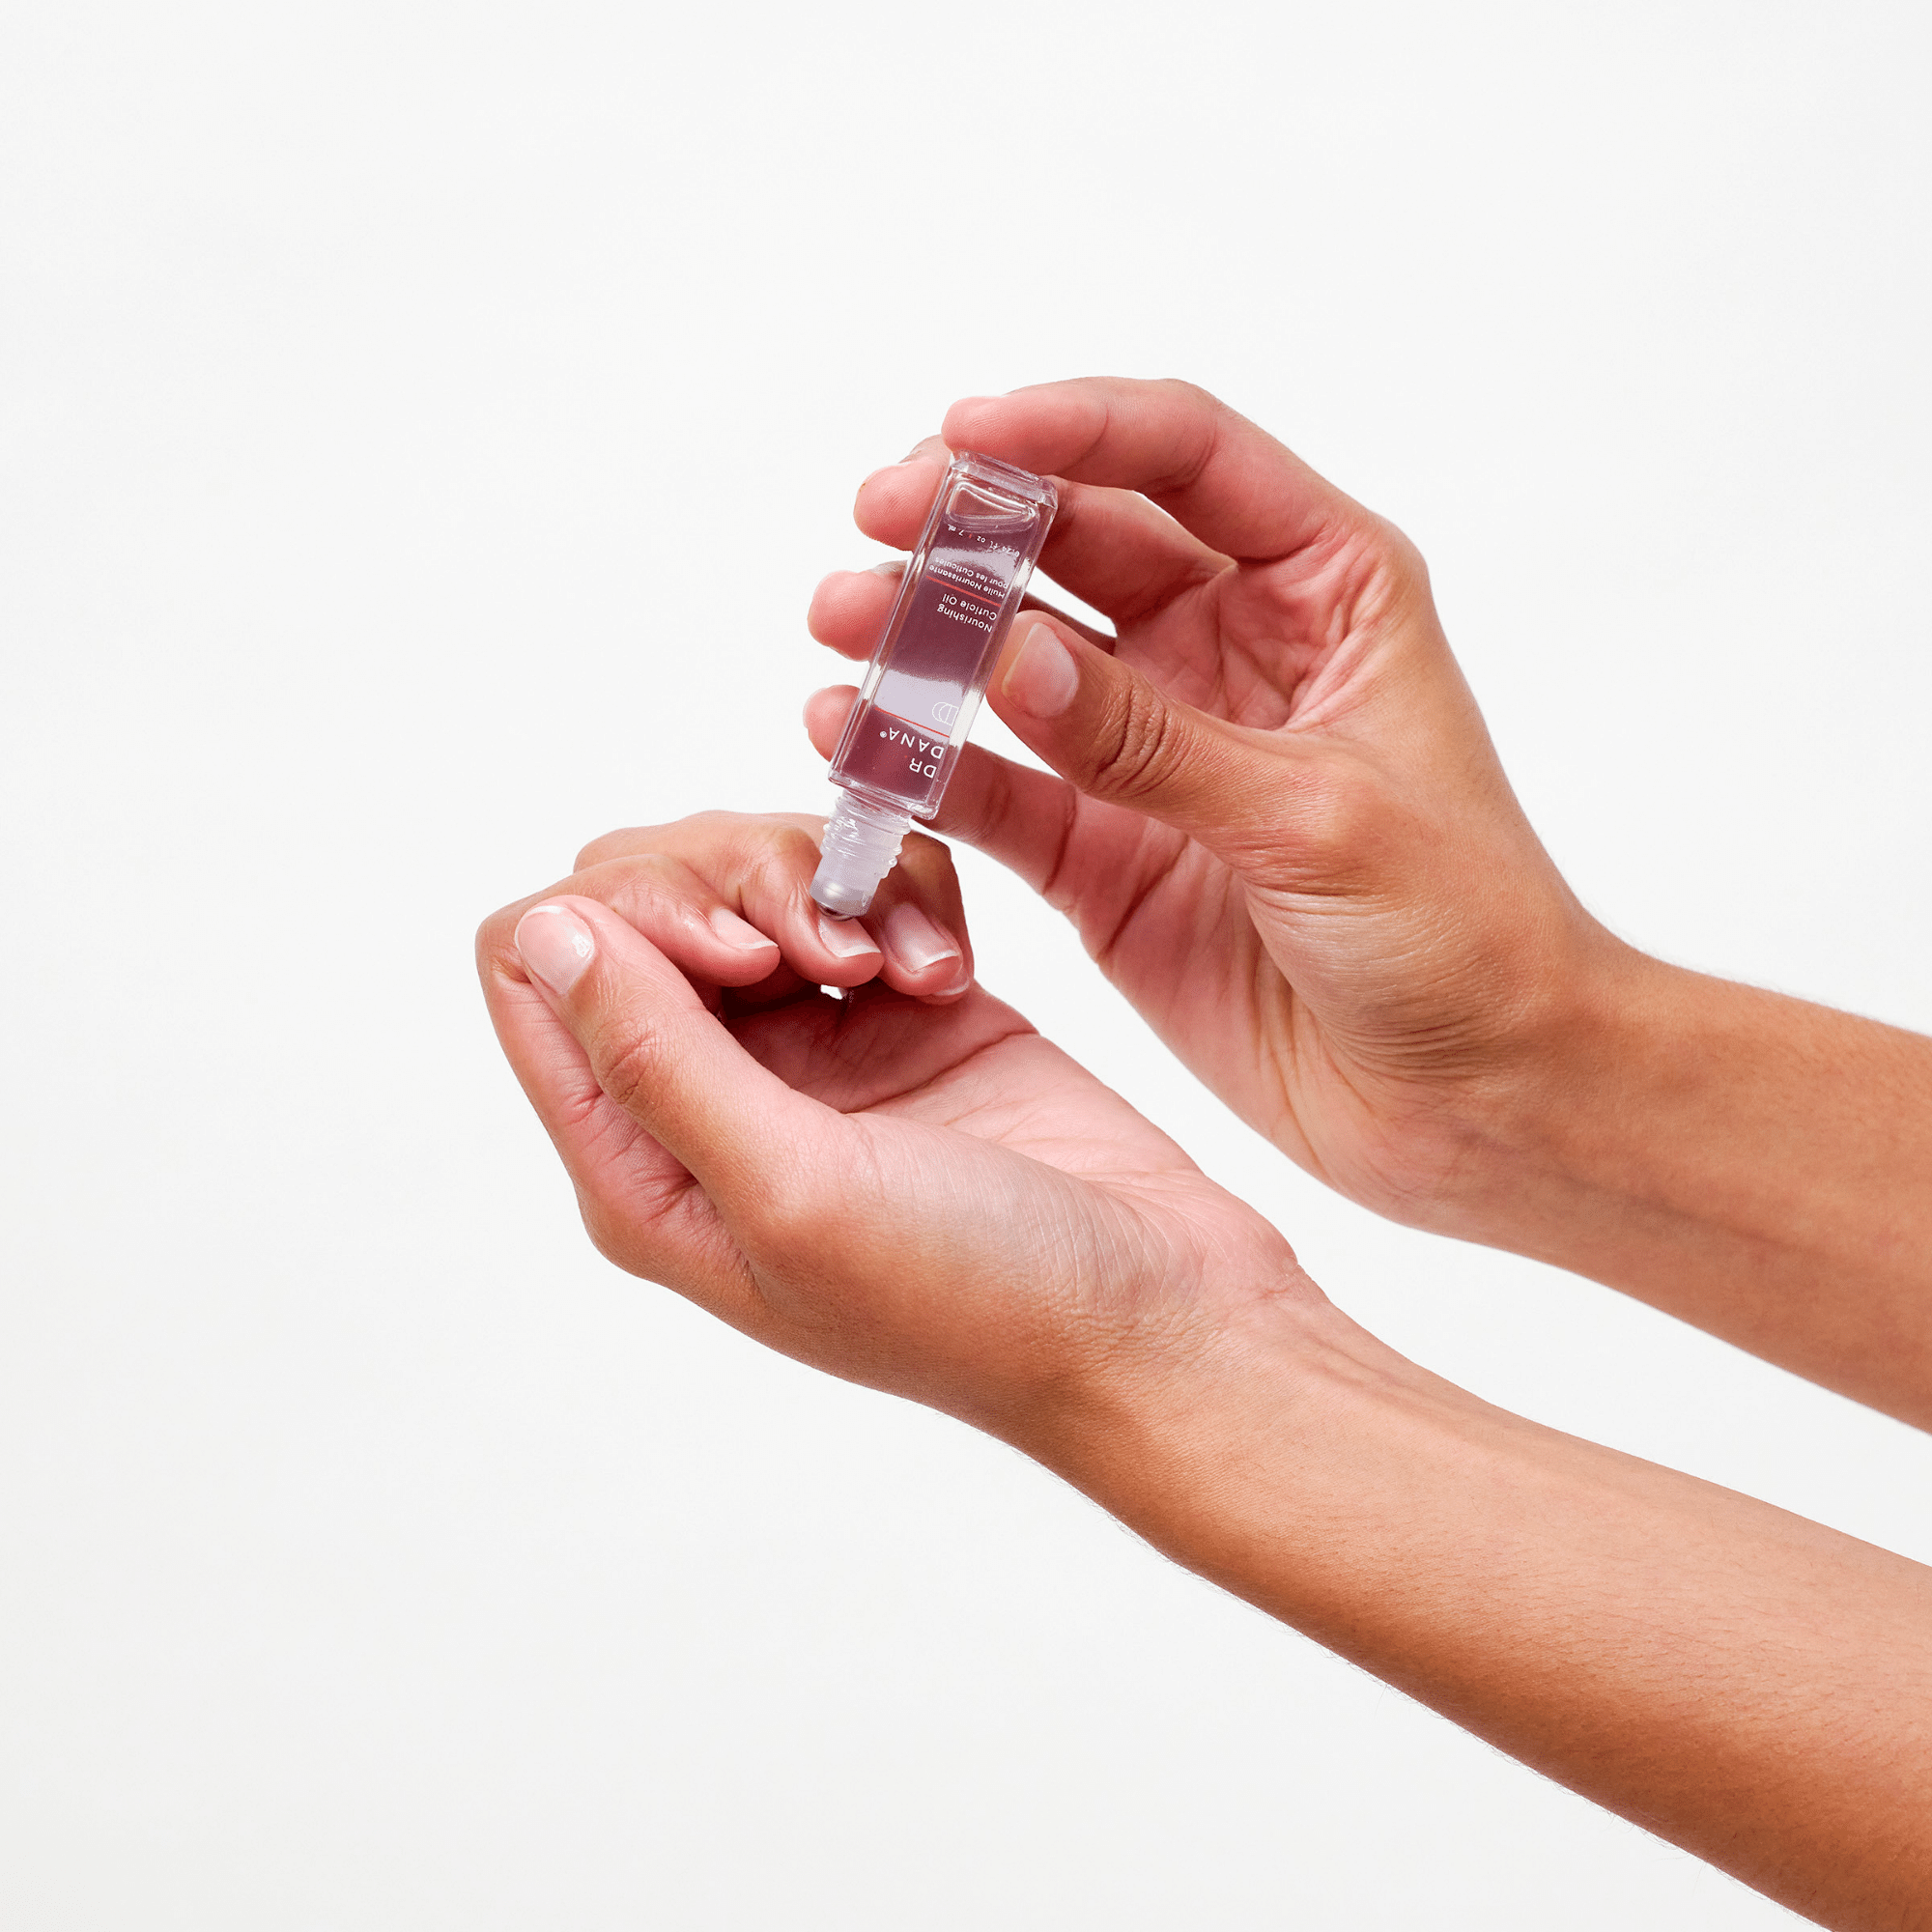
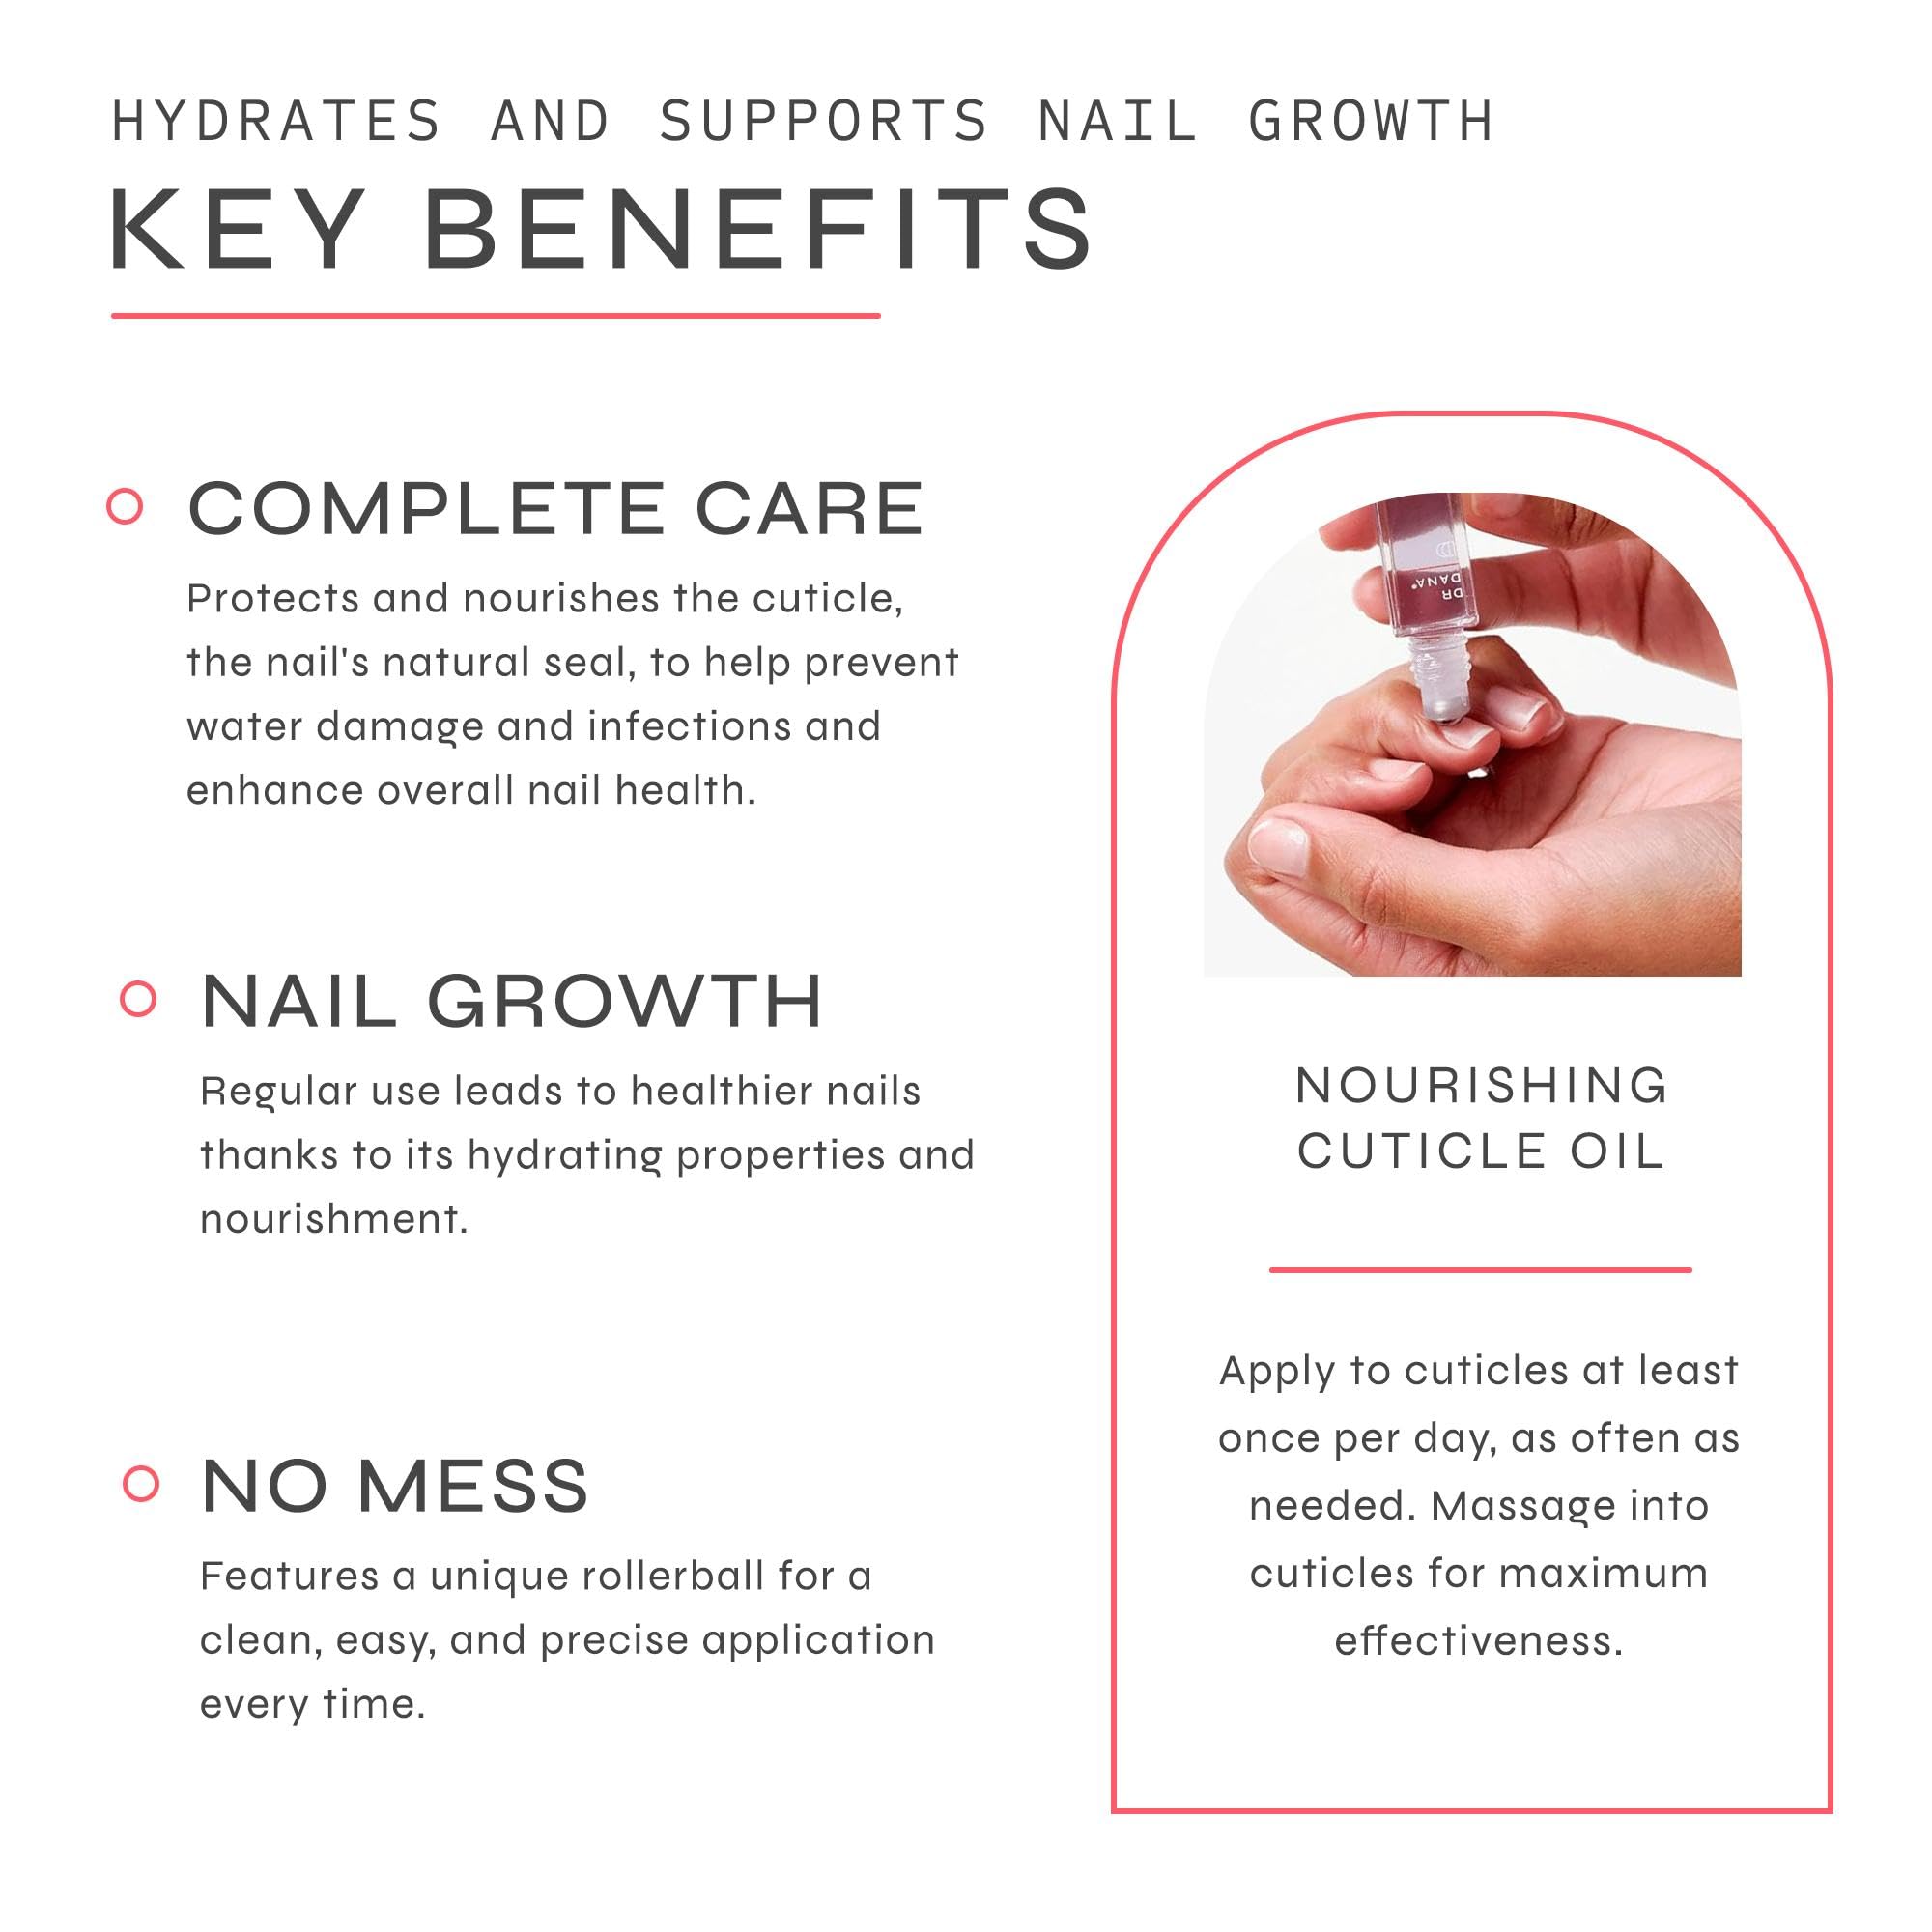
• Cuticle oil – The cornerstone of any nail care routine. Hydrates the cuticle barrier and supports healthy nail growth.
• Base coat and top coat (optional) – If you wear polish, these extend wear and add protection.
• Toxin-free nail polish (optional) – Color without harsh chemicals.
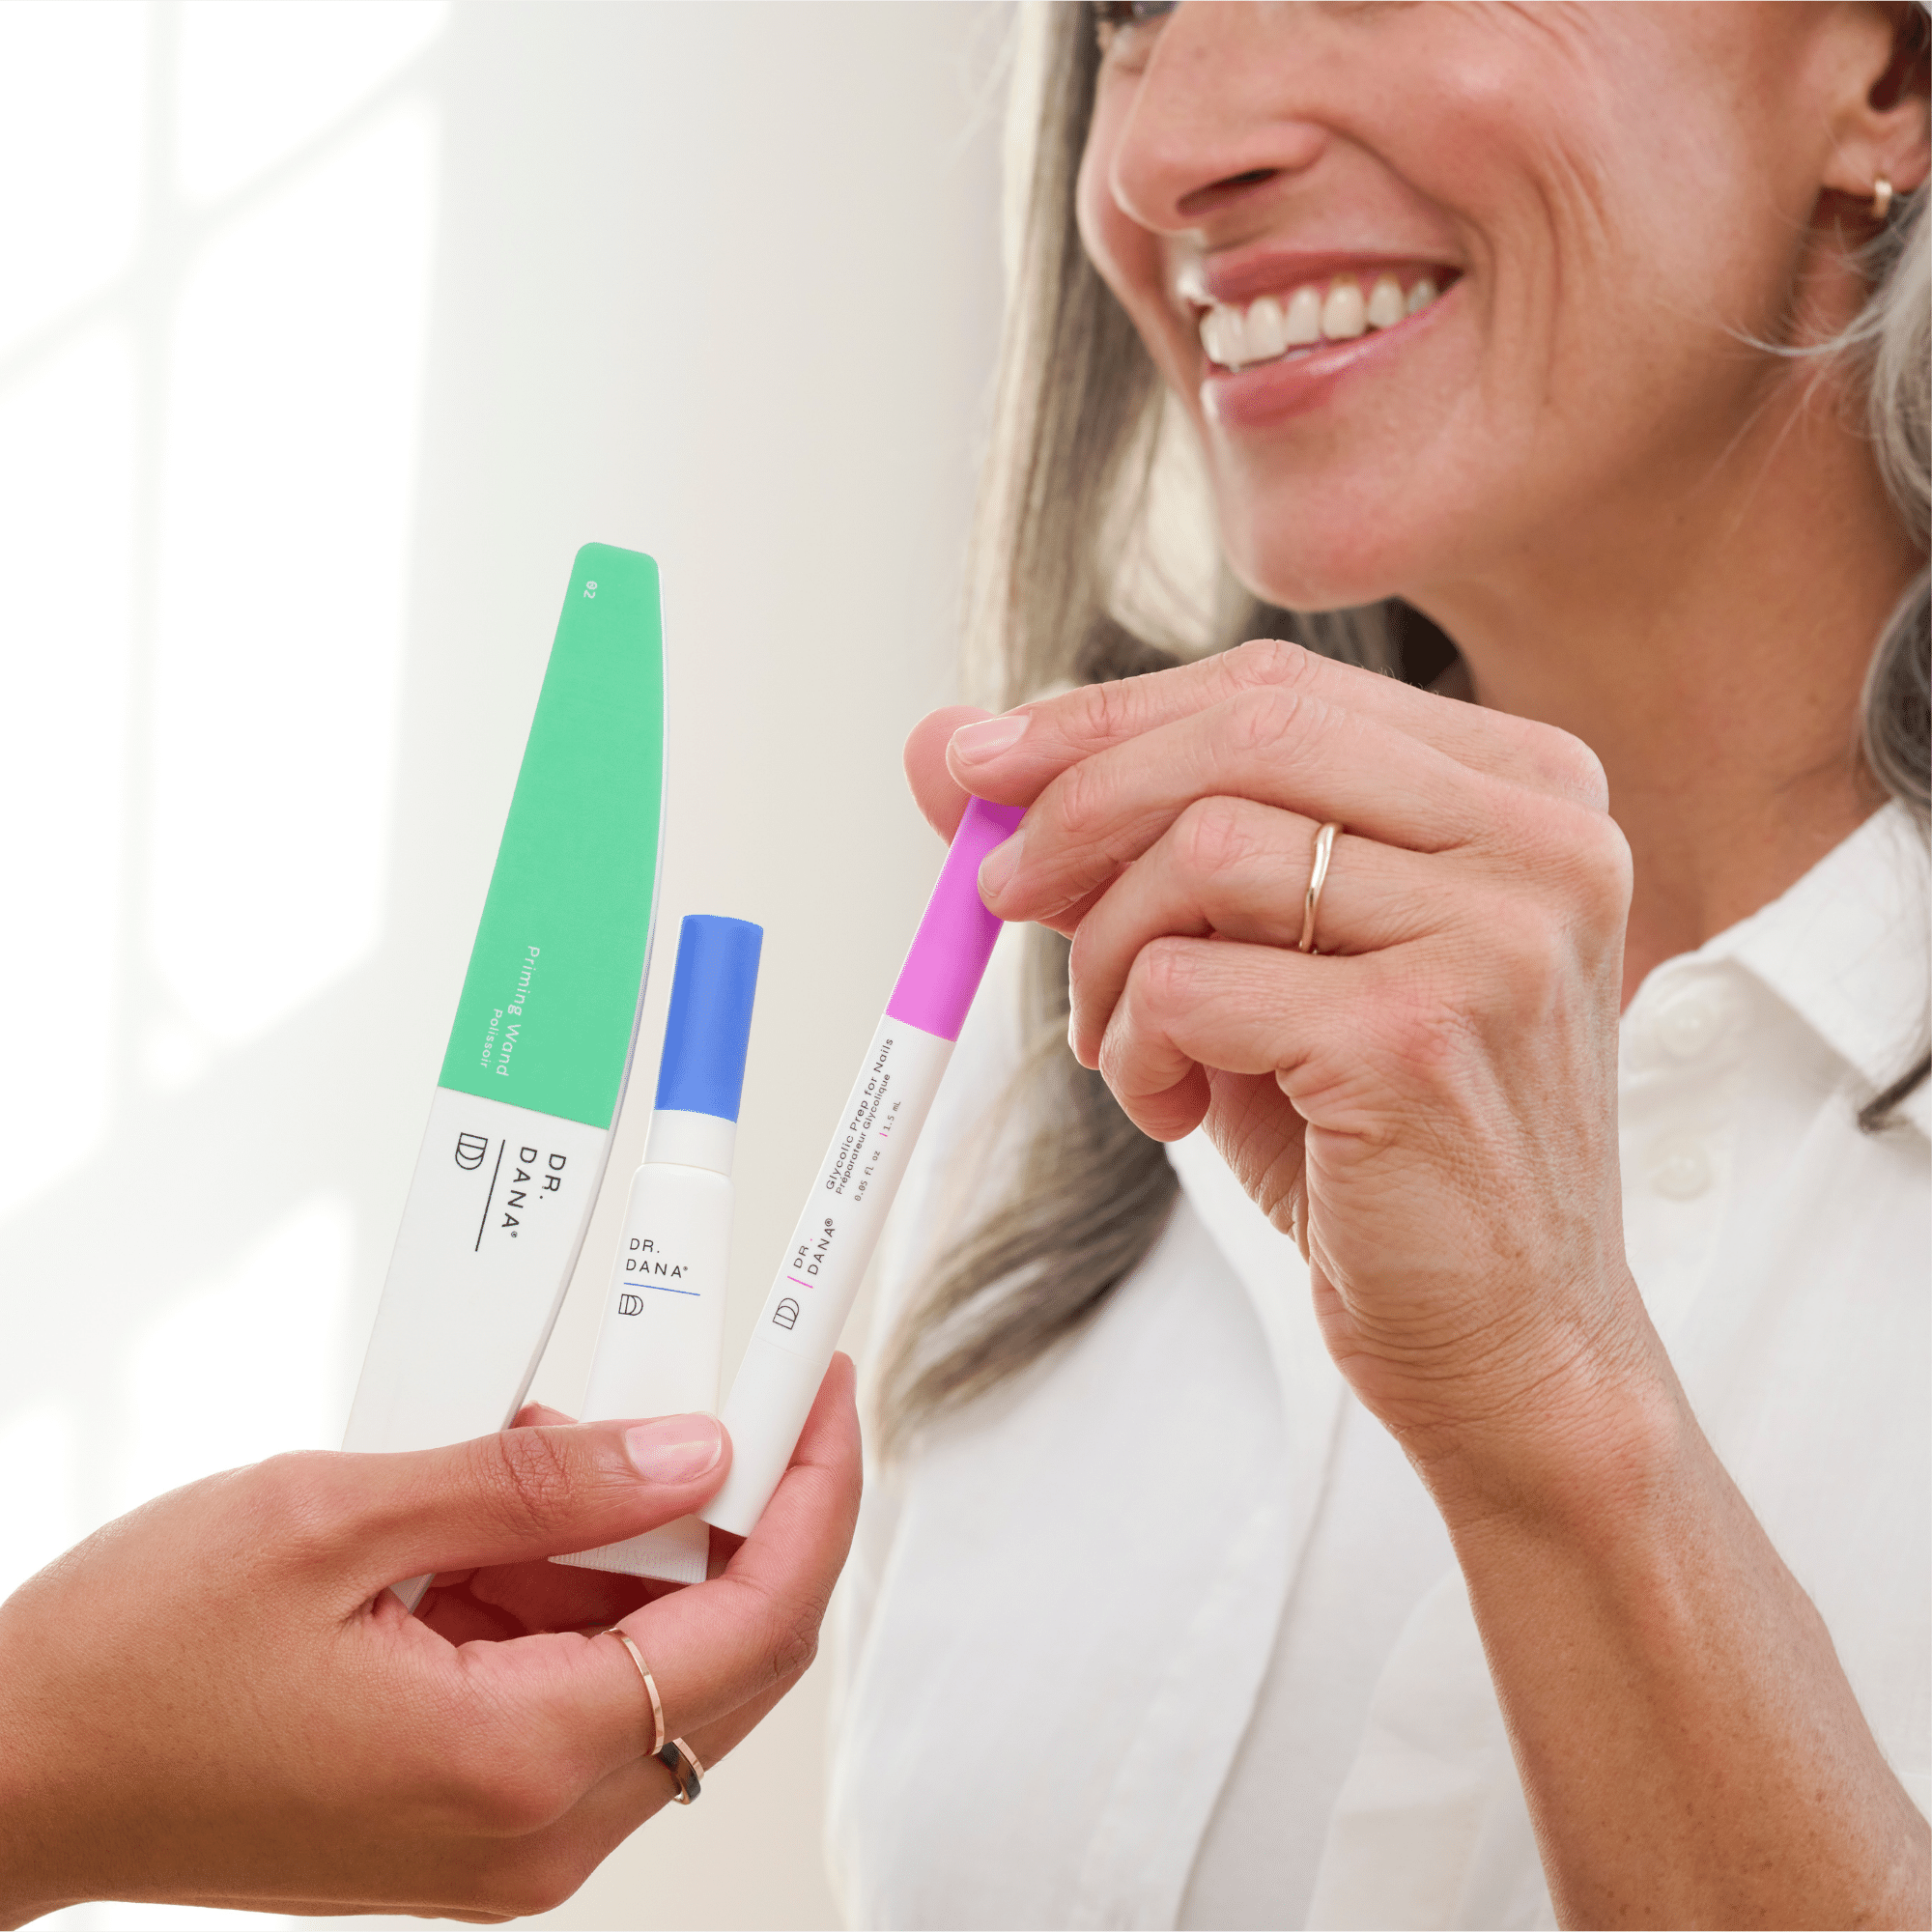
“Our No Polish Manicure Bundle includes our Glycolic Prep for Nails, Tri-Grit Buffing Block, Nourishing Cuticle Oil, and Precision Glass Nail File to give you smooth, healthy and—naturally!—shiny nails at home or on the go. It’s an easy, mess-free solution when you want your nails to look healthy and lustrous in just 10 minutes.”
— Dr. Dana Stern, Board-Certified Dermatologist & Nail Specialist
How to Do a Manicure at Home: 6 Simple Steps
Now that your kit is ready, here are the manicuring steps to follow for consistently great results. This routine takes about 10–15 minutes and can be done completely polish-free or finished with your favorite color.
Step 1: Clean and Prep Your Nails
Start by washing your hands thoroughly with soap and warm water. Use a nail brush to gently clean under each nail and remove any residue, old polish flakes, or debris. Pat your hands completely dry - moisture on the nail surface can affect how treatments absorb and how polish adheres.
If you're removing old polish, reach for Dr. Dana's Hydrating Non-Acetone Nail Polish Remover. "Acetone can dry out your nails and skin and cause damage to your nails and cuticles," she explains—which is why she developed a non-acetone formula with an all-natural grapefruit scent that effectively removes even dark shades while nourishing and protecting nails and cuticles throughout. Your nails will be left clean, moisturized, and conditioned, ready for the steps ahead.
Step 2: Shape with a Glass Nail File
File each nail to your desired length and shape, using smooth strokes in one direction rather than back-and-forth sawing. The tool you choose here matters more than most people realize.
“Traditional emery boards can cause microscopic tears at the tip of the nail that can lead to breakage. Our Precision Glass Nail File seals in the nail’s natural keratin layer to reduce peeling, splitting, and breakage.”
— Dr. Dana Stern
A glass nail file is gentler on the nail’s keratin structure, meaning less breakage over time and a cleaner, sealed edge after shaping.
Step 3: Exfoliate the Nail Surface
Apply a glycolic nail prep to the surface of each nail. This step dissolves surface buildup, smooths out ridges, and creates the ideal canvas for buffing and treatment—or polish if you’re going that route. Allow it to work for the recommended time, then wipe clean.
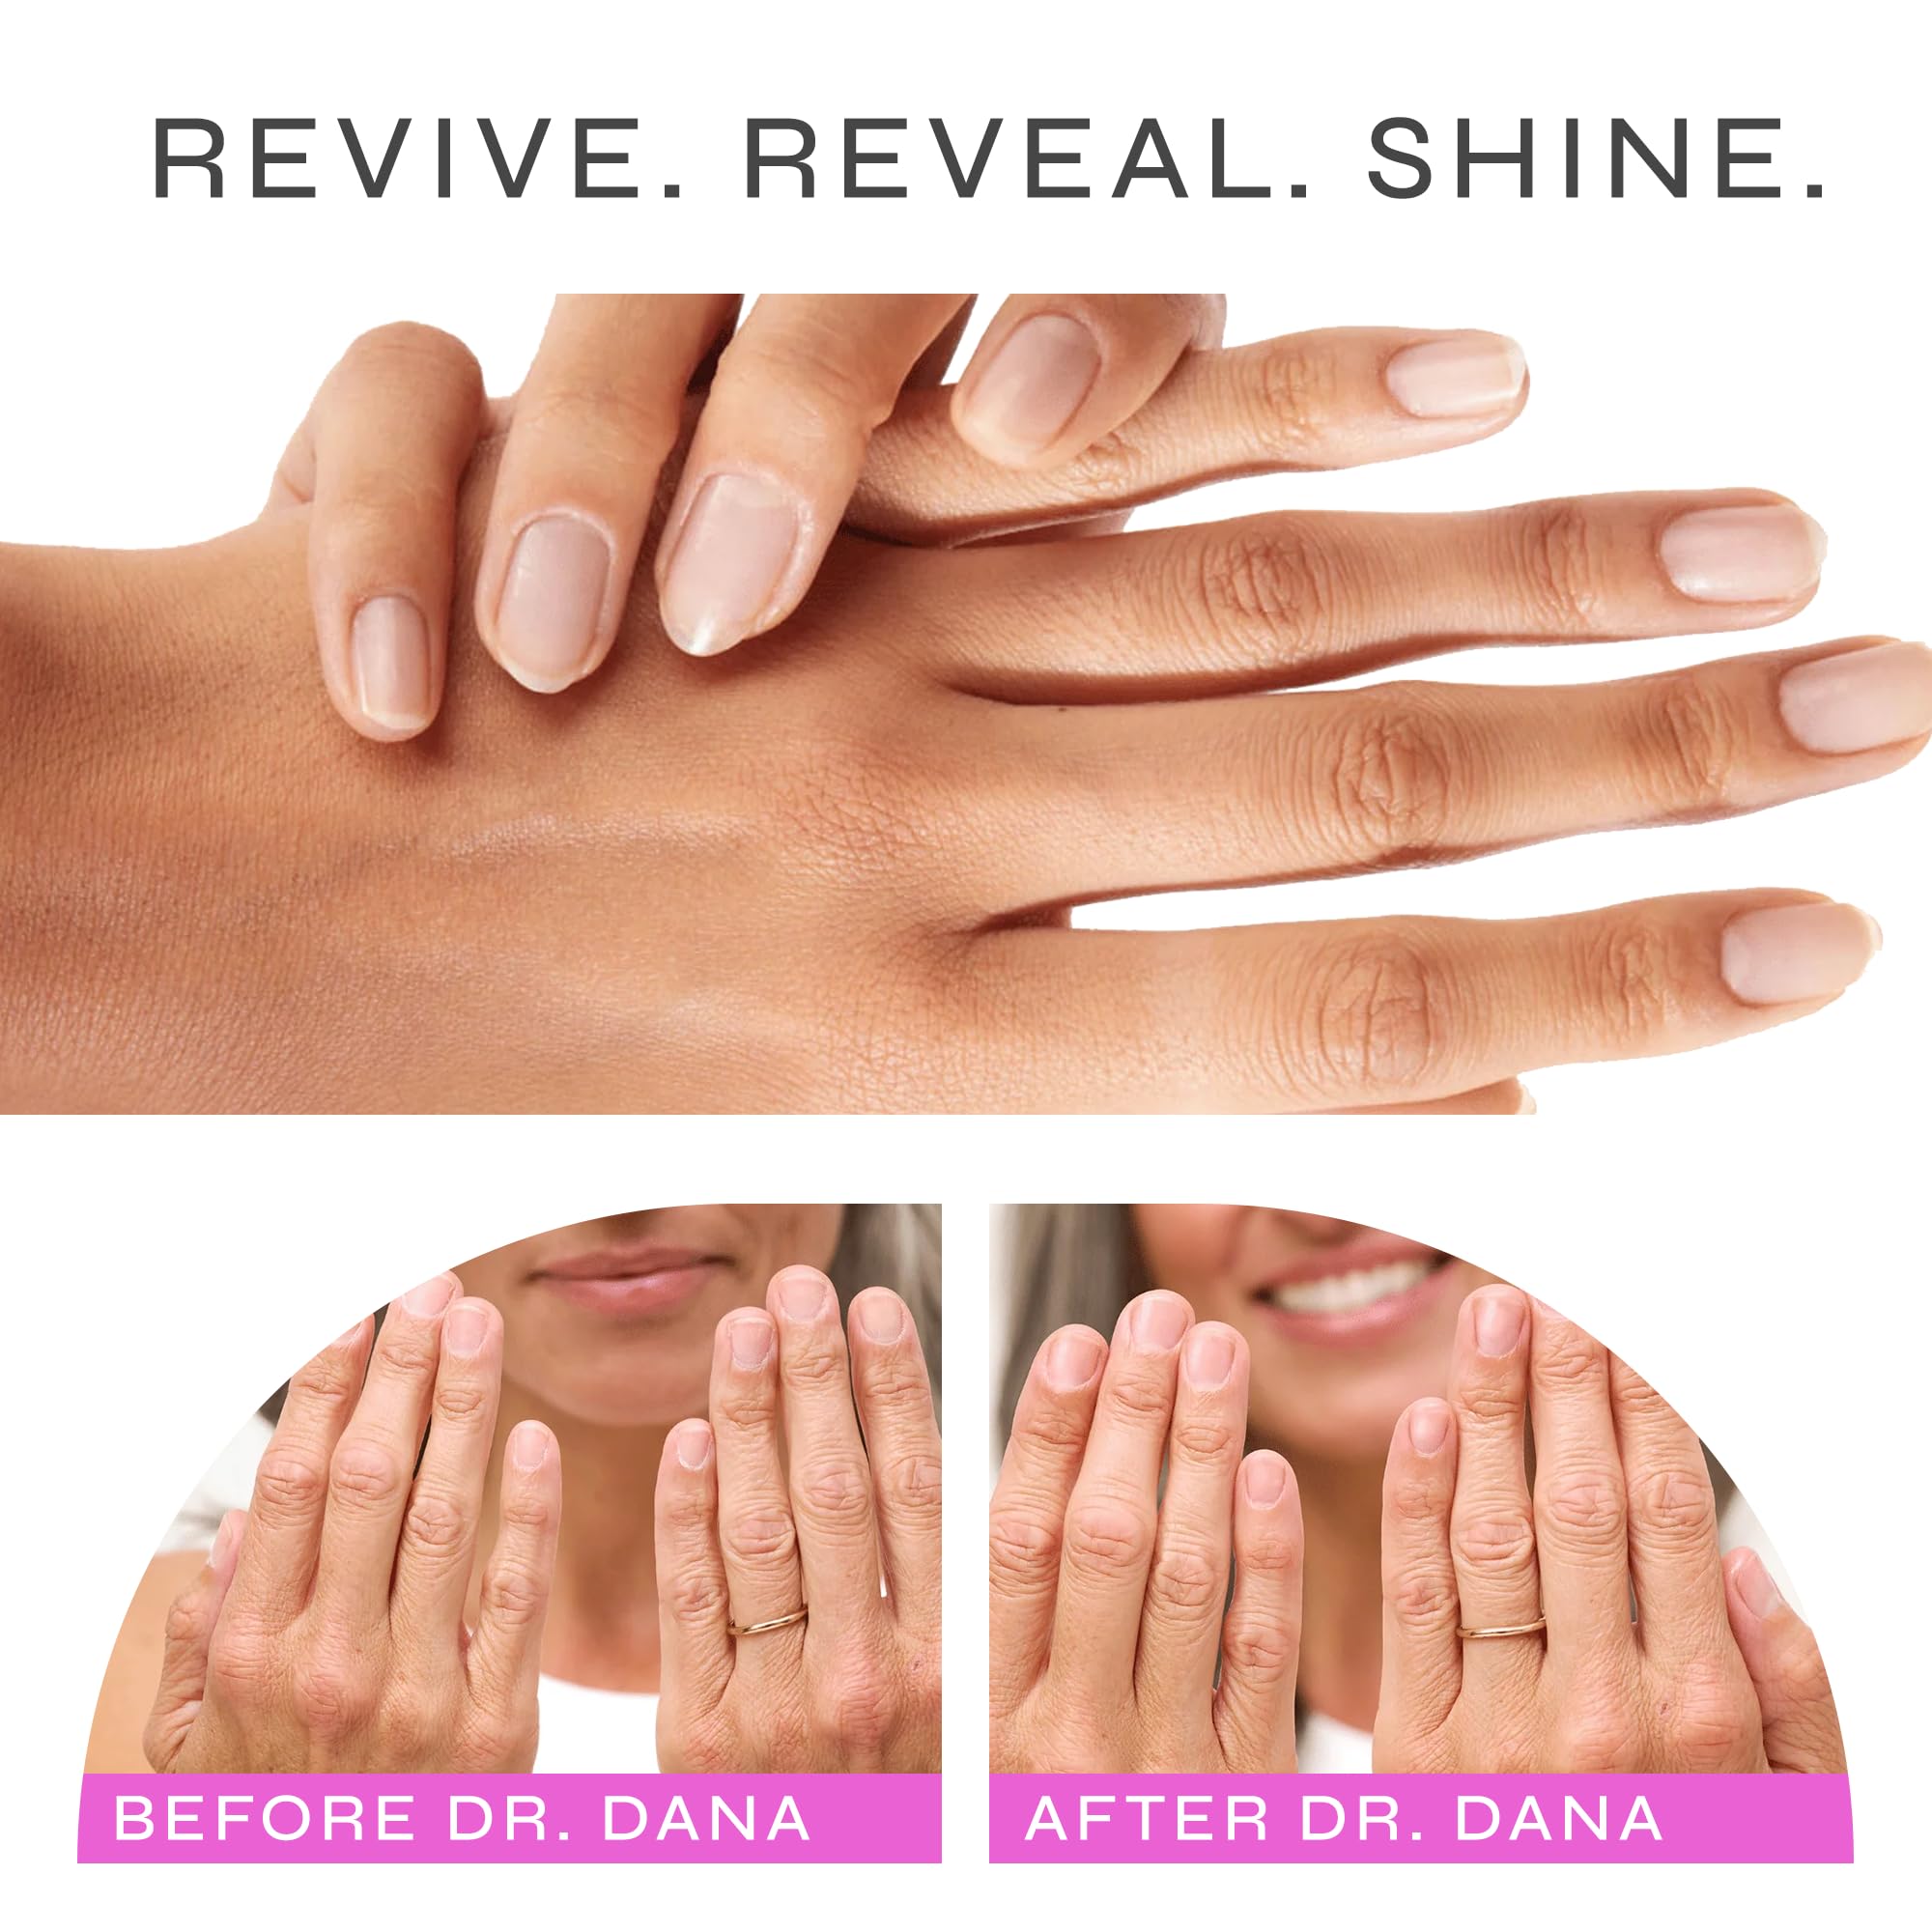
Step 4: Buff to a Natural Shine
Using a tri-grit buffing block, work through each grit level to progressively smooth and shine the nail. The final grit delivers a glass-like, high-shine finish without any polish. This is the signature look of a no-polish manicure—naturally luminous nails that look healthy and groomed.
Step 5: Care for Your Cuticles
Soak your fingertips in warm water for a few minutes, or apply a cuticle softener. Then, use a soft towel or a cuticle pusher to gently push back the cuticles. Trim only true hangnails—never cut the cuticle itself, as it serves as a protective seal for the nail matrix.
Finish this step by applying cuticle oil generously to each nail.
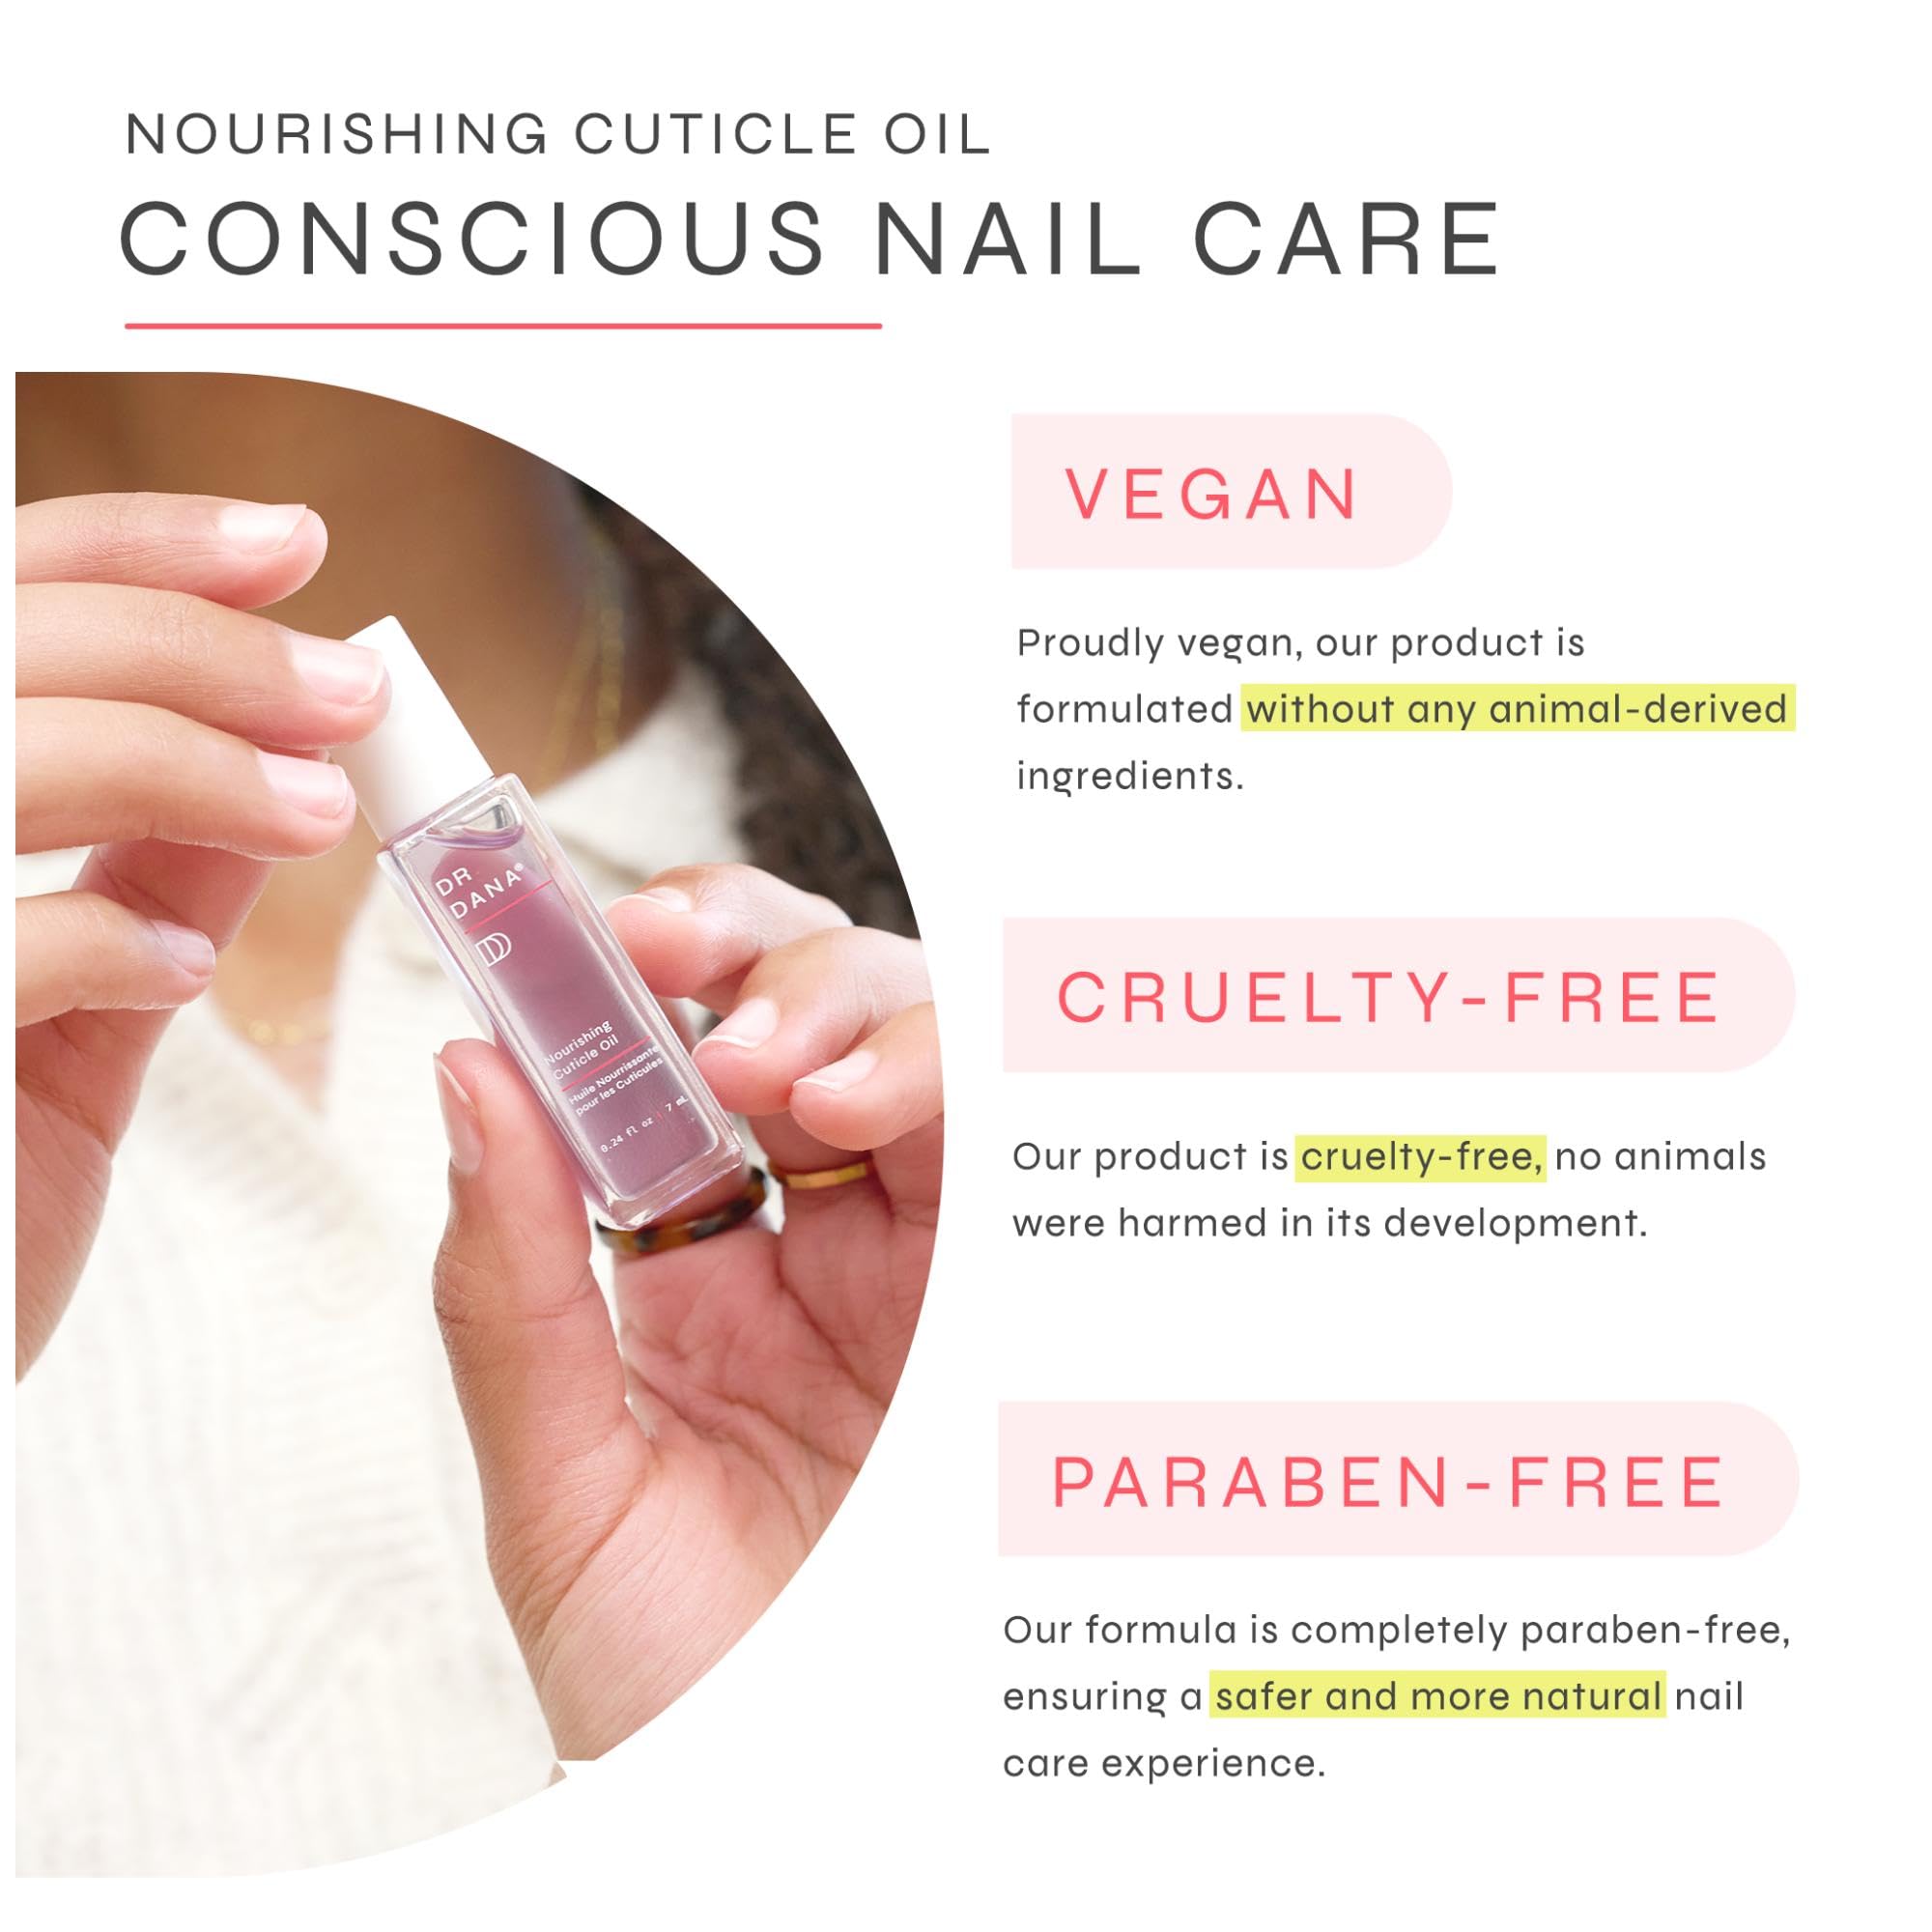
“Cuticles are the key to healthy nails, so it’s essential to give them proper care. Our Nourishing Cuticle Oil is formulated with science-backed Indigo Naturalis and hydrating Sunflower and Jojoba Oils to support nail growth and cuticle barrier function. When used regularly, cuticle oil will keep cuticles properly hydrated and allow nails to grow in healthier and stronger.”
— Dr. Dana Stern
Step 6: Polish (Optional)
If you’re adding color, start with a base coat to protect the nail and improve polish adhesion. Apply two thin coats of toxin-free nail polish, letting each layer dry fully before the next. Finish with a top coat for shine and longevity. Allow everything to dry completely before touching anything.
If you’re going polish-free, your nails are already done: buffed to a natural shine and thoroughly nourished. That’s the beauty of the no-polish approach.
Dr. Dana’s Expert Tips for Healthier Nails
Getting a great at-home manicure is about more than the steps you follow in the moment, it’s also about the daily habits that keep your nails strong between sessions. Here’s what Dr. Dana recommends:
Protect Your Nails from Water Damage
“Nails are 1,000x more absorptive of water than the skin, creating a lot of strain on the nail cells that can make them more prone to breakage and brittleness. When doing wet work, such as washing dishes, wear rubber gloves to protect your nails. If hands have a lot of water exposure, wear cotton gloves under rubber gloves to prevent excess moisture on the nails.”
— Dr. Dana Stern
Move Your Body for Better Nail Growth
It might sound surprising, but your exercise habits affect your nails. According to Dr. Dana, fingernails benefit from increased circulation, so making cardio a regular part of your routine can actually support healthier, faster nail growth.
Skip the Acetone
Acetone-based removers are hard on nails and cuticles—particularly with regular use. Dr. Dana’s recommendation: opt for a hydrating, non-acetone nail polish remover that’s effective on even dark shades while conditioning rather than stripping the nail.
The Easiest Way to Get Started: No Polish Manicure Bundle

If you’re wondering how to do a manicure at home without the overwhelm of building a kit piece by piece, the No Polish Manicure bundle from Dr. Dana was made for exactly that.
Everything you need for the complete routine above in one clean, curated set:
• Precision Glass Nail File – Shapes and seals the nail edge without damage
• Glycolic Prep for Nails – Exfoliates and smooths the nail surface
• Tri-Grit Buffing Block – Buffs out ridges and delivers a glass-like, natural shine
• Nourishing Cuticle Oil – Formulated with Indigo Naturalis, Sunflower Oil, and Jojoba Oil to support strong, healthy nail growth
The result: smooth, shiny, healthy-looking nails in about 10 minutes—no polish, no mess, no guesswork.
Shop the No Polish Manicure Bundle →
Frequently Asked Questions
How can I do a manicure at home without going to a salon?
Follow the six manicuring steps above: clean, shape, exfoliate, buff, care for your cuticles, and optionally apply polish. With a quality at-home manicure kit, you can achieve salon-level results in under 15 minutes.
How can I do a manicure and pedicure at home?
The same core manicuring steps apply to your toes. You’ll want to add a foot soak and a larger nail file for toenails, but the principles - shape, prep, cuticle care, and moisture - are the same. Dr. Dana’s cuticle oil and glass file work beautifully on feet too.
What is the most important step in a home manicure?
Cuticle care. As Dr. Dana puts it, cuticles are the key to healthy nails. Keeping them hydrated and protected determines how well your nails grow in over time, and how healthy they look between manicures.
Do I need nail polish for an at-home manicure?
Not at all. A no-polish manicure — using just a prep, buff, and cuticle oil routine — can leave nails looking naturally shiny and groomed. Many people prefer this approach for its simplicity, clean aesthetic, and the fact that it prioritizes nail health over color.
Ready to Start Your At-Home Manicure Routine?
Now that you know exactly how to do a manicure at home and which manicuring steps actually make a difference, you have everything you need to get started. With the right tools, a little consistency, and Dr. Dana’s expert approach to nail health, beautiful nails are well within reach.
Whether you go polish-free or finish with color, the foundation is the same: clean, shape, prep, buff, nourish, and protect.
Explore Dr. Dana’s full nail care collection at drdananails.com →