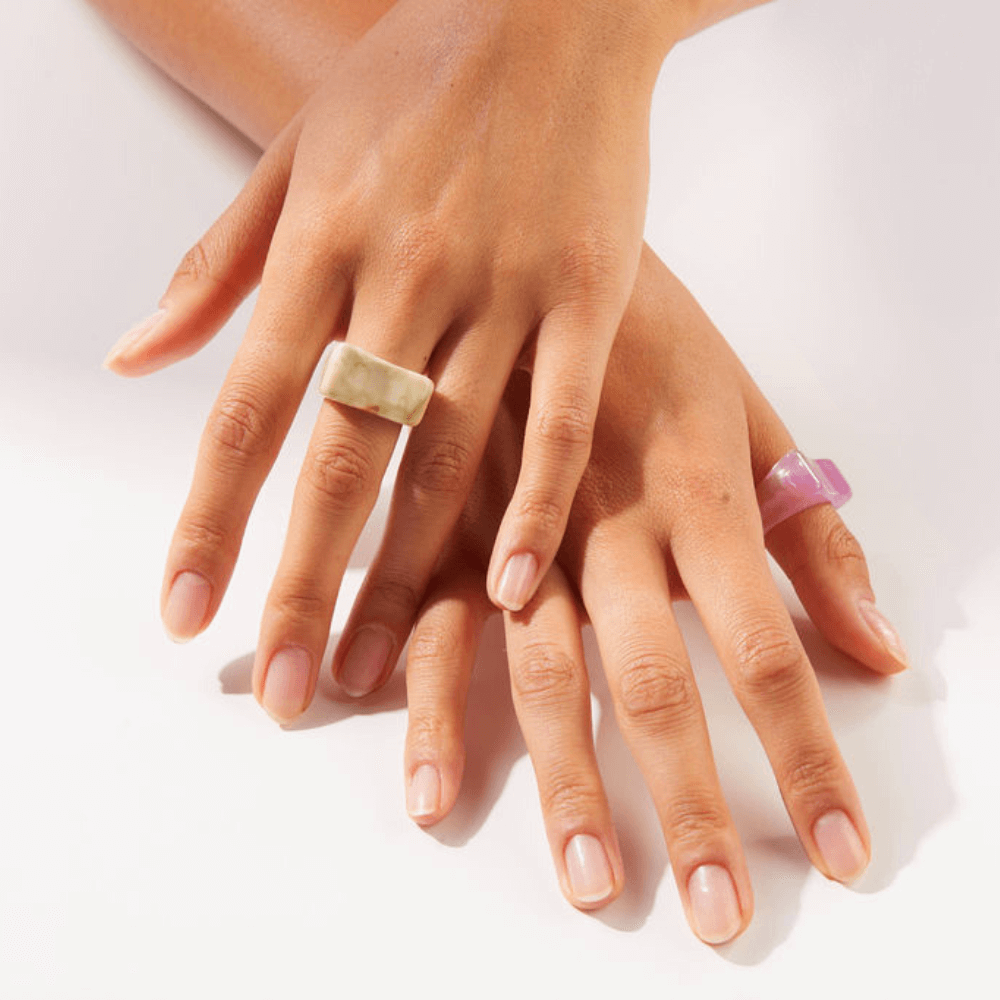

Almost every polish break ends the same way. You take the color off, look down at your hands, decide they look sad, and reach for a bottle within about forty-eight hours.
I hear this constantly in my practice, and I understand it. Bare nails feel unfinished. But nails only recover when they’re left alone, and that recovery window is exactly the thing most people skip. A polish-free stretch is when the nail plate rehydrates, when the surface evens out, when the damage from the last removal stops compounding.
Here’s the part nobody tells you: a natural nail has its own version of “done.” It just isn’t color. It’s shape, low shine, a clean edge, and skin that looks looked-after. Get those four things right and nobody reads your hands as unpolished. They read them as deliberate.
These are the eleven things I tell patients, roughly in the order I’d do them.
01
Commit to one length, one shape
Bare nails read as intentional the moment they match. File down to the shortest nail in the set. I know that’s painful advice if you’ve been growing one out for weeks, but ten nails at one length look groomed, and nine plus one holdout looks like an accident.
Keep one shape across all ten, too. On a natural nail, round or a soft squoval wears best because there are no sharp corners to catch on a sweater. And file in one direction on a dry nail. That back-and-forth sawing motion is what frays the free edge into those little splits.
02
Buff for a soft sheen, not a mirror
Light buffing is the step that makes a bare nail look finished. It evens out the ridges and gives the surface just enough shine to catch the light, which is really all a top coat was doing for you anyway.
The catch is that buffing removes layers from the nail plate. So this is a few gentle passes, once a week at most, and you stop well before the surface goes glassy. That high-gloss mirror finish is tempting. It’s also how people end up with thin, bendy nails by week three.
03
Oil the cuticle, don’t cut it
The cuticle is a seal, not a flaw. It’s the barrier keeping bacteria and water out of the space where your new nail is forming. When you cut it, you break that seal, and what follows is inflammation, sometimes infection, and the horizontal ridges that show up weeks later on the nail growing out.
Oil twice a day instead. Morning and night, one pass along the cuticle line. A hydrated cuticle looks tidy on its own, no trimming required, and the nail coming in behind it grows in smoother.
04
Keep the free edge clean and dry
A crisp, clean white tip does the exact thing a French manicure spends thirty dollars imitating. Clean underneath gently with a soft brush. No metal tools digging around under there, please, because that separates the nail from the nail bed and once it lifts it takes months to reattach.
Then dry your hands properly, including under the tips. Trapped water is what softens and lifts a free edge.
05
Treat hydration as the finish
Minimalist nails live and die on moisture. A dehydrated nail looks dull, chalky, and frankly older than it is. A conditioned one has depth and a natural translucence to it, with nothing coating the top.
This is the whole reason a no-polish manicure works. You’re not covering the nail to make it look good. You’re finishing the nail itself.
If you only do three things
The short version, for busy weeks
- File dry, in one direction, all ten nails to the same length.
- Oil the cuticles morning and night. This is the highest-return two minutes in nail care.
- Wear gloves for anything involving water. More on that in a second.
06
Retire the metal file, and never file a nail you just soaked
This is the mistake that quietly undoes everything else. Those coarse metal files shred the layered edge of the nail plate instead of cutting it cleanly, and every shredded edge becomes a peel. Switch to a fine-grit glass or crystal file, which seals the edge as it shapes.
Timing matters just as much. A nail that’s been in the shower or the sink is swollen and soft, and a soft nail tears rather than files. Shape your nails before you get in the shower, not after.
07
Wear gloves for dishes, cleaning, and gardening
Water is the single biggest thing working against you. The nail plate absorbs it, swells, then shrinks as it dries, and that repeated swell-and-shrink cycle is what loosens the bonds between layers. Add dish soap and household cleaners on top and you’re stripping the natural lipids out at the same time.
Rubber gloves are unglamorous. They are also the reason some of my patients have nails that look good with zero product on them.
08
Moisturize the frame, not just the nail
Nobody looks at a nail in isolation. They look at a hand. Dry knuckles, tight skin around the sides, a rough patch by the thumb, all of it registers before the nail does.
Cream after every hand wash, and keep a tube wherever you actually wash your hands rather than in a drawer somewhere. A well-moisturized hand makes a bare nail look styled. A cracked one makes even a perfect manicure look neglected.
09
Notice what your hands are touching
Acetone is the obvious one, but during a polish break you’ve already put it away. The sneakier culprits are alcohol-based hand sanitizer, which pulls moisture straight out of the plate, and cleaning products with a high pH.
You don’t have to eliminate any of it. Just follow it with oil or cream instead of letting your hands air-dry and stay stripped for the rest of the afternoon.
A myth worth retiring
Nails don’t breathe. They’re made of keratin, and they get everything they need from the blood supply underneath, not from the air. So “letting them breathe” isn’t technically why a break helps.
What a break actually does is stop the cycle of dehydration under a coating, plus the mechanical trauma of removal, which is where the vast majority of gel and dip damage happens. Same conclusion, better reason.
10
Give the break a real timeline
A polish break only works if it lasts long enough to matter. Fingernails grow somewhere around three millimeters a month, which means a full plate replaces itself over roughly six months.
You don’t need six months. Two to four weeks is where most people notice the surface starting to even out and the color looking healthier. If you’ve been in back-to-back gel for years, give it longer, or at minimum stagger your sets so there’s real recovery time between them instead of a fresh application the same afternoon.
11
Stop inspecting, and judge it at the halfway line
Week one is when your nails look their worst. The damage that was hidden under color is suddenly right there in daylight, and that is precisely when most people give up and repolish.
Give it time. Progress on a nail is literally a line, moving up from the cuticle, and you can watch the healthier growth push the rough part toward the tip. Check in at the two-week mark, not on day four. What you’re seeing on day four is the old damage, not the result of anything you’ve done since.
“Your nails don’t need a coat of anything to look cared for. They need shape, moisture, and time without something covering them.”
What this looks like in practice
Realistically, this is a weekly file and light buff, then oil twice a day, gloves at the sink, and cream whenever you wash. That’s it. It takes less time than a polish change and it doesn’t require you to sit still with wet hands for twenty minutes.